IO-390-D Series Engine Maintenance Manual
72-20
© 2020 Avco Corporation. All Rights Reserved
Page 148
March 2020
IO-390-D Series Engine Maintenance Manual
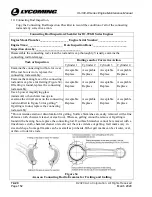
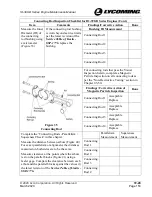
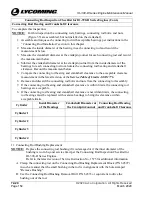
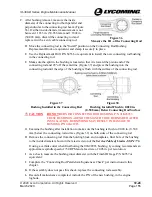
Crankshaft Inspection Checklist for IO-390-D Series Engines (Cont.)
Item
Comments
Findings/
Corrective Action
Done
Counterweight Inspection (Cont.)
Examine the surface of the
rollers for scoring,
scratches, punch marks, or
any other surface damage.
Make sure the roller surface
is smooth.
If the roller surface is not
smooth or has scoring,
scratches, punch marks, or
any other surface damage is
on one or both rollers in a
pair, replace the rollers as a
matched pair.
Outcome of Roller Pair
Inspection for Counterweight
Position 1
Accept
Replace
Outcome of Roller Pair
Inspection for Counterweight
Position 2
Accept
Replace
Findings / Comments:
Complete NDT on rollers.
Refer to Chapter 05-50.
If one or more cracks are
found on a roller, replace the
rollers as a matched pair.*
Findings / Comments:
Measure the roller
dimensions per the latest
revision of Service
Instruction No. SI-1535.
If the roller is out of
tolerance, replace the rollers
as a matched pair.*
Findings / Comments:
*Refer to the latest revision of Service Instruction Nos. SI-1012 and SI-1535 for part numbers and
instructions to replace counterweights and rollers.
Rejection Criteria for a Crankshaft
A crankshaft must be replaced under any of the following conditions:
•
If a crack or damage is found
•
If corrosion is found or there is evidence of grinding to remove corrosion
•
Crack(s) or pitting with crack(s) in the crankshaft inner bore
•
Warped or bent crankshaft flange (Do not try to repair or grind a warped or bent crankshaft
flange)
•
If the mounting surface of the crankshaft counterbore is galled, fretted or damaged
•
Oversized inside diameter of the crankshaft, greater than 2.126 in. (54.000 mm)
•
If a bearing surface is scored, galled, or worn and polishing to either 0.003 in. or 0.006 in.
undersize does not remove the condition
•
If the undersize is greater than 0.006 in.
•
Raised metal on inner diameter bore of crankshaft surface.
•
Scratch, ding, dent, or pit that exceeds 0.050 in. (1.27 mm) depth on crankshaft inner diameter
bore
•
If run-out exceeds 0.005 in. (0.127 mm) Total Indicator Reading (TIR)
Findings/Comments:

