5 REGISTERING FROM COMMAND CENTER
62 Managing Templates
-
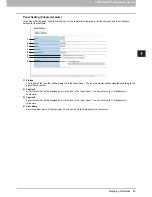
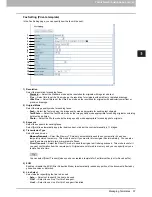
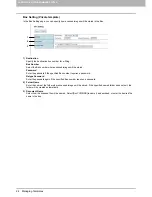
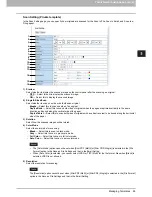
JPEG
— Select this to save scanned images as JPEG files.
If the Forced Encryption setting is enabled, only the PDF (Multi) and the PDF (Single) are selectable for a file
format. For the Forced Encryption function, refer to the
MFP Management Guide
.
Files saved in an XPS format can be used in Windows Vista, or Windows XP SP2, Windows Server 2003 SP1
or later versions with Net Framework 3.0 installed.
2) Encryption
Set this for encrypting PDF files if you have selected [PDF (Multi)] or [PDF (Single)] in the File Format setting.
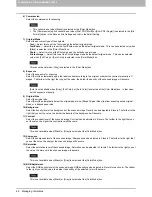
Encryption
Select this if you want to encrypt PDF files.
User Password
Enter a password for opening encrypted PDF files.
Master Password
Enter a password for changing the Encrypt PDF setting.
If the Forced Encryption setting is enabled, you cannot clear the [Encryption] check box. For the Forced
Encryption function, refer to the
MFP Management Guide
.
The user password is set to “12345” at our factory. Ask the administrator for resetting master password.
Passwords must be from 1 to 32 one-byte alphanumeric characters.
The user password must differ from the master password.
These passwords can be re-entered only by an authorized user. Users cannot change the settings of the
[Encryption Level] box and the [Authority] box noted below if they are not authorized to change the master
password. Ask the administrator for resetting these passwords.
For the details of the encryption setting, refer to the
MFP Management Guide
.
Encryption Level
Select the desired encryption level.
-
40-bit RC4
— Select this to set an encryption level to the one compatible with Acrobat 3.0, PDF V1.1.
-
128-bit RC4
— Select this to set an encryption level to the one compatible with Acrobat 5.0, PDF V1.4.
-
128-bit AES
— Select this to set an encryption level to the one compatible with Acrobat 7.0, PDF V1.6.
Authority
Select the desired types of authority for Encrypt PDF.
-
Printing
— Press this to authorize users to print documents.
-
Change of Documents
— Press this to authorize users to change documents.
-
Content Copying or Extraction
— Press this to authorize users to copy and extract the contents of documents.
-
Content Extraction for accessibility
— Press this to enable the accessibility feature.
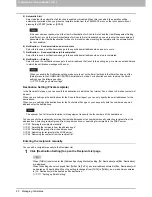
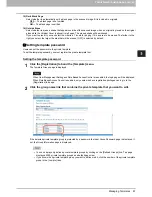
3) Destination — Use local folder
Select this to save a scanned file to the “FILE_SHARE” folder.
This option cannot be selected when the [Save to USB Media] option is selected.
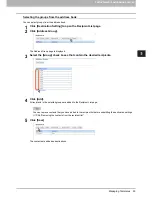
4) Destination — Save to USB Media
Select this to save a scanned file to the USB media.
This option cannot be selected when the [Use local folder] option is selected.
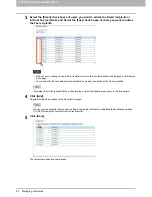
This equipment has two USB connectors. All connectors can be used to store the data. However, if both USB
media are connected, the data will be stored in the first one.
Storing to the USB media may take some time depending on the number of pages.
Summary of Contents for TASKalfa 550c
Page 1: ...MULTIFUNCTIONAL DIGITAL SYSTEMS COMMAND CENTER Guide ...
Page 2: ... 2008 KYOCERA MITA Corporation All rights reserved ...
Page 4: ......
Page 8: ...6 CONTENTS ...
Page 16: ...1 OVERVIEW 14 Accessing COMMAND CENTER End User Mode 10 The COMMAND CENTER web site appears ...
Page 96: ......
Page 298: ...7 COMMAND CENTER ADMINISTRATOR MODE 296 Setting up User Management ...
Page 331: ......
Page 332: ...First edition 2009 5 ...


