5 REGISTERING FROM COMMAND CENTER
50 Managing Templates
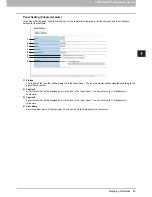
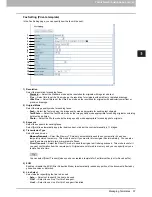
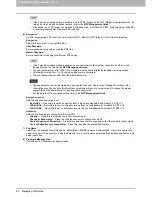
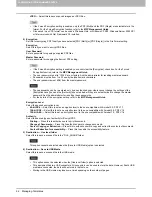
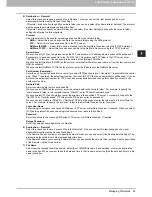
5) Automatic Start
Select whether the automatic start function is enabled or disabled. When this is enabled, the operation will be
automatically started when you press the template button from the TEMPLATE menu on the touch panel without
pressing the [START] button or [SCAN].
If the user names or passwords of the User Authentication for Scan to E-mail and the User Management Setting
are different, or only the User Authentication for Scan to E-mail is enabled, you need to enter the user name and
password of the User Authentication for Scan to E-mail also when recalling the template with the automatic start
function enabled.
6) Notification — Send email when an error occurs
Select this to send a notification message to the specified email address when an error occurs.
7) Notification — Send email when job is completed
Select this to send a notification message to the specified email address when a job is completed.
8) Notification — Email to
Select to send the notification message to the email address that is set to the public group, or enter an email address
to which the notification message will be sent.
When you enable the Notification setting, make sure to set up the Email settings in the [Email] submenu of the
[Setup] menu in the COMMAND CENTER Administrator’s mode. For instructions on how to set up the Email
settings, see the following section.
P.170 “Setting up Email settings”
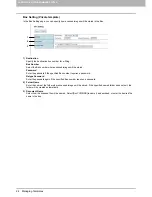
Destination Setting (Private template)
In the Recipient List page, you can specify the destinations to which the fax, Internet Fax, or Scan to Email document will
be sent.
When you are setting up the destinations for the Scan to Email agent, you can only specify the email addresses for the
destinations.
When you are setting up the destinations for the Fax/Internet Fax agent, you can specify both fax numbers and email
addresses for the destinations.
The optional Fax Unit must be installed in this equipment to specify the fax numbers of the destinations.
You can specify the recipients by entering their email addresses or fax numbers manually, selecting recipients from the
address book, selecting recipient groups from the address book, or searching for recipients in the LDAP server.
P.50 “Entering the recipients manually”
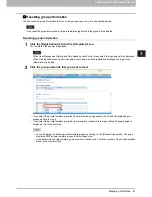
P.51 “Selecting the recipients from the address book”
P.53 “Selecting the groups from the address book”
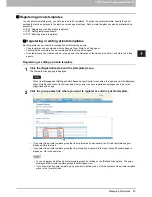
P.54 “Searching for recipients in the LDAP server”
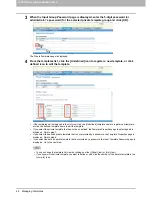
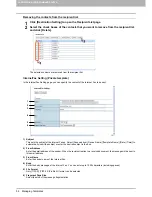
P.56 “Removing the contacts from the recipient list”
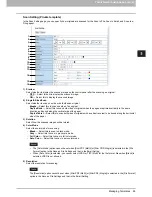
Entering the recipients manually
You can add a recipient manually to the Recipient List.
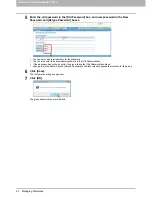
1
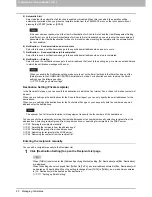
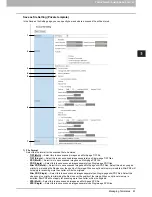
Click [Destination Setting] to open the Recipient List page.
When [To/Bcc] is selected for the [Address Specifying Method] setting, [To: Destination] and [Bcc: Destination]
are displayed.
When the setting above is changed from [To/Bcc] to [To/Cc], an e-mail address entered in [Bcc: Destination] will
be treated as Cc destination. When the setting is changed from [To/Cc] to [To/Bcc], an e-mail address entered
in [Cc: Destination] will be treated as Bcc destination.
P.171 “Setting up Email Setting”
Summary of Contents for TASKalfa 550c
Page 1: ...MULTIFUNCTIONAL DIGITAL SYSTEMS COMMAND CENTER Guide ...
Page 2: ... 2008 KYOCERA MITA Corporation All rights reserved ...
Page 4: ......
Page 8: ...6 CONTENTS ...
Page 16: ...1 OVERVIEW 14 Accessing COMMAND CENTER End User Mode 10 The COMMAND CENTER web site appears ...
Page 96: ......
Page 298: ...7 COMMAND CENTER ADMINISTRATOR MODE 296 Setting up User Management ...
Page 331: ......
Page 332: ...First edition 2009 5 ...

