


Appendix G: PX Models with Residual Current Monitoring
584
Setting RCM Thresholds
The inletSensorConfigurationTable contains a row for configuring RCM
thresholds. Use index
sensorType
= 26 to reference the row. Columns
inletSensorUpperWarningThreshold
,
inletSensorUpperCriticalThreshold
and
inletSensorHysteresis
set values for RCM warning, critical and
deassertion hysteresis respectively.
Note: The PX triggers events when residual current values are above
(but not equal to) thresholds. For example, you would set the critical
threshold to 29mA to specify the IEC 62020 I
Δ
n of 30mA. See
Compliance with IEC 62020
(on page 573).
Running RCM Self-Test
To initiate RCM self-test using SNMP, set column
rcmState
to value 29
in table
rcmSelfTestTable
.
CLI Operations for RCM
For information on using the CLI, see
Using the Command Line
Interface
(on page 341).
Showing Residual Current Monitor Information
This command syntax shows the residual current monitoring (RCM)
information, which is only available on the models with RCM. The
information displayed include the RCM current, state and thresholds.
#
show residualCurrentMonitor <n>
Variables:
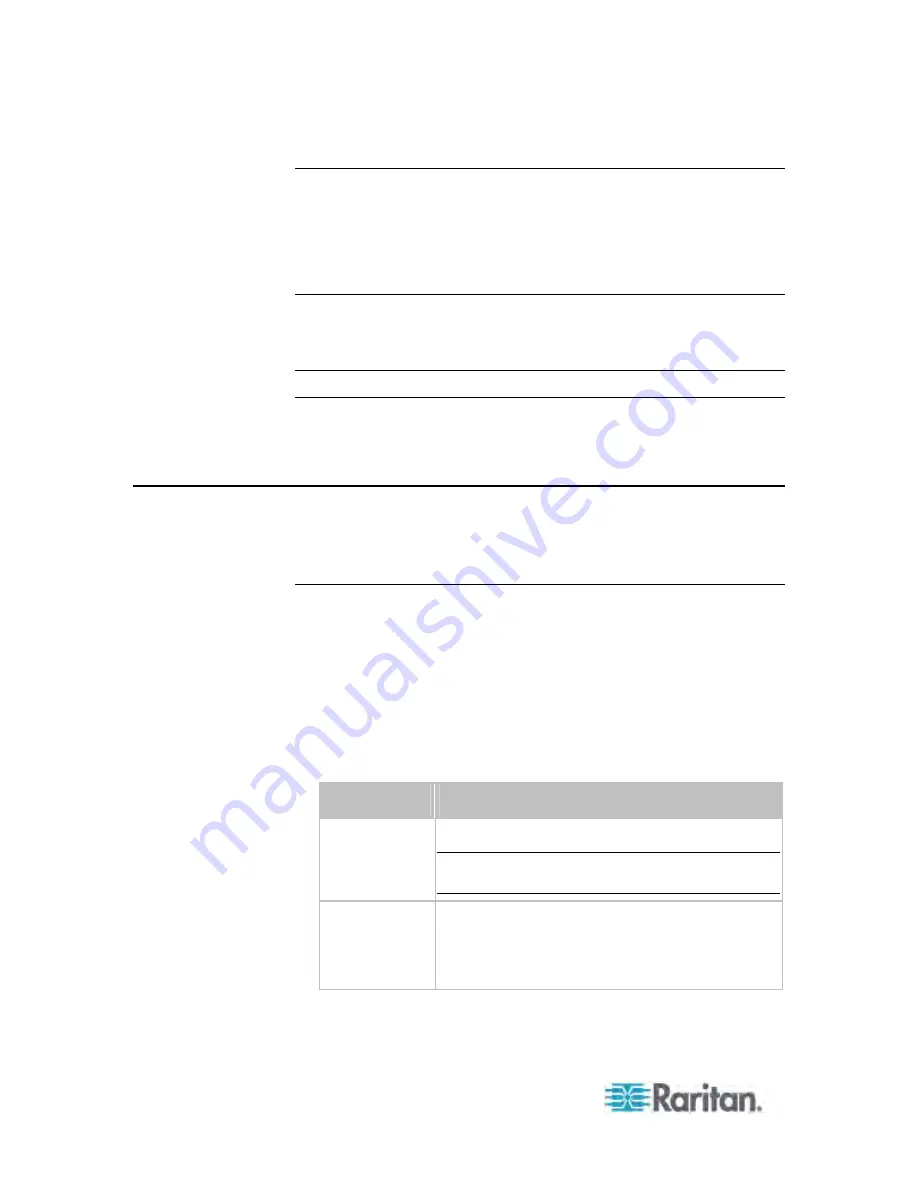
<n> is one of the options:
all
, or a number.
Option
Description
all
Displays the RCM information of all inlets.
Tip: You can also type the command without
adding this option "all" to get the same data.
A specific inlet
number
Displays the RCM information of the specified inlet
only.
An inlet number needs to be specified only when
there are more than 1 inlet on your PDU.
Содержание PX3-4000 series
Страница 5: ......
Страница 350: ...Chapter 6 Using the Web Interface 329 10 To print the currently selected topic click the Print this page icon...
Страница 615: ...Appendix H LDAP Configuration Illustration 594 5 Click OK The PX_Admin role is created 6 Click Close to quit the dialog...
Страница 627: ...Appendix I RADIUS Configuration Illustration 606 Note If your PX uses PAP then select PAP...
Страница 628: ...Appendix I RADIUS Configuration Illustration 607 10 Select Standard to the left of the dialog and then click Add...
Страница 629: ...Appendix I RADIUS Configuration Illustration 608 11 Select Filter Id from the list of attributes and click Add...
Страница 632: ...Appendix I RADIUS Configuration Illustration 611 14 The new attribute is added Click OK...
Страница 633: ...Appendix I RADIUS Configuration Illustration 612 15 Click Next to continue...
Страница 648: ...Appendix J Integration 627 3 Click OK...
Страница 661: ...Appendix J Integration 640 2 Launch dcTrack to import the spreadsheet file...


