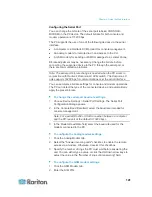


Chapter 6: Using the Web Interface
155
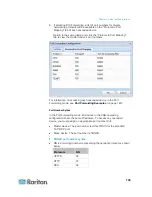
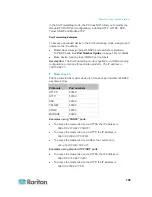
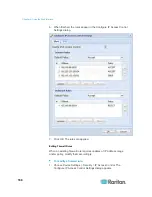
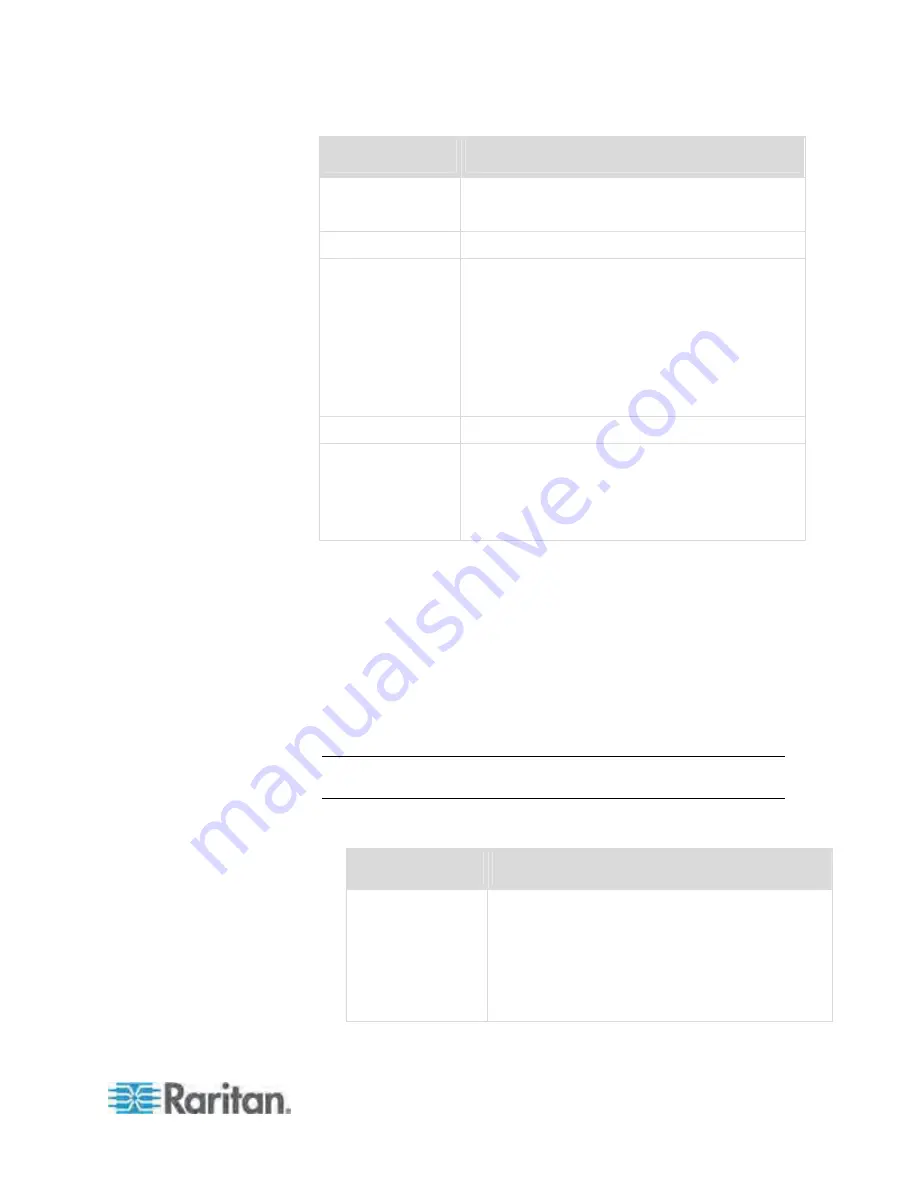
Field
Type this...
It is case sensitive.
Spaces are NOT permitted
Full Name
The user's first and last names.
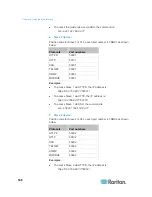
Password,
Confirm Password
The password the user enters to log in. Type it
first in the Password field and then again in the
Confirm Password field.
The password can be 4 to 64 characters
long.
It is case sensitive.
Spaces are permitted.
Telephone Number A phone number where the user can be reached.
eMail Address
An email address where the user can be reached.
The email can be up to 64 characters
long.
It is case sensitive.
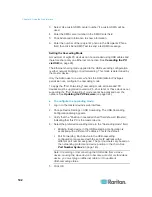
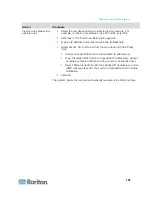
4. Select the Enabled checkbox. This is required so the user can log in
to the PX device.
5. Select the "Force password change on next login" checkbox if you
prefer a password change by the user when the user logs in for the
first time after this checkbox is enabled.
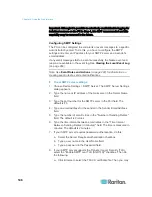
6. Click the SNMPv3 tab to set the SNMPv3 access permission. The
permission is disabled by default.
a. To permit the SNMPv3 access by this user, select the "Enable
SNMPv3 access" checkbox. Otherwise, leave the checkbox
disabled.
Note: The SNMPv3 protocol must be enabled for SNMPv3 access.
See
Configuring SNMP Settings
(on page 130).
b. Set up SNMPv3 parameters if enabling the SNMPv3 access
permission.
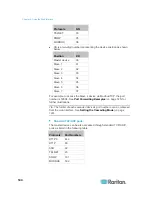
Field
Description
Security Level
Click the drop-down arrow to select a preferred
security level from the list:
NoAuthNoPriv: No authentication and no
privacy.
AuthNoPriv: Authentication and no
privacy.
Содержание PX3-4000 series
Страница 5: ......
Страница 350: ...Chapter 6 Using the Web Interface 329 10 To print the currently selected topic click the Print this page icon...
Страница 615: ...Appendix H LDAP Configuration Illustration 594 5 Click OK The PX_Admin role is created 6 Click Close to quit the dialog...
Страница 627: ...Appendix I RADIUS Configuration Illustration 606 Note If your PX uses PAP then select PAP...
Страница 628: ...Appendix I RADIUS Configuration Illustration 607 10 Select Standard to the left of the dialog and then click Add...
Страница 629: ...Appendix I RADIUS Configuration Illustration 608 11 Select Filter Id from the list of attributes and click Add...
Страница 632: ...Appendix I RADIUS Configuration Illustration 611 14 The new attribute is added Click OK...
Страница 633: ...Appendix I RADIUS Configuration Illustration 612 15 Click Next to continue...
Страница 648: ...Appendix J Integration 627 3 Click OK...
Страница 661: ...Appendix J Integration 640 2 Launch dcTrack to import the spreadsheet file...


