


Appendix C: Bulk Configuration or Firmware Upgrade via DHCP/TFTP
542
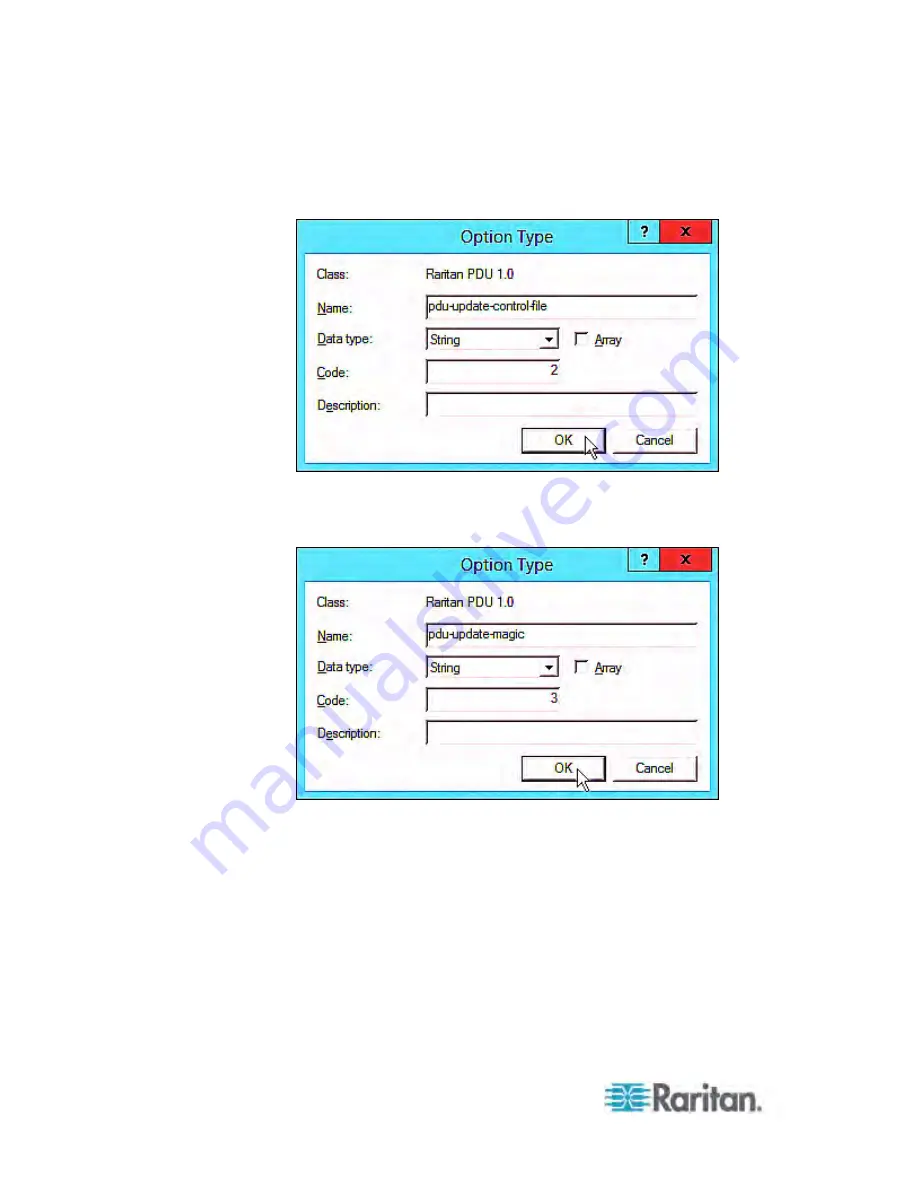
d. Click Add to add the second option. Type
"pdu-update-control-file" in the Name field, select String as the
data type, and type 2 in the Code field.
e. Click Add to add the third one. Type "pdu-update-magic" in the
Name field, select String as the data type, and type 3 in the
Code field.
3. Configure server options associated with the "Raritan PDU 1.0"
vendor class.
a. Right-click the Server Options node under IPv6 to select
Configure Options.
b. Click the Advanced tab.
Содержание PX3-4000 series
Страница 5: ......
Страница 350: ...Chapter 6 Using the Web Interface 329 10 To print the currently selected topic click the Print this page icon...
Страница 615: ...Appendix H LDAP Configuration Illustration 594 5 Click OK The PX_Admin role is created 6 Click Close to quit the dialog...
Страница 627: ...Appendix I RADIUS Configuration Illustration 606 Note If your PX uses PAP then select PAP...
Страница 628: ...Appendix I RADIUS Configuration Illustration 607 10 Select Standard to the left of the dialog and then click Add...
Страница 629: ...Appendix I RADIUS Configuration Illustration 608 11 Select Filter Id from the list of attributes and click Add...
Страница 632: ...Appendix I RADIUS Configuration Illustration 611 14 The new attribute is added Click OK...
Страница 633: ...Appendix I RADIUS Configuration Illustration 612 15 Click Next to continue...
Страница 648: ...Appendix J Integration 627 3 Click OK...
Страница 661: ...Appendix J Integration 640 2 Launch dcTrack to import the spreadsheet file...


