


Chapter 2: Rack-Mounting the PDU
4
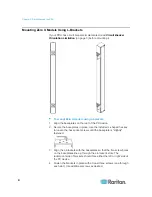
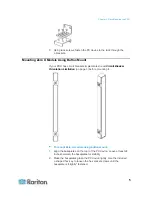
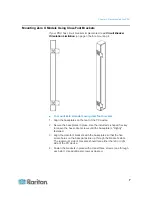
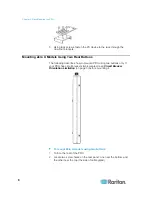
Mounting Zero U Models Using L-Brackets
If your PDU has circuit breakers implemented, read
Circuit Breaker
Orientation Limitation
(on page 3) before mounting it.
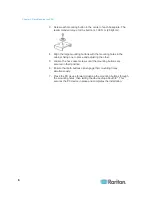
To mount Zero U models using L-brackets:
1. Align the baseplates on the rear of the PX device.
2. Secure the baseplates in place. Use the included L-shaped hex key
to loosen the hex socket screws until the baseplate is "slightly"
fastened.
3. Align the L-brackets with the baseplates so that the five screw-holes
on the baseplates line up through the L-bracket's slots. The
rackmount side of brackets should face either the left or right side of
the PX device.
4. Fasten the brackets in place with at least three screws (one through
each slot). Use additional screws as desired.
Содержание PX3-4000 series
Страница 5: ......
Страница 350: ...Chapter 6 Using the Web Interface 329 10 To print the currently selected topic click the Print this page icon...
Страница 615: ...Appendix H LDAP Configuration Illustration 594 5 Click OK The PX_Admin role is created 6 Click Close to quit the dialog...
Страница 627: ...Appendix I RADIUS Configuration Illustration 606 Note If your PX uses PAP then select PAP...
Страница 628: ...Appendix I RADIUS Configuration Illustration 607 10 Select Standard to the left of the dialog and then click Add...
Страница 629: ...Appendix I RADIUS Configuration Illustration 608 11 Select Filter Id from the list of attributes and click Add...
Страница 632: ...Appendix I RADIUS Configuration Illustration 611 14 The new attribute is added Click OK...
Страница 633: ...Appendix I RADIUS Configuration Illustration 612 15 Click Next to continue...
Страница 648: ...Appendix J Integration 627 3 Click OK...
Страница 661: ...Appendix J Integration 640 2 Launch dcTrack to import the spreadsheet file...


