


Chapter 6: Using the Web Interface
306
Viewing Webcam Snapshots or Videos
You can switch between snapshots or live videos being captured by a
webcam.
The snapshot or video is displayed either in the PX web interface or in a
Primary Standalone Live Preview window that you open.
You can open a maximum of five Primary Standalone Live Preview
windows.
Note: For remote Live Preview sessions, such as those accessed via a
link in an email or instant message, a total of up to three (3)
simultaneous Live Preview sessions are supported at a time. One (1)
from the originator in the PX interface, and up to two (2) remote sessions.
See
Sending Snapshots or Videos in an Email or Instant Message
(on page 308).
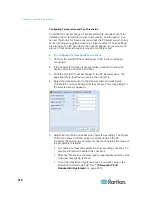
To switch between snapshot and video modes:
1. Click the desired webcam's icon in the navigation tree.
Snapshots or videos captured by the webcam are displayed in the
right pane of the PX web interface once a webcam is selected in the
navigation tree.
Snapshots and videos can also be displayed in Live Preview mode in
the Primary Standalone Live Preview window by clicking on the Live
Preview icon
.
Note: All Live Preview sessions sharing the same URL, including one
Primary Standalone Live Preview window and two associated remote
sessions, are identified as one single "<webcam>" user in the
Connected Users dialog. You can disconnect a "<webcam>" user
from this dialog to terminate a specific Primary Standalone Live
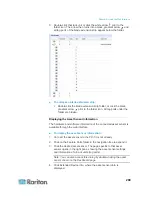
Preview window and all of its remote sessions. See
Viewing
Connected Users
(on page 271).
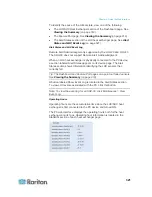
2. By default the PX enters the snapshot mode. Wait around one
minute for the snapshot to appear.
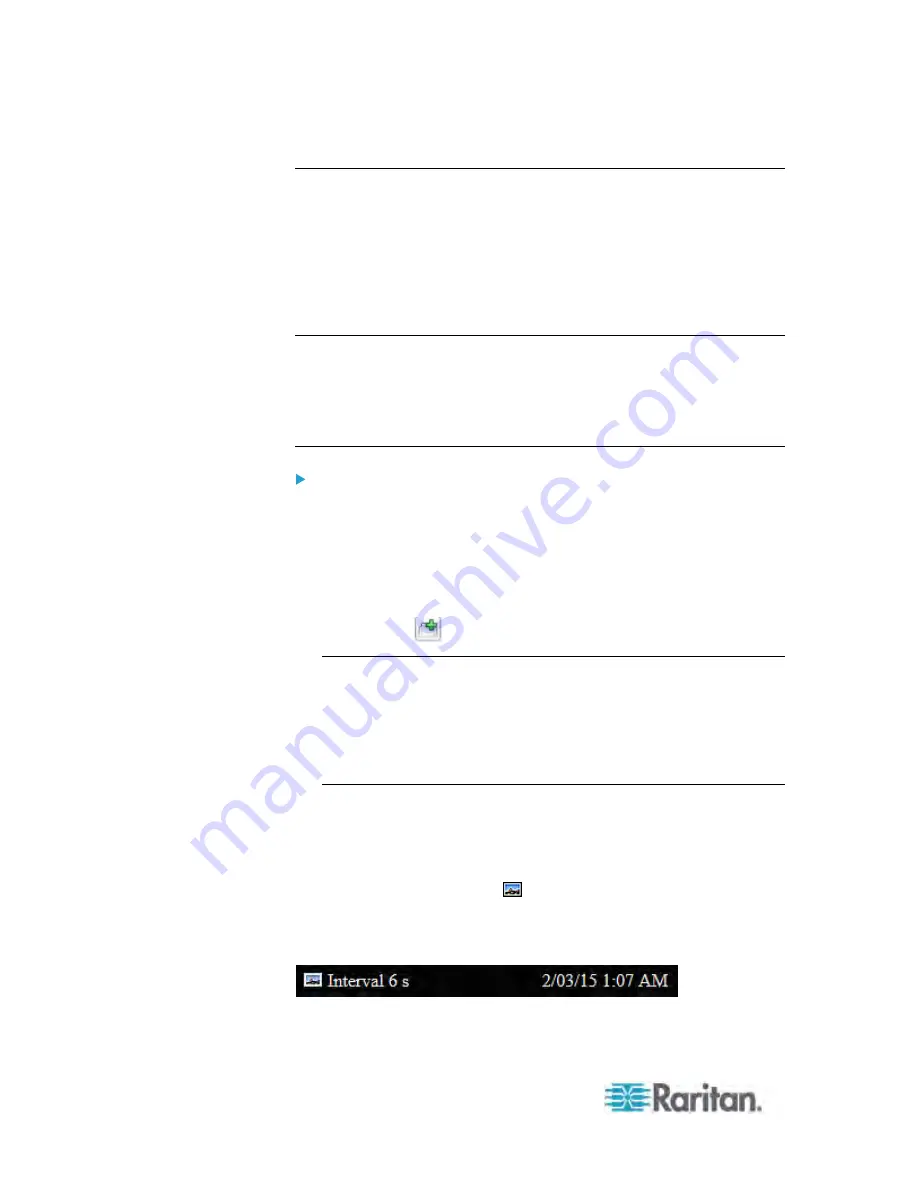
In the snapshot mode, three pieces of information are displayed on
the top of the image:
A snapshot mode icon
.
The interval time between snapshots (in seconds).
A time stamp.
Содержание PX3-4000 series
Страница 5: ......
Страница 350: ...Chapter 6 Using the Web Interface 329 10 To print the currently selected topic click the Print this page icon...
Страница 615: ...Appendix H LDAP Configuration Illustration 594 5 Click OK The PX_Admin role is created 6 Click Close to quit the dialog...
Страница 627: ...Appendix I RADIUS Configuration Illustration 606 Note If your PX uses PAP then select PAP...
Страница 628: ...Appendix I RADIUS Configuration Illustration 607 10 Select Standard to the left of the dialog and then click Add...
Страница 629: ...Appendix I RADIUS Configuration Illustration 608 11 Select Filter Id from the list of attributes and click Add...
Страница 632: ...Appendix I RADIUS Configuration Illustration 611 14 The new attribute is added Click OK...
Страница 633: ...Appendix I RADIUS Configuration Illustration 612 15 Click Next to continue...
Страница 648: ...Appendix J Integration 627 3 Click OK...
Страница 661: ...Appendix J Integration 640 2 Launch dcTrack to import the spreadsheet file...


