Chapter 8: Using the Command Line Interface
393
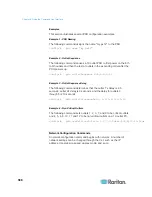
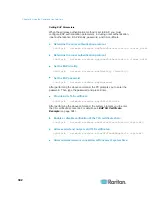
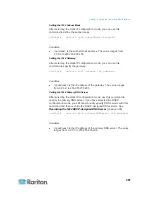
config:#
network wireless allowConnectionWithIncorrectClock <option3>
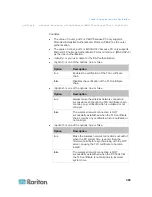
Variables:
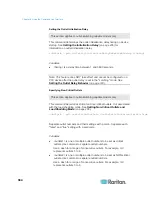
The value of <outer_auth> is
PEAP
because PX only supports
Protected Extensible Authentication Protocol (PEAP) as the outer
authentication.
The value of <inner_auth> is
MSCHAPv2
because PX only supports
Microsoft's Challenge Authentication Protocol Version 2 (MSCHAPv2)
as the inner authentication.
<identity> is your user name for the EAP authentication.
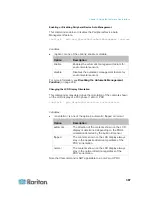
<option1> is one of the options:
true
or
false
.
Option
Description
true
Enables the verification of the TLS certificate
chain.
false
Disables the verification of the TLS certificate
chain.
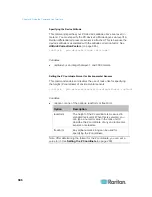
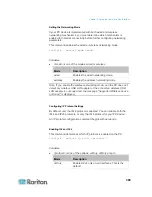
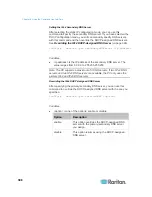
<option2> is one of the options:
true
or
false
.
Option
Description
true
Always make the wireless network connection
successful even though the TLS certificate chain
contains any certificate which is outdated or not
valid yet.
false
The wireless network connection is NOT
successfully established when the TLS certificate
chain contains any certificate which is outdated or
not valid yet.
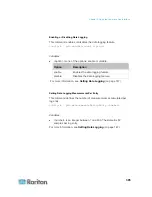
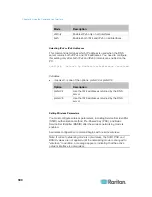
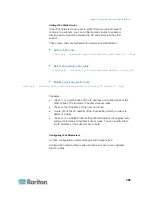
<option3> is one of the options:
true
or
false
.
Option
Description
true
Make the wireless network connection successful
when the PX system time is earlier than the
firmware build before synchronizing with the NTP
server, causing the TLS certificate to become
invalid.
false
The wireless network connection is NOT
successfully established when the PX finds that
the TLS certificate is not valid due to incorrect
system time.
Содержание PX3-4000 series
Страница 5: ......
Страница 350: ...Chapter 6 Using the Web Interface 329 10 To print the currently selected topic click the Print this page icon...
Страница 615: ...Appendix H LDAP Configuration Illustration 594 5 Click OK The PX_Admin role is created 6 Click Close to quit the dialog...
Страница 627: ...Appendix I RADIUS Configuration Illustration 606 Note If your PX uses PAP then select PAP...
Страница 628: ...Appendix I RADIUS Configuration Illustration 607 10 Select Standard to the left of the dialog and then click Add...
Страница 629: ...Appendix I RADIUS Configuration Illustration 608 11 Select Filter Id from the list of attributes and click Add...
Страница 632: ...Appendix I RADIUS Configuration Illustration 611 14 The new attribute is added Click OK...
Страница 633: ...Appendix I RADIUS Configuration Illustration 612 15 Click Next to continue...
Страница 648: ...Appendix J Integration 627 3 Click OK...
Страница 661: ...Appendix J Integration 640 2 Launch dcTrack to import the spreadsheet file...

