


Chapter 6: Using the Web Interface
294
Disabling the Automatic Management Function
The factory default is to enable the automatic management feature for
environmental sensors and actuators. Therefore, when the total number
of managed sensors and actuators has not reached 32 yet, the PX
automatically brings newly-connected environmental sensors and
actuators under management after detecting them.
When this feature is disabled, the PX no longer automatically manages
any newly-detected environmental sensors and actuators, and therefore
neither ID numbers are assigned nor sensor readings or states are
available for newly-added ones.
To disable the automatic management feature:
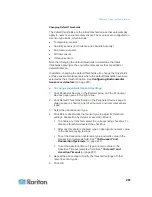
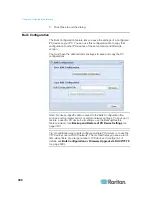
1. Click the PDU folder.
Note: The folder is named "my PX" by default. The name can be
customized.
2. Click Setup in the Settings section. The Pdu Setup dialog appears.
3. Deselect the Peripheral Device Auto Management checkbox.
4. Click OK.
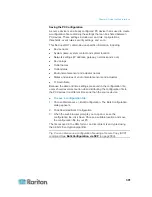
Controlling Actuators
If you have any DX sensor packages with actuators connected, which
can move or control a mechanism or system, you can remotely turn on or
off the actuators to control the connected mechanism or system.
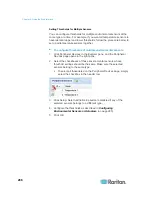
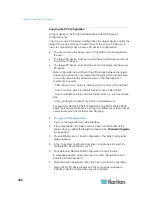
To turn on or off an individual actuator:
1. Expand the Peripheral Devices folder. See
Expanding the Tree
(on
page 100).
2. Click the desired actuator from the navigation tree. That actuator's
page opens in the right pane.
3. Click "Switch on" to turn on the actuator, or "Switch off" to turn it off.
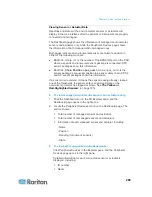
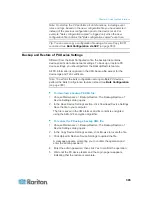
To turn on or off multiple actuators:
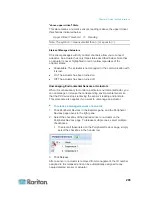
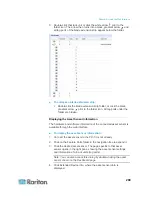
1. Click Peripheral Devices in the Explorer pane, and the Peripheral
Devices page opens in the right pane.
2. Select the checkboxes of the desired actuators on the Peripheral
Devices page.
Tip: An actuator is indicated with the icon
displayed in the
'Actuator' column.
Содержание PX3-4000 series
Страница 5: ......
Страница 350: ...Chapter 6 Using the Web Interface 329 10 To print the currently selected topic click the Print this page icon...
Страница 615: ...Appendix H LDAP Configuration Illustration 594 5 Click OK The PX_Admin role is created 6 Click Close to quit the dialog...
Страница 627: ...Appendix I RADIUS Configuration Illustration 606 Note If your PX uses PAP then select PAP...
Страница 628: ...Appendix I RADIUS Configuration Illustration 607 10 Select Standard to the left of the dialog and then click Add...
Страница 629: ...Appendix I RADIUS Configuration Illustration 608 11 Select Filter Id from the list of attributes and click Add...
Страница 632: ...Appendix I RADIUS Configuration Illustration 611 14 The new attribute is added Click OK...
Страница 633: ...Appendix I RADIUS Configuration Illustration 612 15 Click Next to continue...
Страница 648: ...Appendix J Integration 627 3 Click OK...
Страница 661: ...Appendix J Integration 640 2 Launch dcTrack to import the spreadsheet file...


