


Chapter 6: Using the Web Interface
135
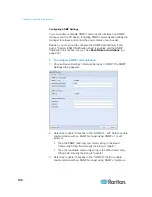
To use the DHCP-assigned NTP servers, make sure the
"Always use the servers below and ignore DHCP-provided
servers" checkbox is deselected. This method is usable only
when either IPv4 or IPv6 DHCP is enabled.
To use the NTP servers that are manually specified, select
the "Always use the servers below and ignore
DHCP-provided servers" checkbox, and specify the primary
NTP server in the First Time Server field. A secondary NTP
server is optional.
You may click Check NTP Servers to verify the validity and
accessibility of the specified NTP servers.
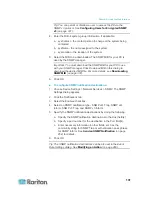
Note: If the PX device's IP address is assigned through IPv4 or IPv6
DHCP, the NTP servers can be automatically discovered. When this
occurs, the data you entered in the fields of First and Second Time
Server will be overridden.
5. Click OK.
The PX follows the NTP server sanity check per the IETF RFC. If your
PX has problems synchronizing with a Windows NTP server, see
Windows NTP Server Synchronization Solution
(on page 137).
Note: If you are using Raritan's Power IQ to manage the PX, you must
configure Power IQ and the PX to have the same date/time or NTP
settings.
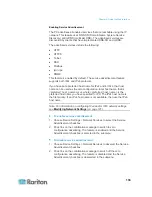
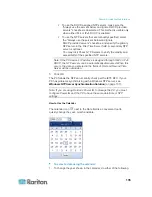
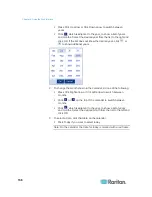
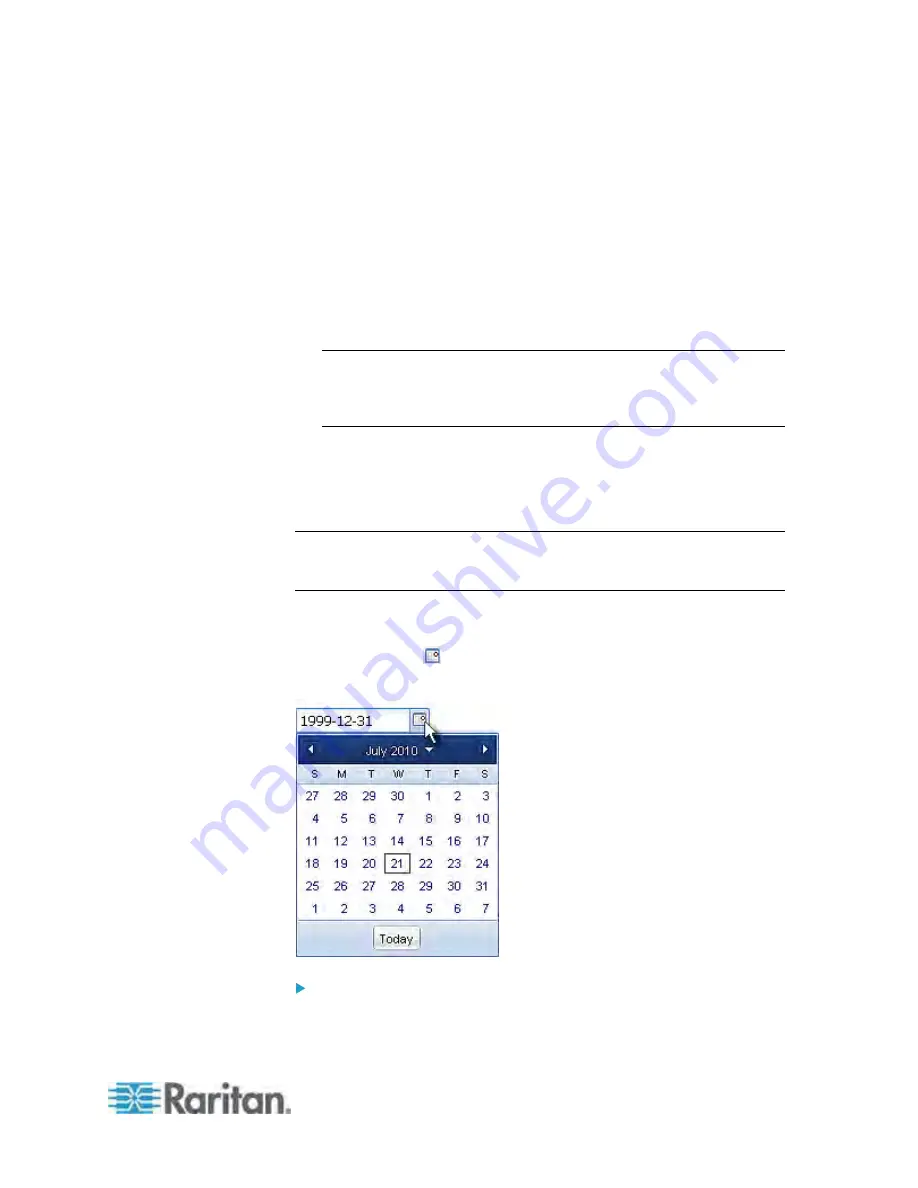
How to Use the Calendar
The calendar icon
next to the Date field is a convenient tool to
quickly change the year, month and date.
To select a date using the calendar:
1. To change the year shown in the calendar, do either of the following:
Содержание PX3-4000 series
Страница 5: ......
Страница 350: ...Chapter 6 Using the Web Interface 329 10 To print the currently selected topic click the Print this page icon...
Страница 615: ...Appendix H LDAP Configuration Illustration 594 5 Click OK The PX_Admin role is created 6 Click Close to quit the dialog...
Страница 627: ...Appendix I RADIUS Configuration Illustration 606 Note If your PX uses PAP then select PAP...
Страница 628: ...Appendix I RADIUS Configuration Illustration 607 10 Select Standard to the left of the dialog and then click Add...
Страница 629: ...Appendix I RADIUS Configuration Illustration 608 11 Select Filter Id from the list of attributes and click Add...
Страница 632: ...Appendix I RADIUS Configuration Illustration 611 14 The new attribute is added Click OK...
Страница 633: ...Appendix I RADIUS Configuration Illustration 612 15 Click Next to continue...
Страница 648: ...Appendix J Integration 627 3 Click OK...
Страница 661: ...Appendix J Integration 640 2 Launch dcTrack to import the spreadsheet file...