


Chapter 9: In-Line Monitors
510
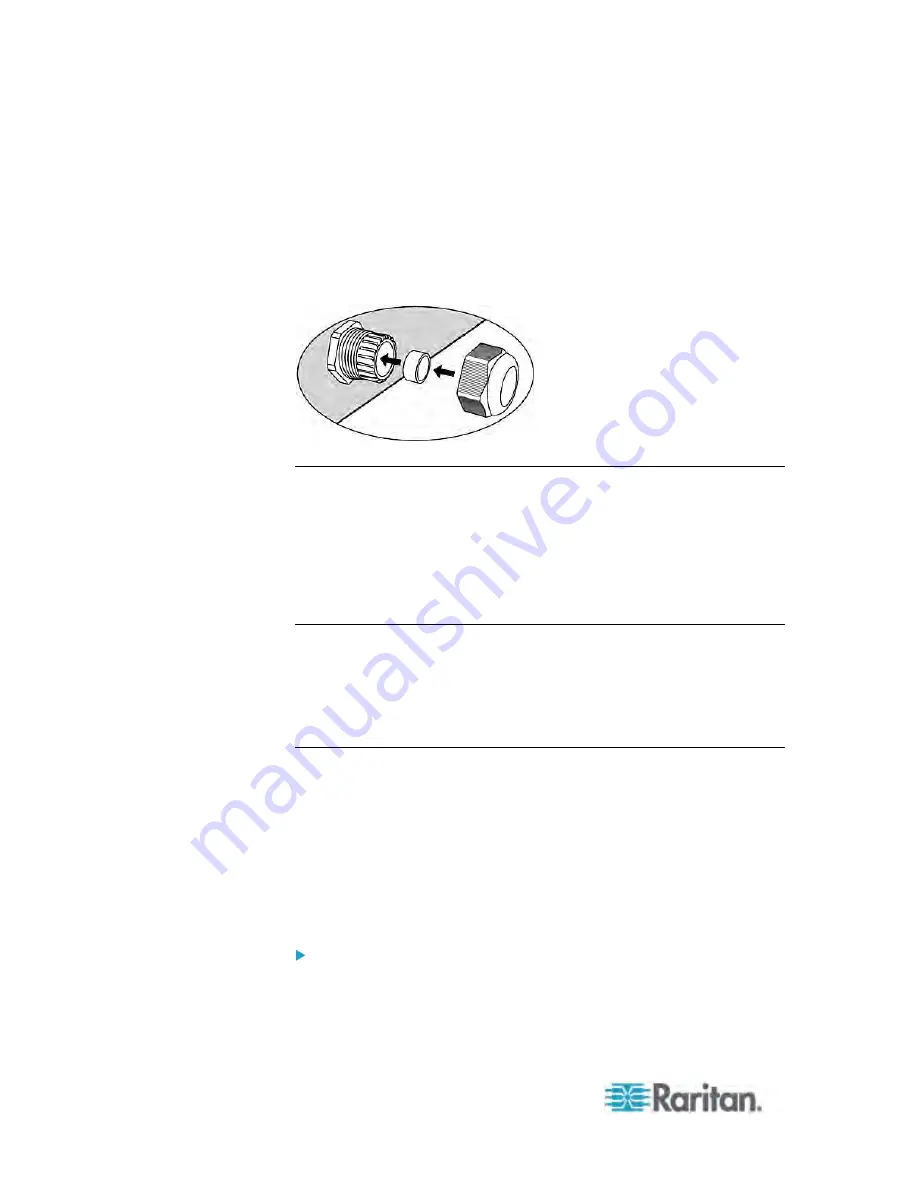
4. The flexible cord must have a rated ampacity greater than or equal to
the derated ampacity. Since the new flexible cord may be smaller
diameter, a check must be performed to insure the cable gland nut,
when tightened, will securely hold the flexible cord so that it cannot
be twisted, pulled or pushed in the cable gland. A sealing ring, for
small diameter flexible cords, may have been included with the
Raritan product, or one can be requested from Raritan, to reduce the
inside diameter of the cable gland.
Wiring of 3-Phase In-Line Monitors
3-phase in-line monitors contain 4-pole wiring terminal blocks (L1, L2, L3,
N) to monitor 5-wire (4P+PE) 3-phase wye connections. Delta wired
4-wire (3P+PE) 3-phase connections are also permitted (no wire
connected to the terminal block neutral “N”). No additional hardware or
firmware configuration is required to specify whether the connection is
5-wire wye or 4-wire delta.
In-Line Monitor Unused Channels
It is not necessary to wire up all channels of multi-channel in-line
monitors. The inlet and outlet openings of unused channels must be
completely closed off. “Goof plugs” for this purpose may be a good
choice if they are available in your country or region.
Step by Step Flexible Cord Installation
The following items are required to complete the installation:
Flexible cord(s).
Insulated ring terminals (one for each wire) and appropriate crimp
tool.
Plug(s) and receptacle(s) (for in-line monitors)
Torque screwdriver, torque nut driver and torque wrench to tighten
the wiring terminal block screws, ground nut and cable gland nut.
To install a flexible cord:
1. Open the PDU's access panel (or in-line monitor top panel) to
expose the power wiring terminal block(s).
Содержание PX3-4000 series
Страница 5: ......
Страница 350: ...Chapter 6 Using the Web Interface 329 10 To print the currently selected topic click the Print this page icon...
Страница 615: ...Appendix H LDAP Configuration Illustration 594 5 Click OK The PX_Admin role is created 6 Click Close to quit the dialog...
Страница 627: ...Appendix I RADIUS Configuration Illustration 606 Note If your PX uses PAP then select PAP...
Страница 628: ...Appendix I RADIUS Configuration Illustration 607 10 Select Standard to the left of the dialog and then click Add...
Страница 629: ...Appendix I RADIUS Configuration Illustration 608 11 Select Filter Id from the list of attributes and click Add...
Страница 632: ...Appendix I RADIUS Configuration Illustration 611 14 The new attribute is added Click OK...
Страница 633: ...Appendix I RADIUS Configuration Illustration 612 15 Click Next to continue...
Страница 648: ...Appendix J Integration 627 3 Click OK...
Страница 661: ...Appendix J Integration 640 2 Launch dcTrack to import the spreadsheet file...


