4-2
4
Phone Book
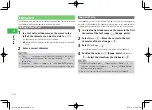
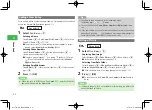
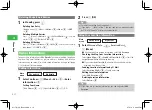
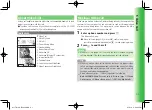
Adding a New Entry
Enter a name, phone number and email address. Storage place of Phone Book
entries can be specified beforehand (page 4-11).
Main
menu
E
Phone Book
1
Select
New Entry
→
@
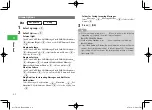
Entering a Name
Select
Name
→
@
→
Last Name
/
First Name
→
@
→
Enter a Last
Name/First Name
→
@
→
J
(OK)
●
Characters entered for name (reading for kanji) appear. To correct
reading, select
Reading-Last
/
Reading-First
.
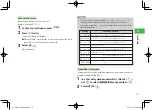
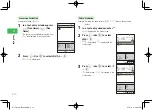
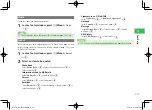
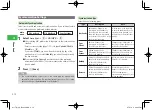
Entering Phone Numbers
Select
Phone Number
→
@
→
Enter a phone number
→
@
→
Select a phone number type
→
@
●
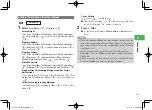
To enter a manual hyphen "-" or a pause "P" (page 14-36), press
K
(Menu) while entering a phone number and select
Manual
Hyphen
/
Pause(P)
.
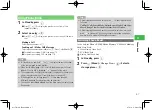
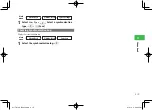
Entering Email Addresses
Select
→
@
→
Enter an email address
→
@
→
Select an email
type
→
@
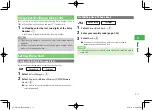
2
Press
J
(OK)
7
When you save to USIM Phone Book (page 4-11), enter both the first
name and last name in the
Name
field.
Note
7
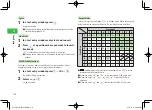
You can also save a new entry in the following method:
In Standby, press
a
B
→
j
J
(Create)
7
To save the entry, the
Name
,
Phone Number
or
needs to be
set.
7
If the same name as you enter has already been saved in the existing
Phone Book, pressing
j
J
(OK) displays a message asking whether to
overwrite the name. Select
NO
to save as a new entry.
Tip
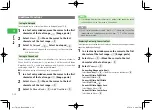
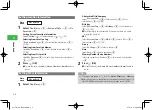
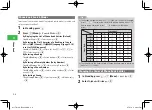
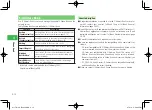
Setting a Picture
Main
menu
E
Phone Book
1
Select
New Entry
→
@
Capturing New Image
Select
Picture
→
@
→
Take Picture
→
@
→
Take a picture
→
@
●
For details on taking pictures, see page 7-6.
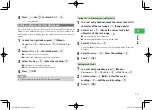
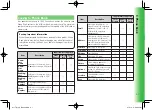
Selecting from Data Folder
Select
Picture
→
@
→
Phone Memory
/
Memory Card
→
@
→
Pictures
/
Digital Camera
→
@
→
Select a picture
→
@
●
If the selected picture is too large, change the size (page 7-22).
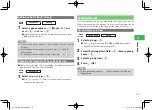
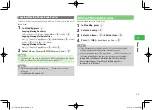
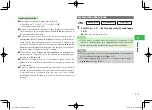
2
Press
J
(OK)
●
To save the entry, the
Name
,
Phone Number
or
needs to
be set.
7
If Property (page 10-9) is not available for forwarding, the picture file
cannot be saved as Picture.
Note
911T̲Web̲070320.indb 4-2
911T̲Web̲070320.indb 4-2
07.4.10 5:03:39 PM
07.4.10 5:03:39 PM

