7-7
7
Camer
a
7
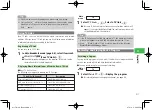
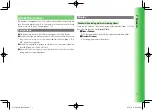
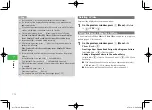
When there is not enough light, e.g. in a dark place, the picture quality
may deteriorate and white dots may appear. It is recommended to take
pictures in bright places or to use the Mobile Light.
Note
7
Pressing
r
R
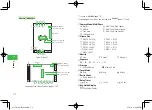
in Standby also displays the finder window.
7
If you do not operate the handset for 90 seconds or so while the finder
window is displayed, the window returns to Standby.
7
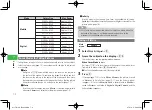
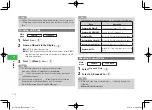
On the finder window, press
k
K
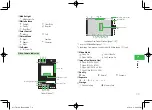
(Menu) to perform the following
(depending on the mode, some items may not appear):
P
icture Size
/
Data Folder
/
Self-view
/
Picture Mode
/
Multi Shots
/
Add Frame
/
Icons
Display
/
Save Settings
/
Picture
/
Function
7
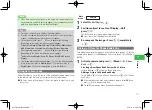
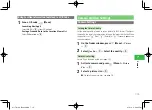
After capturing image, press
k
K
(Menu) to perform the following
(depending on the mode, some items may not appear):
S
end via
/
ScreenDisplay
/
Zoom
/
To Phone Book
/
Edit Picture
/
Storage
7
The storage place can be changed (page 7-18). You can also change the
folder for pictures taken in
Mobile
(page 7-5) or pictures taken in
Digital
(page 7-5) whose storage place is set to the handset.
Tip
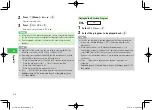
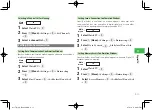
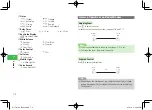
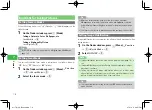
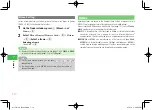
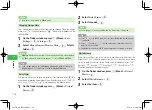
Using Auto Focus Lock
When the subject is not in the center of the viewfinder, camera cannot focus
on the subject. Lock the focus on the subject then frame the image.
●
The focus mode setting (page 7-8) must be
Auto
in order to use Auto
Focus Lock.
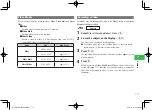
Main
menu
E
Camera
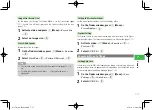
1
Select
Mobile
/
Digital
→
@
2
Position subject in center of Display
→
Half
press
H
/
R
The Focus frame turns green when subject is in focus.
●
Focus frame turns red when focus has failed.
3
Re-compose the image
→
Press
@
/
R
completely
→
@
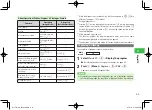
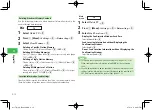
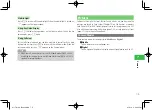
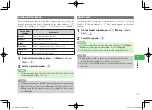
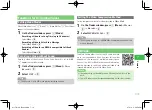
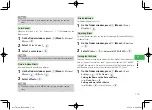
Taking a Picture for Phone Book Entry
Take a photo and save the image to a Phone Book entry (page 4-2). Set the
camera mode (page 7-5) to
Mobile
and Picture Size (page 7-6) to
W112 ×
H112
.
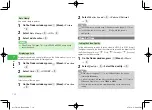
1
Activate camera and press
K
(Menu)
→
To Phone
Book
→
@
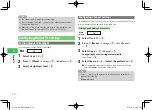
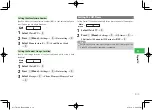
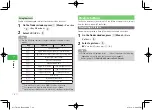
Creating a New Phone Book Entry with a Picture
Select
Add New
→
@
→
Create a Phone Book entry
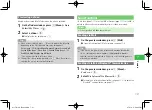
Adding a Picture to Phone Book Entry
Select
Add
→
@
→
Select a Phone Book entry
→
@
→
Edit Phone
Book entry
●
If the selected Phone Book entry contains a picture, select
YES
and
press
J
(OK) to change the picture.
●
For details on saving a Phone Book entry, see page 4-2.
911T̲Web̲070320.indb 7-7
911T̲Web̲070320.indb 7-7
07.4.10 5:03:57 PM
07.4.10 5:03:57 PM

