Garmin G1000 NXi Pilot’s Guide for the Cessna NAV III
190-02177-02 Rev. A
SY
STEM
O
VER
VIEW
FLIGHT
INSTRUMENTS
EIS
AUDIO P
ANEL
& CNS
FLIGHT
MANA
GEMENT
HAZARD
AV
OID
ANCE
AFCS
ADDITIONAL FEA
TURES
APPENDICES
INDEX
320
HAZARD AVOIDANCE
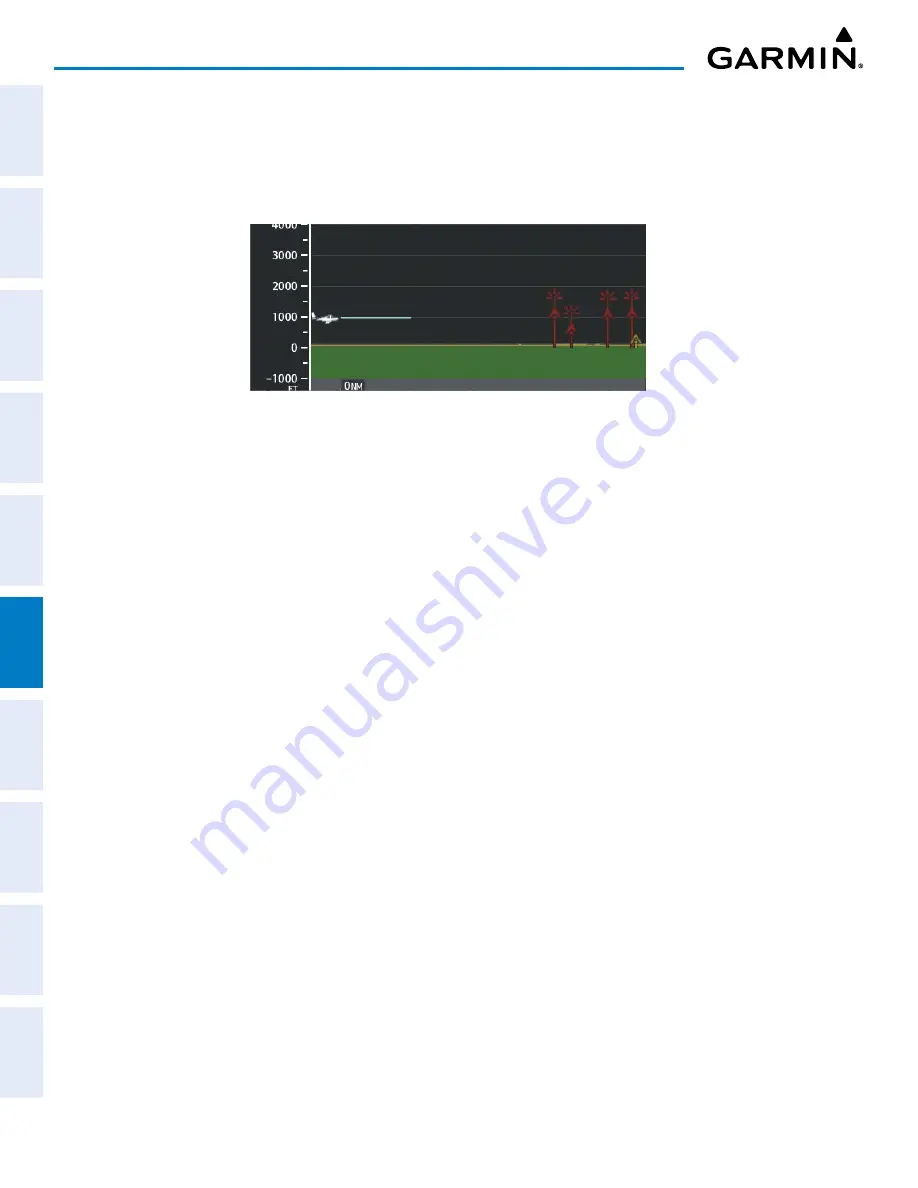
Obstacles with heights greater than 200 feet AGL appear relative to aircraft altitude along the altitude scale.
The top of the obstacle symbol on the scale represents the obstacle’s height AGL. If the obstacle’s height AGL
is higher than can be represented by the obstacle symbol itself (e.g. for especially tall obstacles), a vertical
line appears below the obstacle symbol in order to depict the top of the obstacle symbol at its height AGL, as
shown in the following figure.
Figure 6-65 VSD with Tall Obstacles
TRACK MODE BOUNDARY
The Track Mode Boundary represents the horizontal and lateral boundaries of the VSD. The boundary is
shown as a white rectangle on the ‘Map - Navigation Map’ Page and is only available when the VSD is enabled
in Track Mode. White range markers on both edges of the Track Mode Boundary rectangle match the range
markers along the distance scale inside the VSD Inset Window whenever the profile range is at least four
nautical miles (or 7.5 km if configured for metric units).
The Track Mode Boundary may be enabled/disabled, and the Navigation Map range at which the Profile
Path is removed from map display can be changed.
Customizing the Track Mode Boundary display on the ‘Map - Navigation Map’ Page:
1)
Select the ‘Map - Navigation Map’ Page.
2)
Press the
MENU
Key.
3)
With ‘Map Settings’ highlighted, press the
ENT
Key.
4)
Turn the small
FMS
Knob to select the ‘VSD’ Group and press the
ENT
Key.
5)
Turn the large
FMS
Knob or press the
ENT
Key to scroll through product selections.
•
TRK Mode BNDRY – Enables/disables the display of the Track Mode Boundary and sets maximum range at
which Track Mode Boundary is shown.
6)
Turn the small
FMS
Knob to scroll through options (On/Off range settings).
7)
Press the
ENT
Key to select an option.
8)
Push the
FMS
Knob or
CLR
Key to return to the ‘Map - Navigation Map’ Page with the changed settings.


