4-91
STAMPING SCANNED ORIGINALS (VERIFICATION STAMP)
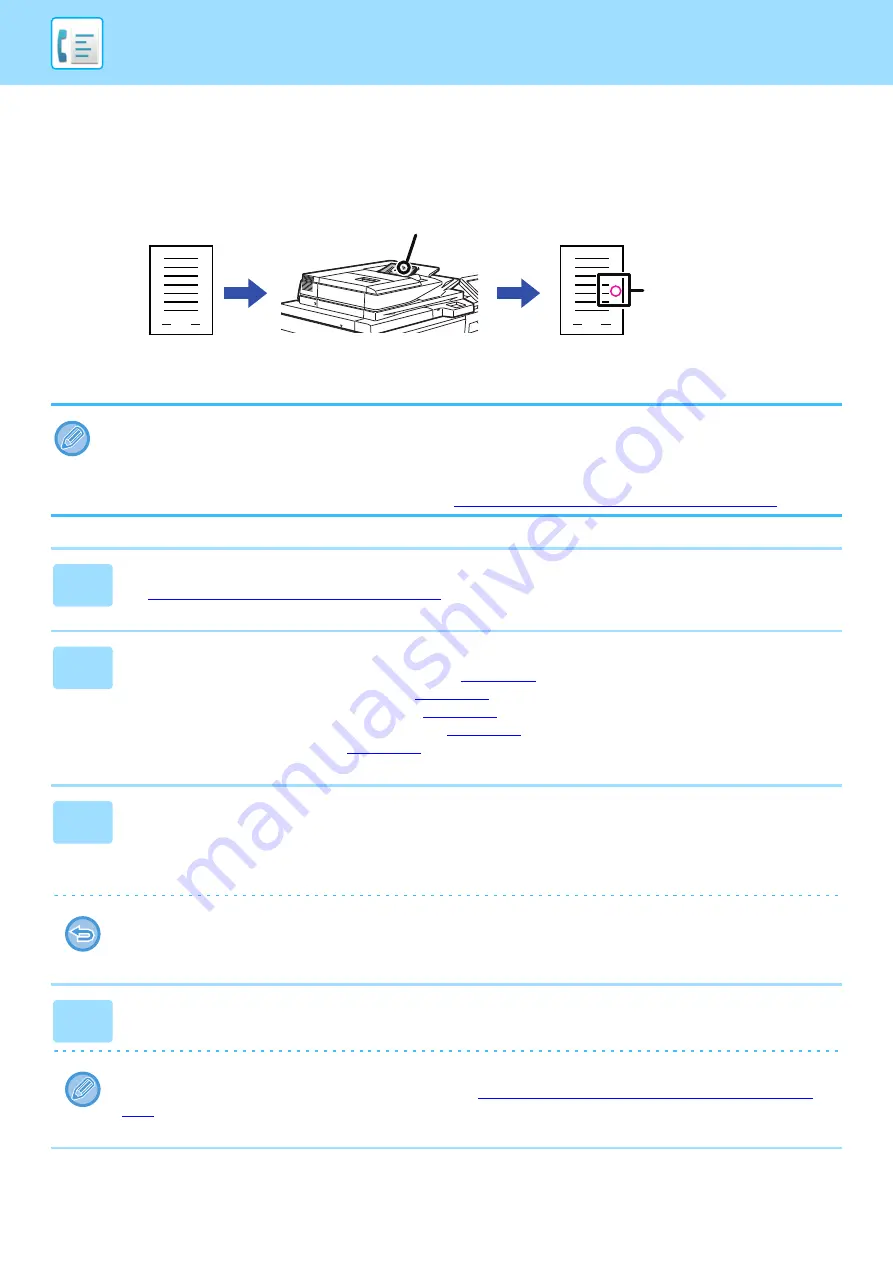
This function stamps each original that is scanned using the automatic document feeder, allowing you to verify that all
originals were correctly scanned.
• To use the verification stamp function, the optional stamp unit must be installed.
• When 2-sided originals are used, the front of each original is stamped twice.
• If an error occurs during scanning, an original that was not scanned may be stamped.
• When the "O" mark that is stamped on originals starts to become faint, replace the stamp cartridge.
For the procedure for replacing the stamp cartridge, see "
REPLACING THE STAMP CARTRIDGE (page 1-164)
1
Place originals in the automatic document feeder.
►
AUTOMATIC DOCUMENT FEEDER (page 1-89)
2
Enter the destination fax number.
• Entering a destination number using the numeric keys
• Retrieving a destination from an address book
• Using a search number to retrieve a destination
• Retrieving a destination from a global address book
• Using a transmission log to resend
3
Tap [Verification Stamp] on the action panel or [Others] key, and tap the
[Verif. Stamp] key.
The appropriate icon or checkbox is selected.
If you tap the [Others] key, tap the [Back] key after the settings have been completed.
To cancel the verification stamp setting:
Tap [Verification Stamp] on the action panel or the [Others] key, and tap [Verif. Stamp] to clear the checkmark.
4
Tap the [Start] key to start scanning of the original.
A beep will sound to indicate that scanning and transmission have ended.
When you use the automatic document feeder to scan an original, you can tap the [Preview] key to check a preview of
the image before sending a fax. For more information, see "
CHECKING THE IMAGE TO BE TRANSMITTED (page
". However, settings for this function cannot be changed in the preview screen.
1
1
Originals
Position of verification stamp
Originals are
scanned
An "O" mark is
stamped in
fluorescent
pink.
Содержание MX-M905
Страница 130: ...1 127 BEFORE USING THE MACHINE PERIPHERAL DEVICES 4 Close the front cover ...
Страница 138: ...1 135 BEFORE USING THE MACHINE PERIPHERAL DEVICES 10 Push in the staple unit 11 Close the cover ...
Страница 147: ...1 144 BEFORE USING THE MACHINE PERIPHERAL DEVICES 3 Gently push the box back in 4 Close the front cover ...
Страница 151: ...1 148 BEFORE USING THE MACHINE PERIPHERAL DEVICES 3 Gently push the box back in 4 Close the front cover ...
Страница 331: ...3 17 PRINTER FREQUENTLY USED FUNCTIONS 1 Select Printer Features 2 Select Advanced1 3 Select Print Mode Mac OS 1 2 3 ...
Страница 956: ...2016K US1 ...


