5-105
►
5
Tap the [Start] key to start scanning of the original.
A beep will sound to indicate that scanning has ended.
Tap the [Preview] key to check the preview of an image before sending a fax. For more information, see "
THE IMAGE TO BE TRANSMITTED (page 5-64)
". However, settings for this function cannot be changed in the preview
screen.
6
Check the number of original sheets.
The number that is displayed is the number of scanned
original sheets, not the number of scanned original pages.
For example, when 2-sided copying is performed using one
original, the number "1" will appear to indicate that one
original sheet was scanned, not "2" to indicate the front-side
page and the reverse side page.
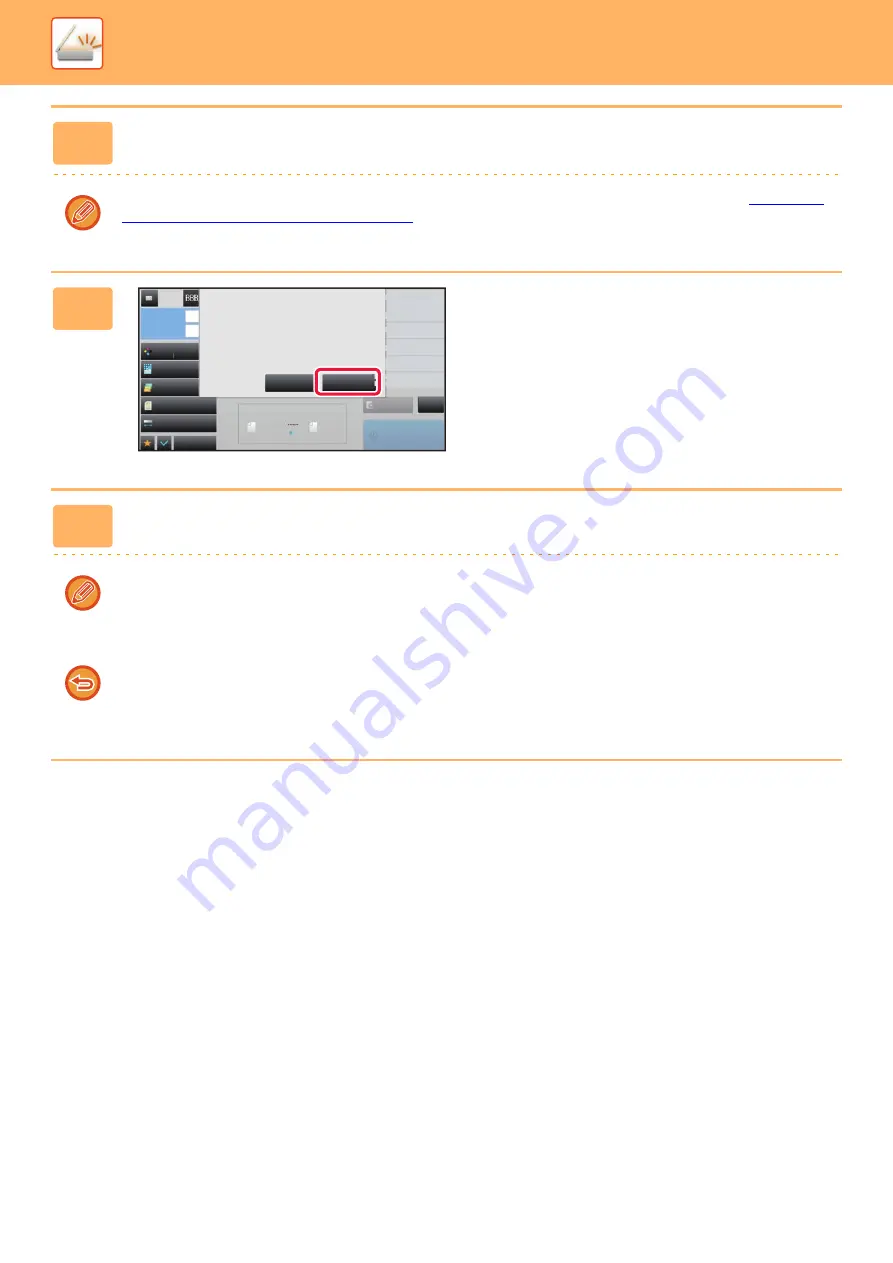
7
Tap the [OK] key to start transmission.
If this function is combined with [Job Build], the count result is displayed after the [Read-End] key has been tapped.
If this step is not performed within one minute after the above confirmation screen appears, the scanned image and
settings will be cleared and the base screen will reappear. Scanning will not be completed automatically and the image
will not be reserved for transmission.
If the displayed number of original sheets is different from the actual number of sheets:
Tap the [Cancel] key and then tap the [OK] key in the message screen to clear all scanned data. Scan settings and
destination settings will not be cleared. Insert the original sheets in the document feeder tray again and tap the [Start]
key to re-scan.
Preview
Start
Scan Size
Auto
Color Mode
Auto/Grayscale
Resolution
200x200dpi
File Format
Original
Auto
Others
100%
Send Size
Subject
File Name
Address
Verification Stamp
Call Search Number
Check Send/Receive
Status
Call Program
Call Registered settings
Sending History
Global Address Search
Exposure
CA
8½x11
8½x11
y
ysca
y
y
y
y
y
y
y
le
2
2
20
2
2
2
2
2
0dpi
V
V
V
Call S
S
S
C
C
C
Chec
c
c
C
C
C
C
C
C
C
C
C
C
C
C
C
S
S
Statu
u
u
S
S
S
S
S
S
S
S
S
S
S
Call
P
Call R
e
Send
d
d
Glob
a
a
1 pages of original (Pg.No.2)
have been scanned.
Send the scanned data?
Cancel
OK
Содержание MX-M905
Страница 130: ...1 127 BEFORE USING THE MACHINE PERIPHERAL DEVICES 4 Close the front cover ...
Страница 138: ...1 135 BEFORE USING THE MACHINE PERIPHERAL DEVICES 10 Push in the staple unit 11 Close the cover ...
Страница 147: ...1 144 BEFORE USING THE MACHINE PERIPHERAL DEVICES 3 Gently push the box back in 4 Close the front cover ...
Страница 151: ...1 148 BEFORE USING THE MACHINE PERIPHERAL DEVICES 3 Gently push the box back in 4 Close the front cover ...
Страница 331: ...3 17 PRINTER FREQUENTLY USED FUNCTIONS 1 Select Printer Features 2 Select Advanced1 3 Select Print Mode Mac OS 1 2 3 ...
Страница 956: ...2016K US1 ...


