4-59
CHECKING THE IMAGE BEFORE PRINTING
Check the image of received data on the touch panel before printing.
This function can be used when "Settings (administrator)" - [System Settings]
→
[Image Send Settings]
→
[Common Settings]
→
[Condition Settings]
→
[Preview Setting]
→
[Received Data Image Check Setting] is enabled*.
* The factory default setting is disabled.
Important points when using this function
If the received fax data is not printed or deleted, the fax memory will run low, and the machine will not be able to receive
any faxes. When using this function, you should print the received data as soon as possible without leaving it in the fax
memory.
You can view the remaining fax memory capacity on the fax mode base screen.
When data is received,
is shown at the top of the screen.
Depending on the size of the received data, part of the check image on the touch panel may not appear.
The received data list can be also shown in the job status screen that appears when you tap the job status display.
The received data can be forwarded, deleted, or saved from the received data list.
►
FORWARDING RECEIVED DATA MANUALLY (page 4-67)
►
SAVING RECEIVED DATA (page 4-69)
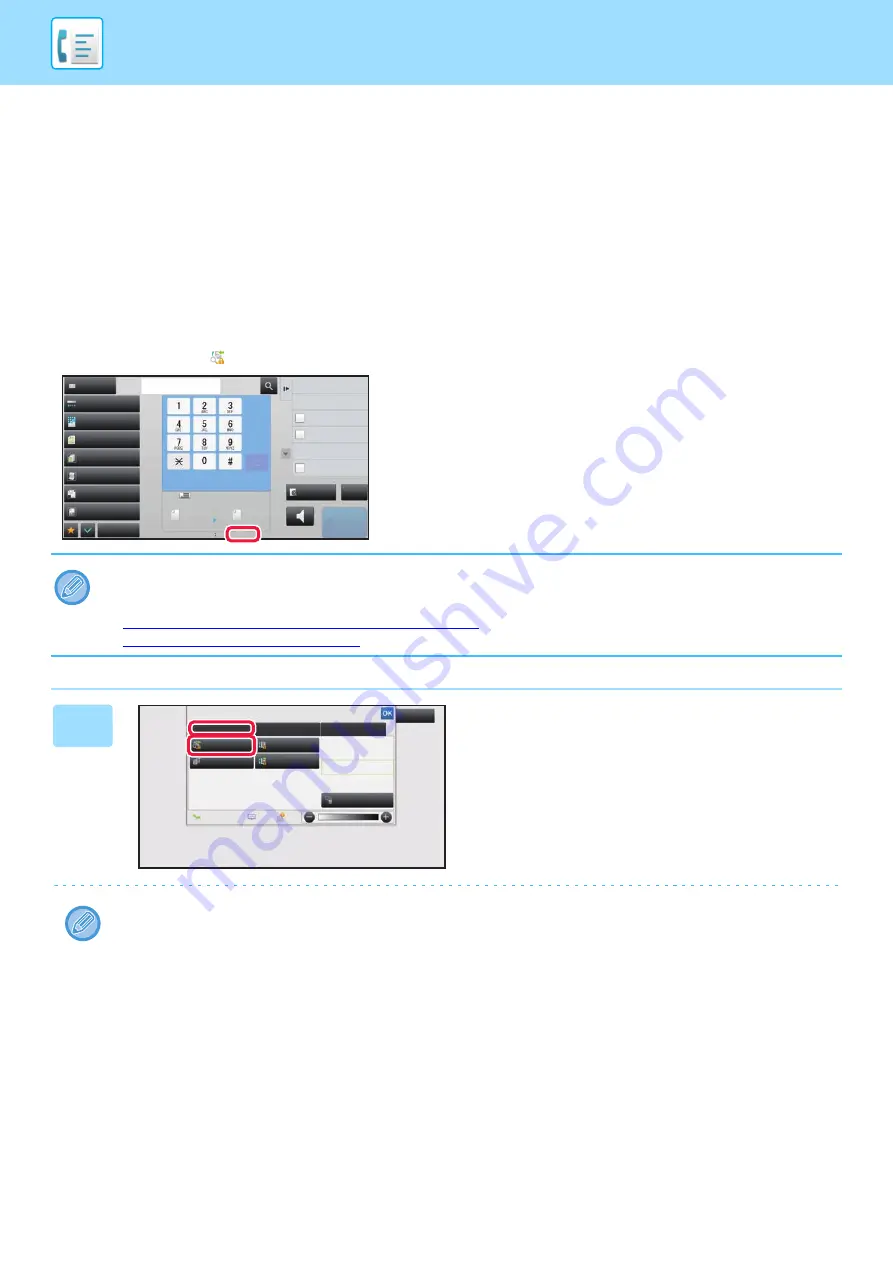
1
In the System Information, tap the
[Event Information] tab and tap the
[Check Fax Reception Image] key.
The received data is listed.
You can also display the received data list by tapping the job status display and tapping [Check Received Data] on the
action panel of Job Status screen.
Exposure
Original
Resolution
Job Build
Original Count
Slow Scan Mode
Others
Sending History
Call Search Number
Call Program
Call Registered settings
Direct TX
Verification Stamp
Send Same Image
as Fax Address
Scan Size
Auto
Auto
reception memory
50%
100%
Send Size
Speaker
Start
Address
Fax Number
CA
Address Book
Preview
Mixed Size Orig.
Auto
Super Fine
System Information
Check Fax
Reception Image
Check Confidential
Received Data
Check Error Box
Release Held
Received Data
Terminate
Remote Operation
Fax Receive
Event Information
Maintenance Information
Toner Remaining
Select External Application
Exit
Содержание MX-M905
Страница 130: ...1 127 BEFORE USING THE MACHINE PERIPHERAL DEVICES 4 Close the front cover ...
Страница 138: ...1 135 BEFORE USING THE MACHINE PERIPHERAL DEVICES 10 Push in the staple unit 11 Close the cover ...
Страница 147: ...1 144 BEFORE USING THE MACHINE PERIPHERAL DEVICES 3 Gently push the box back in 4 Close the front cover ...
Страница 151: ...1 148 BEFORE USING THE MACHINE PERIPHERAL DEVICES 3 Gently push the box back in 4 Close the front cover ...
Страница 331: ...3 17 PRINTER FREQUENTLY USED FUNCTIONS 1 Select Printer Features 2 Select Advanced1 3 Select Print Mode Mac OS 1 2 3 ...
Страница 956: ...2016K US1 ...


