2-5
Customizin
g
displayed keys
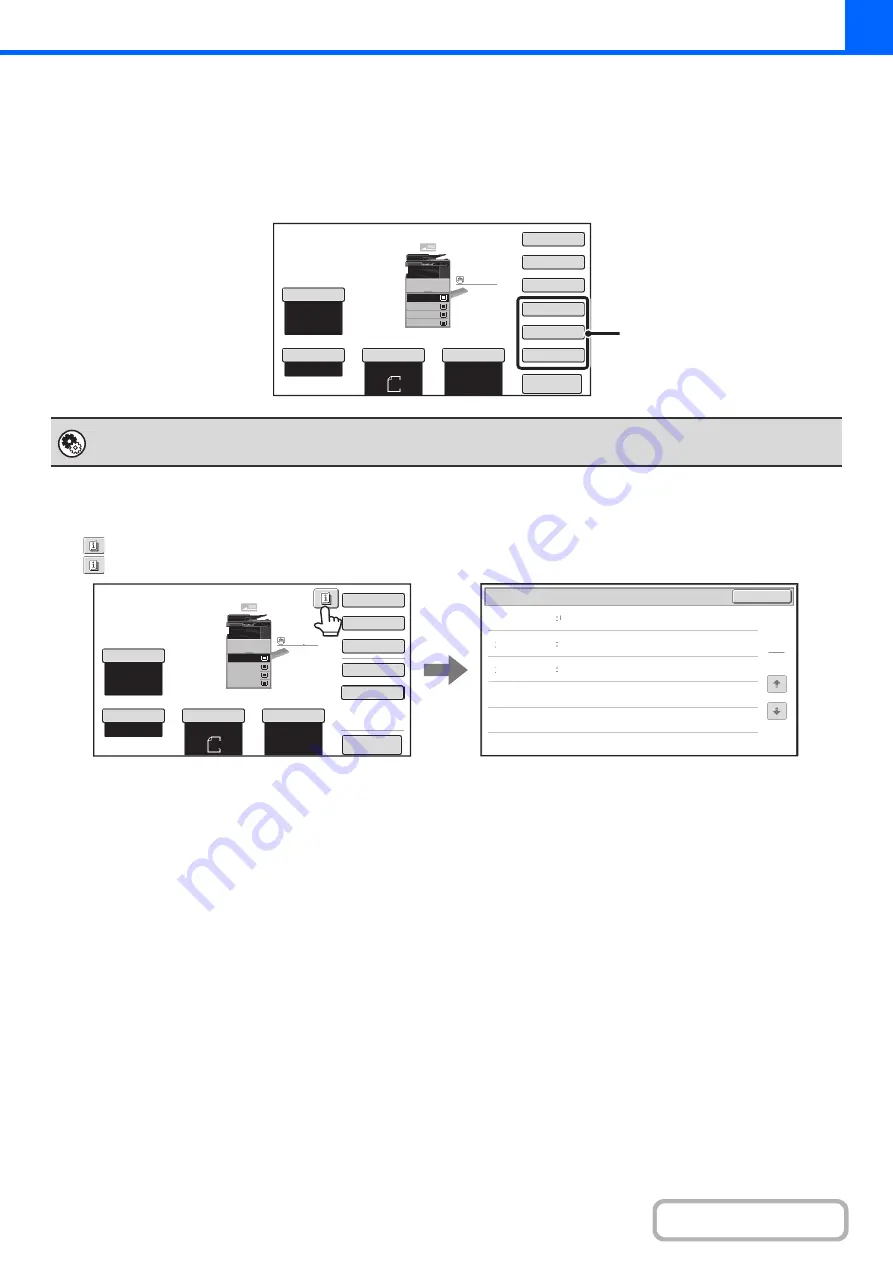
Special mode keys and other keys can be displayed in the base screen. By assigning frequently used functions to these
keys, you can access the functions with a single touch. To change the function that is assigned to a key, use "Customize
Key Setting" in the Web pages.
When "Erase", "Mar
g
in Shift", and "Mirror Ima
g
e" are assi
g
ned to the customized keys
Checkin
g
what special modes are selected
The
key appears in the base screen when one or more special modes are selected.
The
key can be touched to display the selected special modes. To close the screen, touch the [OK] key.
System Settin
g
s (Administrator): Customize Key Settin
g
Registration is performed in [System Settings] - [Operation Settings] - "Customize Key Setting" in the Web page menu.
Auto
8½x11
Plain
8½x11
Color Mode
Special Modes
2-Sided Copy
Output
Copy Ratio
100%
Original
Paper Select
Auto
Full Color
Exposure
Auto
Erase
Margin Shift
Mirror Image
Preview
Plain
3.
1.
2.
4.
8½x11
11x17
8½x11R
8½x14
8½x11
3.
2.
4.
11x17
8½x11R
8½x14
1.
8½x11
Plain
8½x11
These 3 keys can be changed
as desired.
OK
1
1
Function Review
Margin Shift
Erase
Shift:Right
Front:1/2inch/Back:1/2inch
Edge:1/2inch
Center:1/2inch
Covers/Inserts
Front:2-Sided/Back:Insert
Insertion A:10 Page/B:10 Page
Auto
8½x11
Plain
8½x11
Color Mode
Special Modes
2-Sided Copy
Output
File
Quick File
Copy Ratio
100%
Original
Paper Select
Auto
Full Color
Exposure
Auto
Preview
Plain
3.
1.
2.
4.
8½x11
11x17
8½x11R
8½x14
8½x11
3.
2.
4.
11x17
8½x11R
8½x14
1.
8½x11
Plain
8½x11
Summary of Contents for MX-M266N
Page 8: ...Assemble output into a pamphlet Create a stapled pamphlet Staple output Create a blank margin ...
Page 11: ...Conserve Print on both sides of the paper Print multiple pages on one side of the paper ...
Page 35: ...Organize my files Delete a file Delete all files Periodically delete files Change the folder ...
Page 259: ...3 19 PRINTER Contents 4 Click the Print button Printing begins ...


