7-51
User List
This is used to store, edit, and delete users when user authentication is enabled.
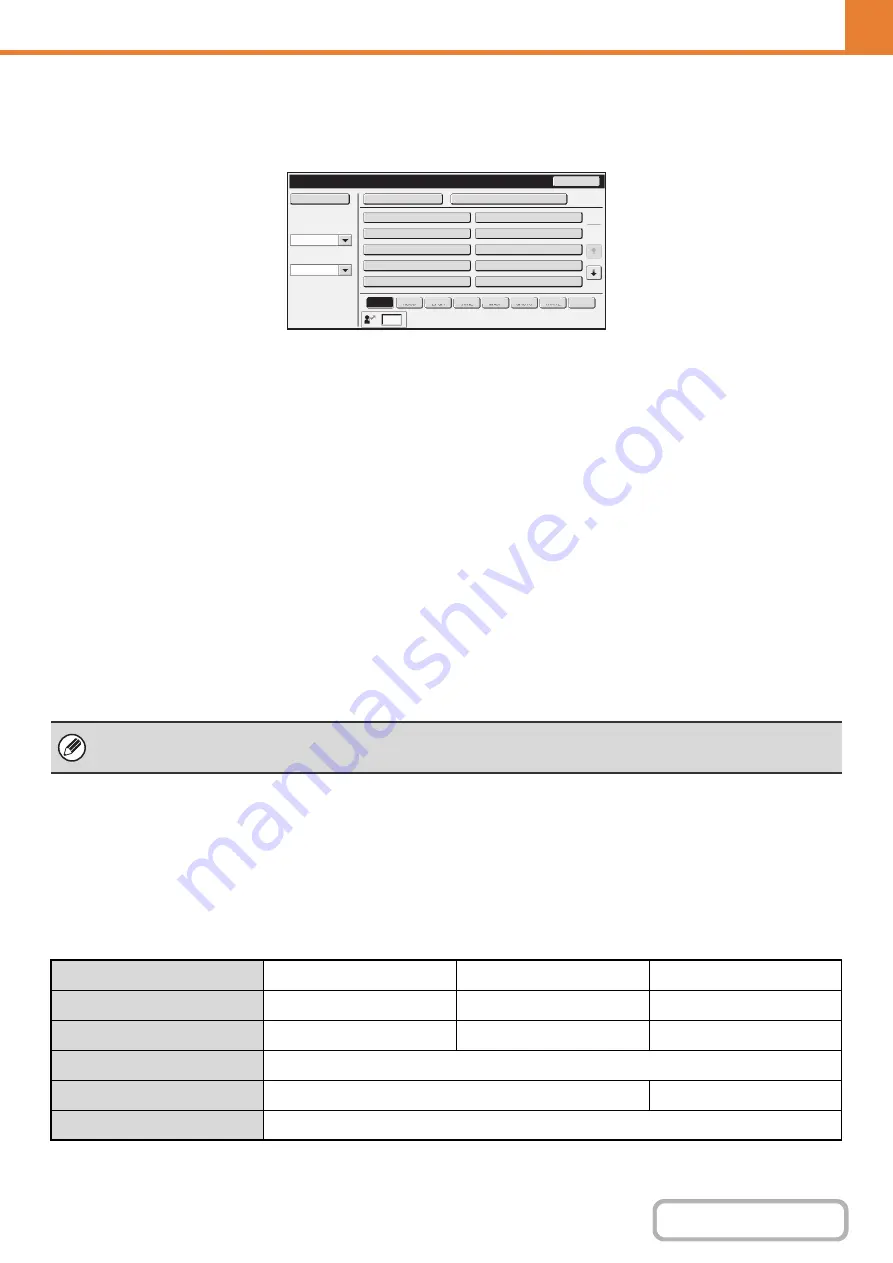
When the [User List] key is touched, the following screen appears.
•
[Add New] key
Use this to add a new user.
•
[Delete All Users] key
Use this to delete all stored users. (Excluding factory
stored users.) This operation can only be performed
by an administrator.
•
Delete All Users Auto-Re
g
istered
Delete all auto-registered users.
+
•
User List
This shows the factory-stored users and the currently
stored users. An asterisk [*] appears in front of the
user name of auto-registered users.
A user can be selected to open an edit/delete screen
for the user.
Storin
g
a user
Touch the [Add New] key in the above screen to open a registration screen. Up to 1000 users can be stored.
For more information, see "
" (page 7-52).
Editin
g
/deletin
g
a user
A user can be selected from the list in the above screen to open an edit/delete screen for the user.
For more information, see "
" (page 7-52).
Delete a user with the [Delete] key.
Factory-stored users
The following users are stored in the machine at the factory.
• Administrator: Factory-stored account for the administrator of the machine.
• User: This is used when network authentication is used and a login name not stored in the machine is directly entered.
(This cannot be selected in the login user screen.)
• Other User: This is used when a print job is executed using invalid user information. (This cannot be selected in the
login user screen.)
For settings related to each of the users, see the following table.
User
List
Back
Administrator
Other
User
User
Name
1
*
Name
2
Name
3
*
Name
4
Name
5
Name
6
Name
7
Add
New
Delete
All
Users
Delete
All
Users
Auto
-
Registered
ABCD
EFG
H
IJKL
MNOP
QRSTU
V
WXYZ
etc.
ABC
Search
Number
Index
Switch
Sorting
Order
All
1
2
• When auto login is enabled, "Delete All Users" cannot be used.
• The factory-stored users cannot be deleted.
User Name
Administrator
User
Other User
Lo
g
in Name
admin
users
Other
Password
(See the Start Guide.)*
1
users*
1
–
My Folder
Main Folder
Authentication Settin
g
s
Login Locally
–
Pa
g
es Limit Group
Unlimited*
1
Summary of Contents for MX-M266N
Page 8: ...Assemble output into a pamphlet Create a stapled pamphlet Staple output Create a blank margin ...
Page 11: ...Conserve Print on both sides of the paper Print multiple pages on one side of the paper ...
Page 35: ...Organize my files Delete a file Delete all files Periodically delete files Change the folder ...
Page 259: ...3 19 PRINTER Contents 4 Click the Print button Printing begins ...


