4-78
3
Select Dual Pa
g
e Scan.
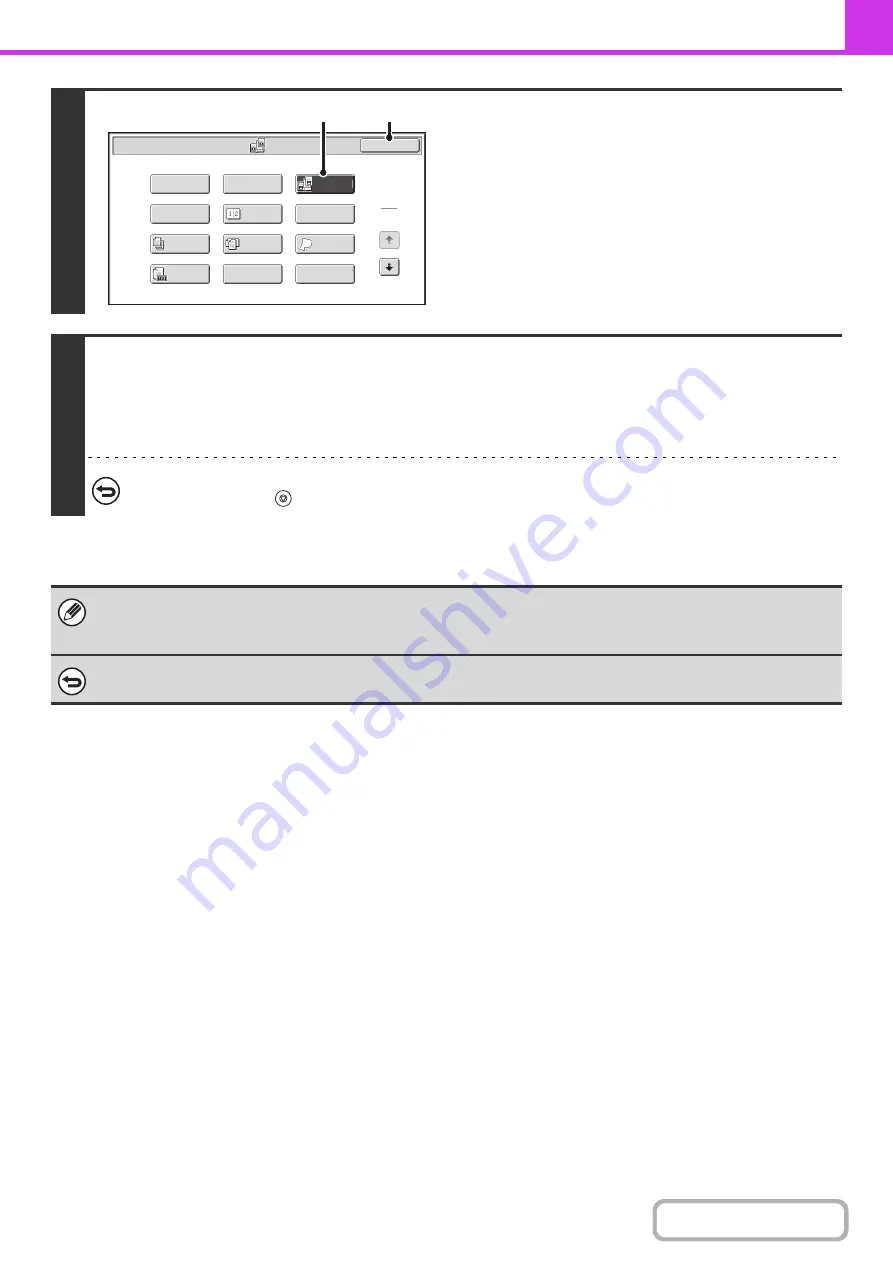
(1) Touch the [Special Modes] key.
+
(2) Touch the [Dual Pa
g
e Scan] key so that it is
hi
g
hli
g
hted.
(3) Touch the [OK] key.
4
Press the [START] key.
Scanning begins.
When scanning finishes, place the next original and press the [START] key. Repeat until all pages have been scanned and
then touch the [Read-End] key.
A beep will sound to indicate that scanning is finished.
To cancel scannin
g
...
Press the [STOP] key (
).
• To erase shadows caused by the binding of a book or other bound document, use the erase function. (Note, however, that
"Center Erase" and "Edge + Center Erase" cannot be used.)
• When the scan size of the original is specified by numerical values, this function cannot be used.
To cancel Dual Pa
g
e Scan...
Touch the [Dual Page Scan] key in the screen of step 3 so that it is not highlighted.
Fax/Special Modes
2in1
Dual Page
Scan
Card Shot
OK
Slow Scan
Mode
Quick File
Mixed Size
Original
Erase
Job
Build
File
Program
Timer
1
2
Original
Count
(2)
(3)
Summary of Contents for MX-M266N
Page 8: ...Assemble output into a pamphlet Create a stapled pamphlet Staple output Create a blank margin ...
Page 11: ...Conserve Print on both sides of the paper Print multiple pages on one side of the paper ...
Page 35: ...Organize my files Delete a file Delete all files Periodically delete files Change the folder ...
Page 259: ...3 19 PRINTER Contents 4 Click the Print button Printing begins ...


