2-107
COPYING IN THE CENTER OF THE PAPER (Centerin
g
)
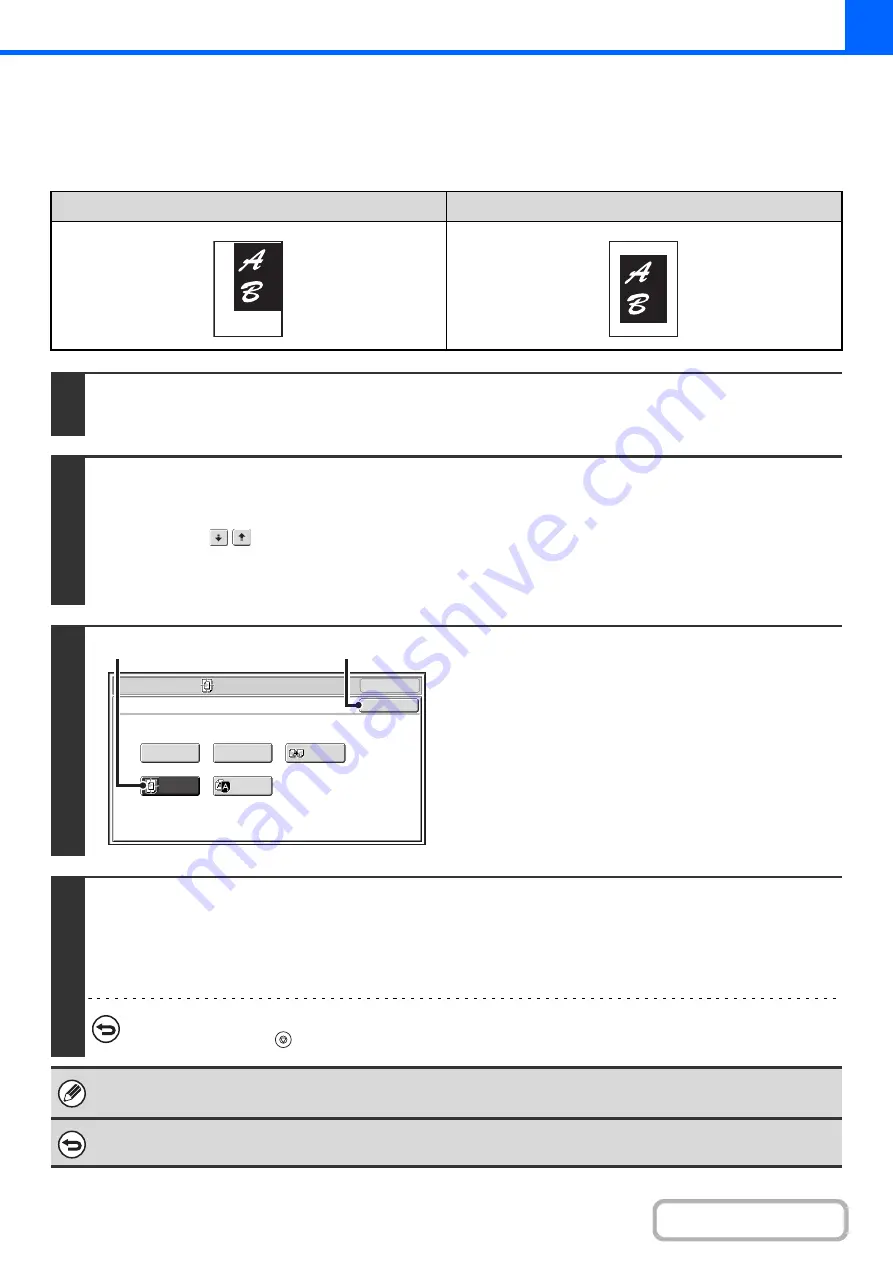
This is used to center the copied image on the paper.
This lets you place the image in the center of the paper when the original size is smaller than the paper size or when the
image is reduced.
Not usin
g
the centerin
g
function
Usin
g
the centerin
g
function
1
Place the ori
g
inal.
Place the original face up in the document feeder tray, or face down on the document glass.
2
Select the special modes.
(1) Touch the [Special Modes] key.
(2) Touch the
keys to switch throu
g
h the screens.
(3) Touch the [Ima
g
e Edit] key.
+
3
Select Centerin
g
.
(1) Touch the [Centerin
g
] key so that it is
hi
g
hli
g
hted.
(2) Touch the [OK] key.
You will return to the special modes screen. Touch the
[OK] key to return to the base screen of copy mode.
4
Press the [START] key.
Copying will begin.
If you are using the document glass to copy multiple original pages, copying will take place as you scan each original. If you
have selected sort mode, change originals and press the [START] key. Repeat until all pages have been scanned and then
touch the [Read-End] key.
To cancel scannin
g
and copyin
g
...
Press the [STOP] key (
).
• The image can be reduced when using the centering function, but not enlarged.
• When the original size or the paper size is displayed as a special size, this function cannot be used.
To cancel centerin
g
...
Touch the [Centering] key in the screen of step 3 so that it is not highlighted.
OK
Mirror
Image
B/W
Reverse
Multi-Page
Enlargement
Centering
Photo Repeat
Special Modes
Image Edit
OK
(1)
(2)
Summary of Contents for MX-M266N
Page 8: ...Assemble output into a pamphlet Create a stapled pamphlet Staple output Create a blank margin ...
Page 11: ...Conserve Print on both sides of the paper Print multiple pages on one side of the paper ...
Page 35: ...Organize my files Delete a file Delete all files Periodically delete files Change the folder ...
Page 259: ...3 19 PRINTER Contents 4 Click the Print button Printing begins ...


