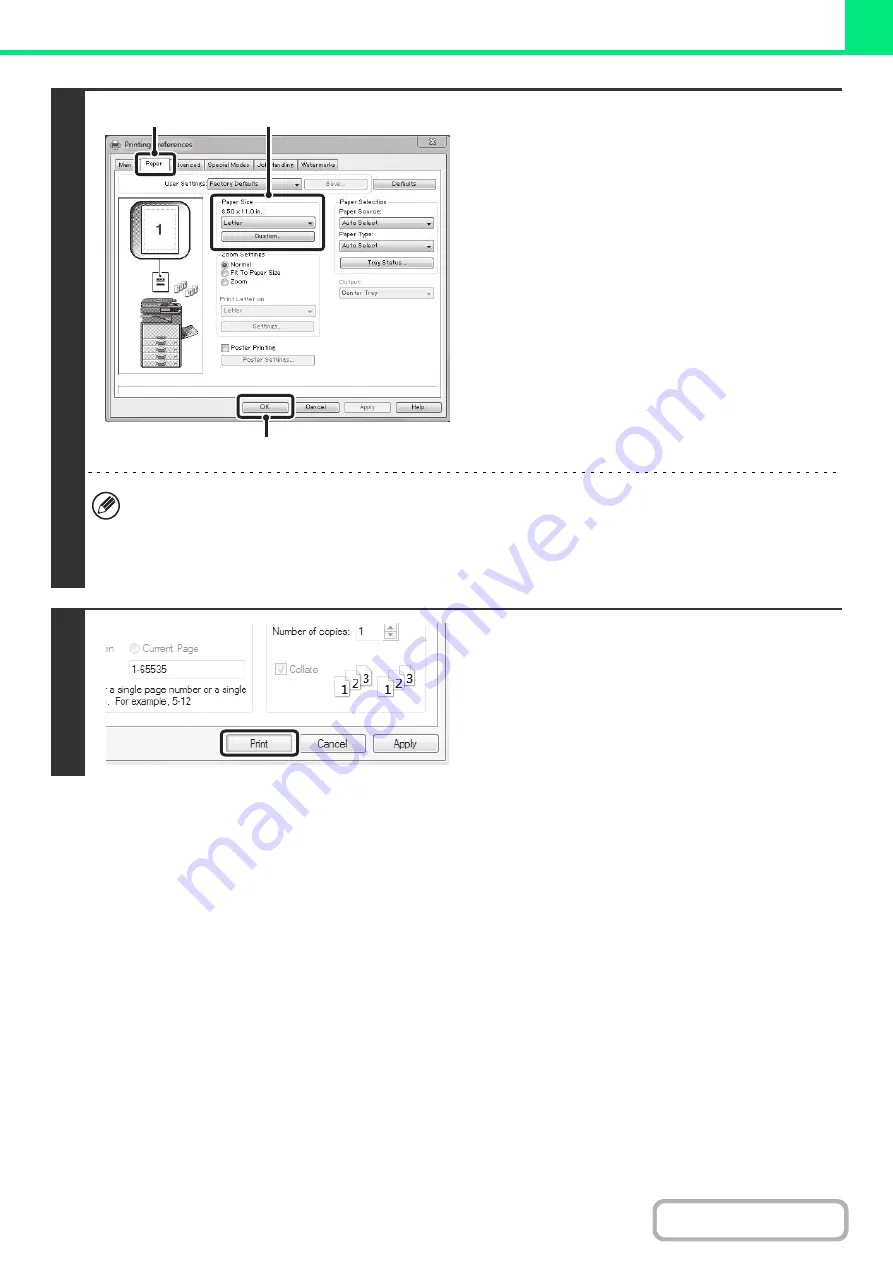
3-5
3
Select print settin
g
s.
(1) Click the [Paper] tab.
(2) Select the paper size.
To select settings on other tabs, click the desired tab
and then select the settings.
(3) Click the [OK] button.
• Make sure the paper size is the same as the paper size set in the software application.
• Up to eight custom paper sizes can be stored. Storing a custom paper size makes it easy to specify that size each
time you need to use it.
To store a paper size, select [Custom Paper] or one of [User1] to [User7] from the pull-down menu and click the
[Custom] button.
4
Click the [Print] button.
Printing begins.
(1)
(2)
(3)
Summary of Contents for MX-M266N
Page 8: ...Assemble output into a pamphlet Create a stapled pamphlet Staple output Create a blank margin ...
Page 11: ...Conserve Print on both sides of the paper Print multiple pages on one side of the paper ...
Page 35: ...Organize my files Delete a file Delete all files Periodically delete files Change the folder ...
Page 259: ...3 19 PRINTER Contents 4 Click the Print button Printing begins ...


