5-66
4
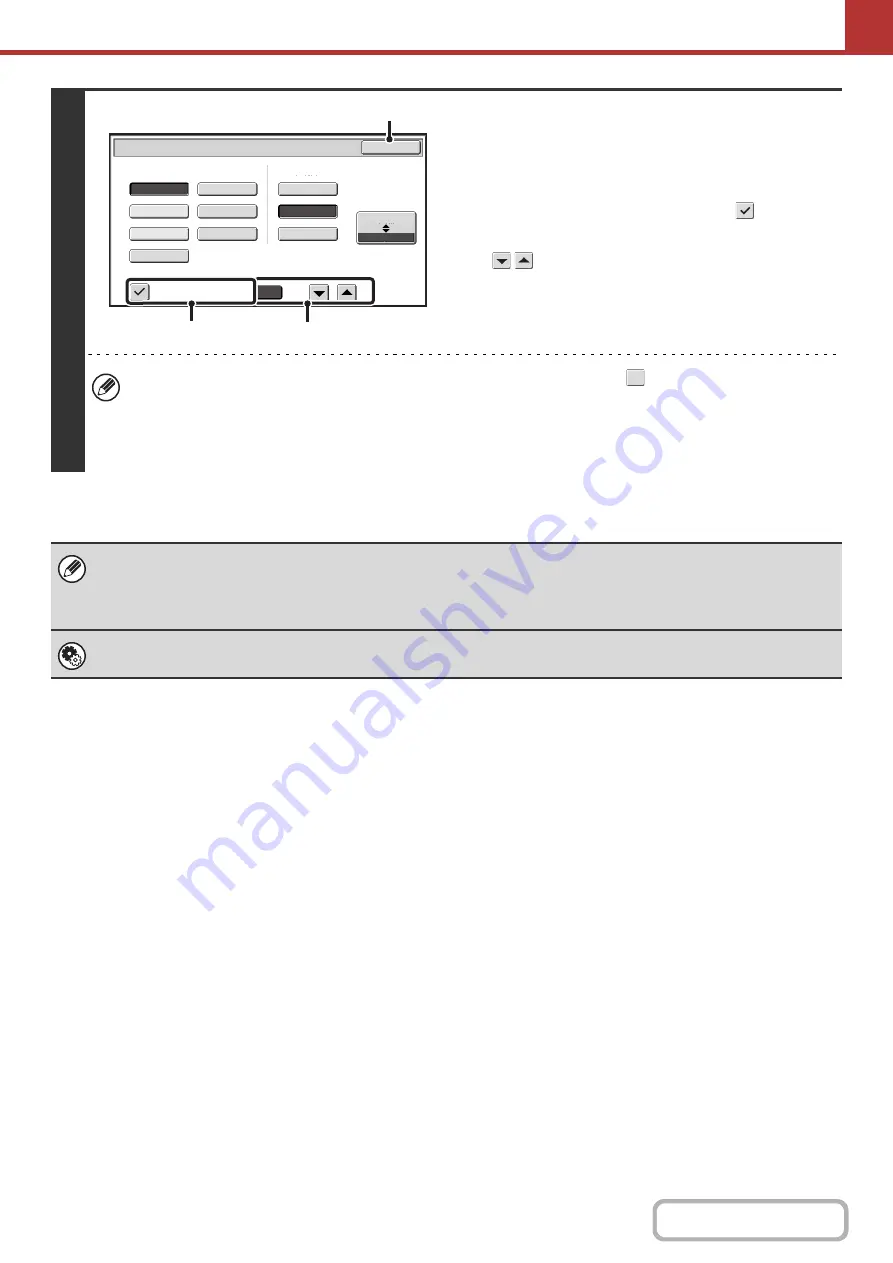
To chan
g
e the number of pa
g
es per file,
enter the number of pa
g
es and exit the
format settin
g
s.
(1) Touch the [Specified Pa
g
es per File]
checkbox so that a checkmark
appears.
(2) Set the number of pa
g
es per file with the
keys.
(3) Touch the [OK] key.
• When a checkmark does not appear in the [Specified Pages per File] checkbox
, one file is created for all
scanned pages.
• When [Specified Pages per File] is selected, consecutive numbers are added to the created file names.
• When [JPEG] is selected for the file type, one file is created for each page (a file cannot be created for multiple
pages). For this reason, the [Specified Pages per File] checkbox does not appear.
• When the file format is set to Encrypt PDF ([Encrypted PDF] is selected in the format settings screen), a screen prompting
you to enter a password will appear when the [START] key is pressed to start scan send transmission.
• Touch the [Entry] key in the displayed screen to open the keyboard screen. Enter a password (maximum of 32 characters)
and touch the [OK] key. Scanning and transmission will begin.
System Settin
g
s (Administrator): Initial File Format Settin
g
This sets the default file format setting for scanner transmission.
B/W
Color/Gray
Scan/File Format
Specified Pages per File
File Type
(1-99)
Compression Ratio
OK
Low
High
Medium
JPEG
TIFF
Programmed
Programmed
1
Encrypt PDF
XPS
PDF/A
(3)
(1)
(2)
Summary of Contents for MX-M266N
Page 8: ...Assemble output into a pamphlet Create a stapled pamphlet Staple output Create a blank margin ...
Page 11: ...Conserve Print on both sides of the paper Print multiple pages on one side of the paper ...
Page 35: ...Organize my files Delete a file Delete all files Periodically delete files Change the folder ...
Page 259: ...3 19 PRINTER Contents 4 Click the Print button Printing begins ...


