2-90
6
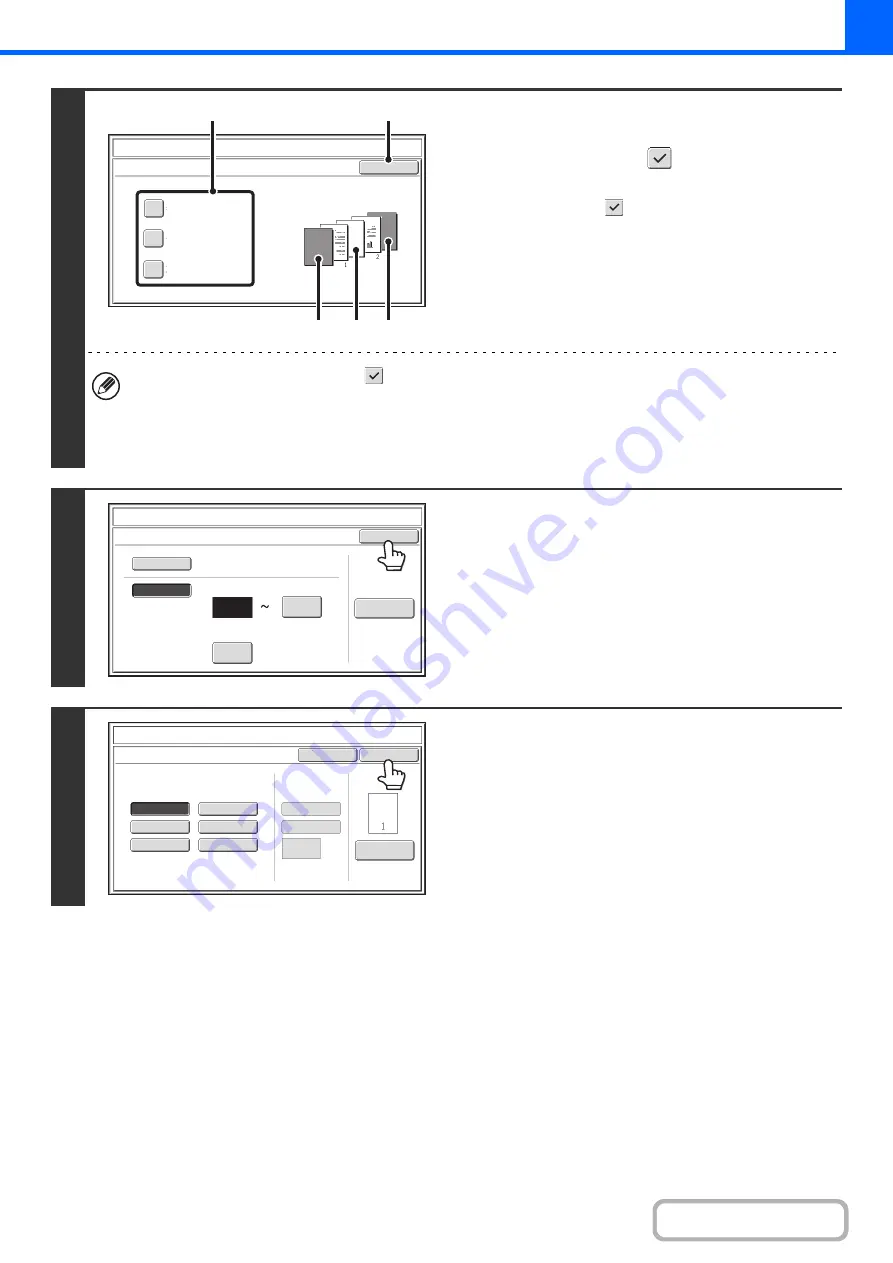
Touch each item that you want counted
in the pa
g
e numbers so that a
checkmark appears
, and then touch
the [OK] key.
Items with a checkmark
will be reflected in the print image
on the right side of the screen.
(A): Front cover image
(B): Insert image
(C): Back cover image
• When the checkboxes are selected
, each inserted sheet of paper (front cover, insert, or back cover) will be
counted as one page in the case of 1-sided copying, or two pages in the case of 2-sided copying. However, when
the body sheets are 1-sided copies and the inserted sheets are 2-sided copies, each body sheet is counted as one
page and each inserted sheet is counted as two pages.
• Page numbers are printed on covers/inserts if the covers/inserts are counted and if they are copied on.
7
Touch the [OK] key.
8
Touch the [OK] key.
After touching the [OK] key, continue from step 5 of "
" (page 2-81) to complete
the copy procedure.
OK
Count Front Cover
Count Inserts
Count Back Cover
Stamp
Covers/Inserts Counting
(1)
(2)
(A)
(B)
(C)
OK
Auto
Manual
1
1
Covers/Inserts
Counting
Auto
First
Number
Last
Number
Printing
Starts
from
Page
Stamp
Page
Number
Page Number
Cancel
Auto
Manual
(1),(2),(3)..
1,2,3..
P.1,P.2,P.3..
-1-,-2-,-3-..
1/5,2/5,3/5..
<1>,<2>,<3>..
OK
1
Page
Total Page
Page Numbering Format
Stamp
Page Numbering
Summary of Contents for MX-M266N
Page 8: ...Assemble output into a pamphlet Create a stapled pamphlet Staple output Create a blank margin ...
Page 11: ...Conserve Print on both sides of the paper Print multiple pages on one side of the paper ...
Page 35: ...Organize my files Delete a file Delete all files Periodically delete files Change the folder ...
Page 259: ...3 19 PRINTER Contents 4 Click the Print button Printing begins ...


