7-15
Paper Type Re
g
istration
Store a paper type when the desired paper type does not appear as a selection or when you wish to create a new set of
paper properties.
Up to 7 paper types can be stored.
Auto Tray Switchin
g
(when there are two or more paper trays)
When a tray runs out of paper during printing, this determines whether or not another tray with the same size and type of
paper is automatically selected and printing continues.
Custom Size Re
g
istration (Bypass)
If you frequently use a special non-standard paper size in the bypass tray, you can store that paper size.
Storing the paper size saves you the trouble of setting the size each time you need to use it.
Up to three paper sizes can be stored.
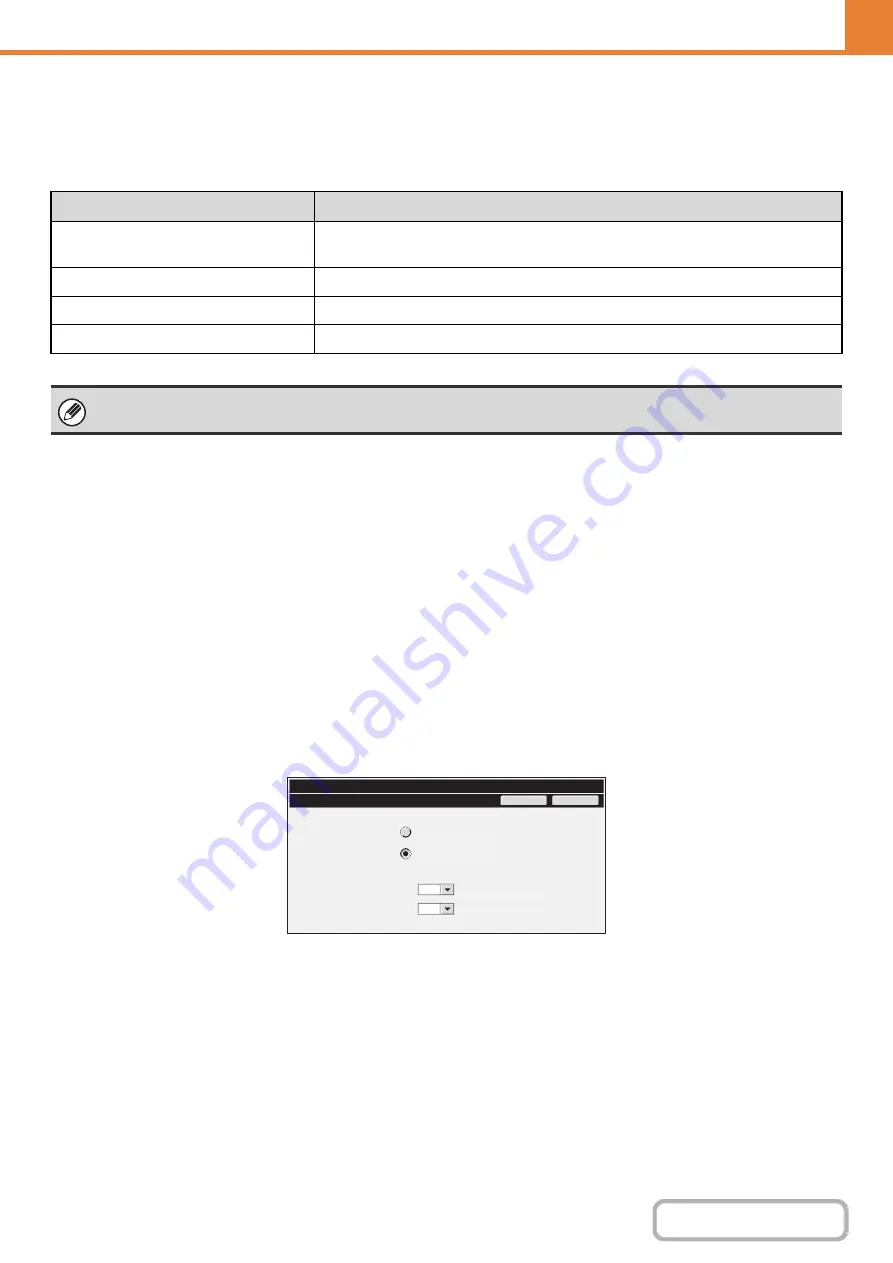
Touch the key ([Custom 1] to [Custom 3]) in which you wish to store or change a paper size. The following screen will
appear:
Select whether you wish to enter the size in inches ("Size Input-Inch") or mm ("Size Input-AB"), and then set the X and Y
dimensions of the paper.
"Size Input-Inch"
The X dimension can be set to a value from 5-1/2" (when a finisher is installed, 5-7/8") to 17". The factory default setting
is 17".
The Y dimension can be set to a value from 5-1/2" to 11-5/8". The factory default setting is 11".
"Size Input-AB"
The X dimension can be set to a value from 140 mm (when a finisher is installed, 148 mm) to 432 mm. The factory
default setting is 420 mm.
The Y dimension can be set to a value from 100 mm to 297 mm. The factory default setting is 297 mm.
Item
Description
Type Name
Store any name.
The factory default names are "User Type 1" - "User Type 7".
Fixed Paper Side
Enable this setting when paper with a front and reverse side is used.
Disable Duplex
Enable this setting when paper is loaded that cannot used for two-sided printing.
Disable Staple
Enable this setting when paper is used that cannot be stapled.
The settings that can be selected vary depending on the peripheral devices installed.
System
Settings
Custom
1
OK
Cancel
17
11
Si
z
e
Input
-
AB
Si
z
e
Input
-
Inch
Inch
X
Y
Inch
Summary of Contents for MX-M266N
Page 8: ...Assemble output into a pamphlet Create a stapled pamphlet Staple output Create a blank margin ...
Page 11: ...Conserve Print on both sides of the paper Print multiple pages on one side of the paper ...
Page 35: ...Organize my files Delete a file Delete all files Periodically delete files Change the folder ...
Page 259: ...3 19 PRINTER Contents 4 Click the Print button Printing begins ...


