2-67
4
Select insert settin
g
s.
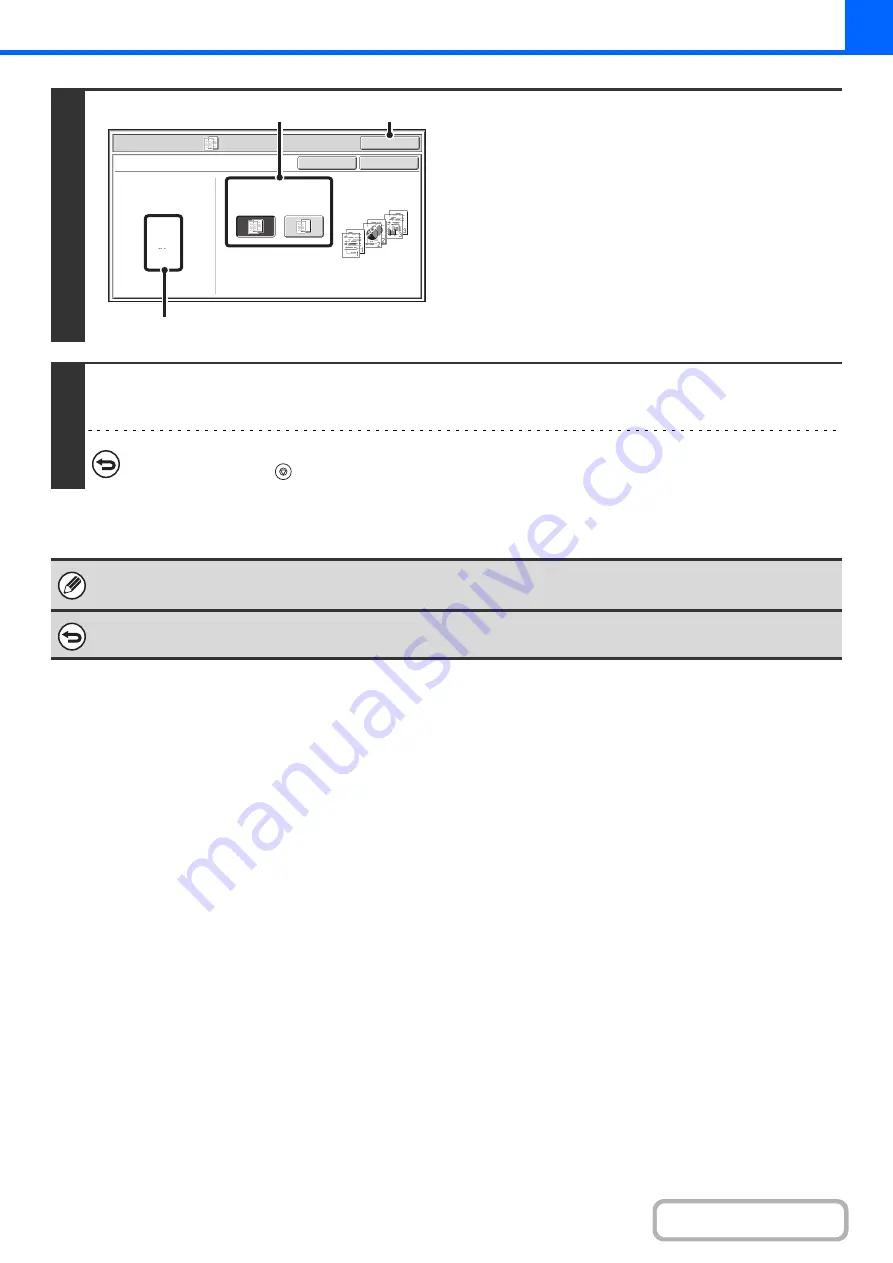
(1) Select whether or not the insert paper will
be copied on ([Yes] or [No]).
(2) Touch the [OK] key.
You will return to the base screen of copy mode.
Explanation of (A)
When transparency inserts is selected, paper suitable for
the inserts is automatically selected. The automatically
selected paper tray, paper size, and paper type are
indicated here.
5
Press the [START] key.
Copying will begin.
To cancel scannin
g
and copyin
g
...
Press the [STOP] key (
).
• The number of copies cannot be selected in this mode.
• When performing 2-sided copying, only "2-sided to 1-sided" mode can be used.
To cancel the transparency inserts settin
g
...
Touch the [Cancel] key in the screen of step 4.
Special Modes
OK
Cancel
OK
Transparency Inserts
Paper Tray
8½x11
Plain
Tray1
Print on Insert Sheets
Yes
No
(1)
(A)
(2)
Summary of Contents for MX-M266N
Page 8: ...Assemble output into a pamphlet Create a stapled pamphlet Staple output Create a blank margin ...
Page 11: ...Conserve Print on both sides of the paper Print multiple pages on one side of the paper ...
Page 35: ...Organize my files Delete a file Delete all files Periodically delete files Change the folder ...
Page 259: ...3 19 PRINTER Contents 4 Click the Print button Printing begins ...


