7-78
Interface Settin
g
s
These settings are used to control and monitor data transmitted to the USB port or network port of the machine.
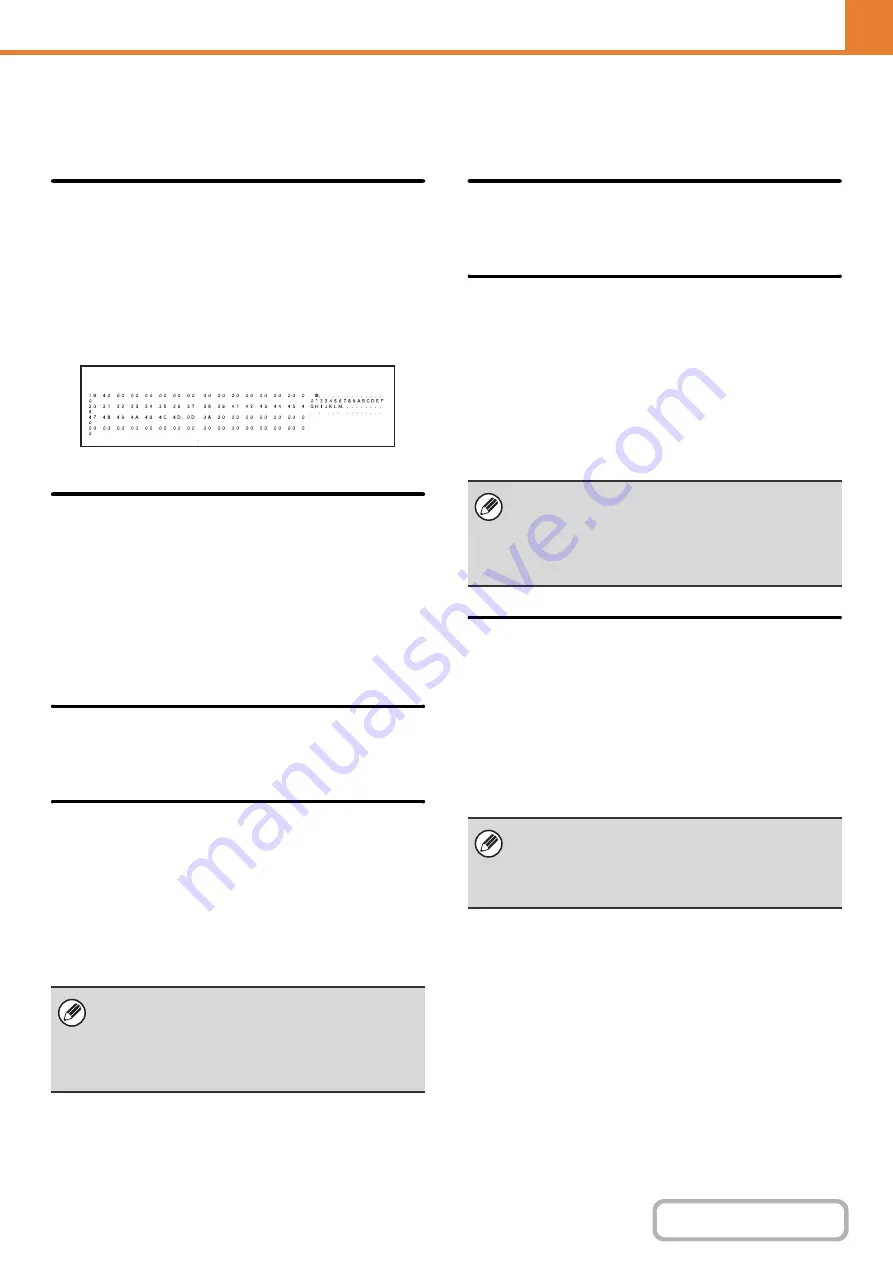
Hexadecimal Dump Mode
(When the hard disk drive is installed.)
This function is used to print the print data from a
computer in hexadecimal format together with the
corresponding ASCII text. This allows you to check
whether or not print data from the computer is being
transmitted to the machine correctly.
Example of a hexadecimal dump
I/O Timeout
The I/O timeout can be set to any number of seconds
from 1 to 999.
The I/O timeout function temporarily breaks the
connection if the set duration of time elapses without any
data being received by the port. After the connection is
broken, the port is set to auto selection or the next print
job is begun.
Enable USB Port
This is used to enable printing from the USB port.
USB Port Emulation Switchin
g
If the machine is connected using the USB port, select
the emulated printer language.
The settings are shown below.
• Auto
• PostScript*
• PCL
* When the PS3 expansion kit is installed.
Enable Network Port
This is used to enable printing from the network port.
Network Port Emulation Switchin
g
This setting is used to select the emulated printer
language when the machine is connected by a network
port.
The settings are shown below.
• Auto
• PostScript*
• PCL
* When the PS3 expansion kit is installed.
Port Switchin
g
Method
This setting is used to select when port switching takes
place.
Switch at End of Job
The port changes to auto selection when printing ends.
Switch after I/O Timeout
When the time set in "
" elapses, the port
changes to auto selection.
• The settings are the same as those of "
".
• Unless printer errors occur frequently, it is
recommended that you use the factory default
setting "Auto".
• The settings are the same as those of "
".
• Unless printer errors occur frequently, it is
recommended that you use the factory default
setting "Auto".
The following two print ports are available on the
machine:
• USB port
• Network port
Summary of Contents for MX-M266N
Page 8: ...Assemble output into a pamphlet Create a stapled pamphlet Staple output Create a blank margin ...
Page 11: ...Conserve Print on both sides of the paper Print multiple pages on one side of the paper ...
Page 35: ...Organize my files Delete a file Delete all files Periodically delete files Change the folder ...
Page 259: ...3 19 PRINTER Contents 4 Click the Print button Printing begins ...


