2-114
Removal and Installation
January 24, 2017
Removal and installation of fuel tank
CLG835H
Installation
Check
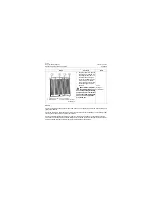
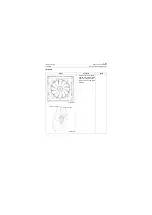
1. Check the fuel radiator, and if the radiator fin is blocked with dirt, please clean it with compressed air.
2. Check the fuel radiator, and if the fuel pipe is found damage, replace it with a new one.
Test Requirements
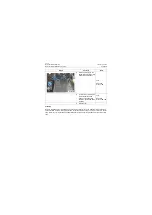
1. When the fuel radiator is installed, start the machine to allow it run for several minutes, observe the
radiator for leakage.
2. If the leakage occurred at joint, there is a possibility that the screw is not tightened or the seal gasket
is damaged, and it is necessary to tighten the screw or replace the seal gasket. If the leakage
occurred at radiator itself, there is a possibility that the fuel line is damaged and it is necessary to
replace the radiator with a new one.
Figures
Contents
Tools
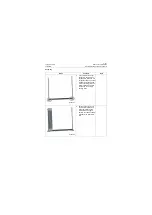
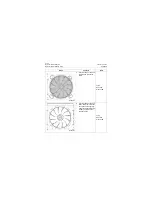
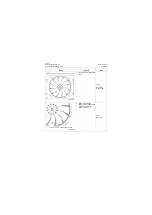
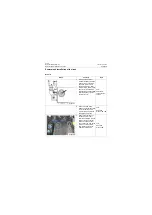
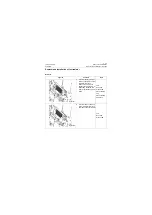
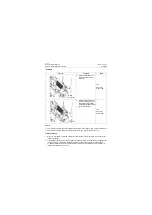
1. Install the fuel radiator on
the support and tighten it
with bolts.
Tool:
Open-end
wrench 16#
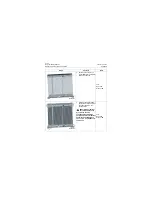
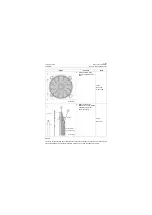
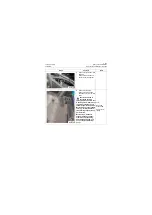
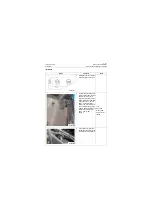
2. Install the fuel pipe joint on
the fuel radiator with screw,
and please notice that the
joint shall be added with seal
gasket at both sides.
Tool:
Open-end
wrench 19#
P18P00209
P18P00210
Summary of Contents for CLG835H
Page 2: ......
Page 4: ...Contents January 24 2017 CLG835H...
Page 6: ...1 2 General Information January 24 2017 CLG835H...
Page 38: ...1 34 Machine Inspection Table January 24 2017 CLG835H...
Page 156: ...3 2 Power Train System January 24 2017 CLG835H...
Page 214: ...3 2 Power Train System January 24 2017 CLG835H...
Page 272: ...3 60 Testing and adjustment January 24 2017 Power Train Test CLG835H...
Page 276: ...4 4 Hydraulic System January 24 2017 CLG835H...
Page 552: ...6 2 Driver s Cab System January 24 2017 CLG835H...
Page 608: ...7 2 Structure January 24 2017 CLG835H...
Page 662: ...8 4 Electrical System January 24 2017 CLG835H...
Page 677: ...8 19 January 24 2017 Structure Function Principle CLG835H Power System P18E00014...

