2-100
Removal and Installation
January 24, 2017
Disassembly and assembly of radiator
CLG835H
Check
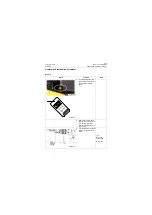
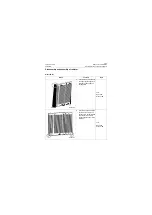
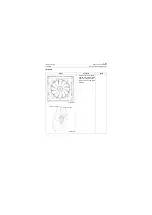
Check the radiator passage wall for cracks, and if does, it is necessary to perform the repair welding and
replace the radiator.
Check the radiator fin, and if the fin is bent for a large area and blocks the passage, it is necessary to flat
the fin by the wind direction or replace the radiator.
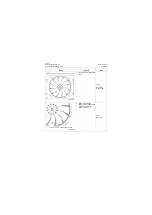
Check the radiator passage for blocking by debris or impurities, and if does, it is necessary to blow it
clean with compressed air. Please notice that the direction of compressed air shall be inverse with that of
air which passed through the radiator during normal operation of the machine.
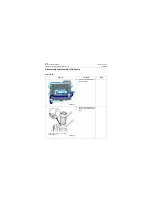
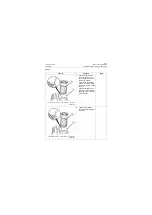
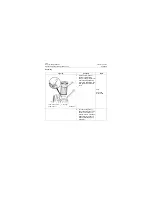
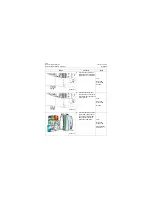
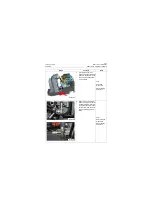
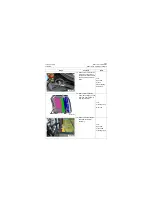
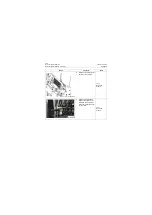
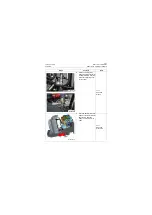
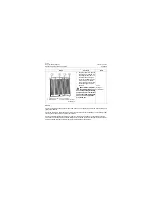
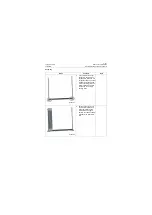
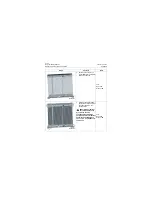
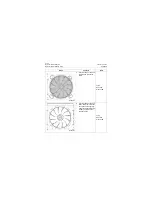
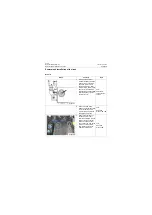
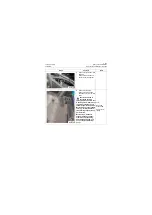
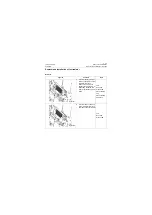
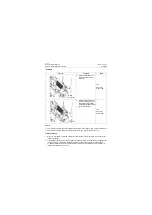
3. Push the radiator to right by
the order 4321 with the aid
of straight screwdriver, suc-
cessively take out torque
converter oil radiator, air-air
intercooler, water radiator
and hydraulic oil cooler and
collect sponge and shock
absorber.
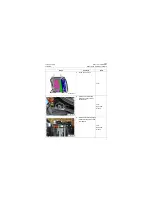
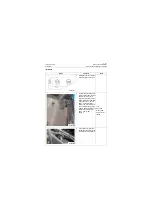
CAUTION: Hold radiator
assembly by someone or
use corresponding stabilizing
equipment to prevent radiator
components from tilting when
above 1, 2 and 3 operations
are carried out.
Tool:
Straight
screwdriver
Graph
Contents
Tools
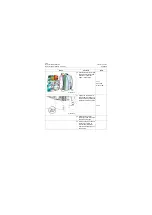
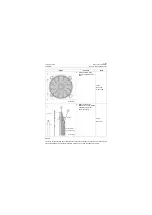
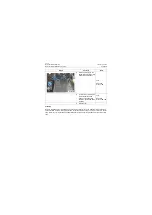
P18P00178
1. Hydraulic oil cooler
2. Water radiator
3. Air-air intercooler
4. Torque converter oil cooler
1
2
3
4
Summary of Contents for CLG835H
Page 2: ......
Page 4: ...Contents January 24 2017 CLG835H...
Page 6: ...1 2 General Information January 24 2017 CLG835H...
Page 38: ...1 34 Machine Inspection Table January 24 2017 CLG835H...
Page 156: ...3 2 Power Train System January 24 2017 CLG835H...
Page 214: ...3 2 Power Train System January 24 2017 CLG835H...
Page 272: ...3 60 Testing and adjustment January 24 2017 Power Train Test CLG835H...
Page 276: ...4 4 Hydraulic System January 24 2017 CLG835H...
Page 552: ...6 2 Driver s Cab System January 24 2017 CLG835H...
Page 608: ...7 2 Structure January 24 2017 CLG835H...
Page 662: ...8 4 Electrical System January 24 2017 CLG835H...
Page 677: ...8 19 January 24 2017 Structure Function Principle CLG835H Power System P18E00014...

