2-102
Removal and Installation
January 24, 2017
Disassembly and assembly of radiator
CLG835H
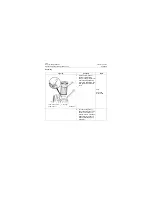
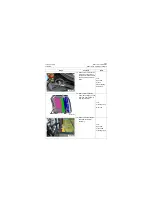
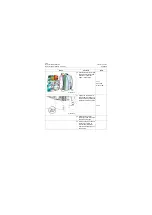
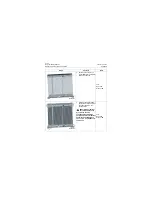
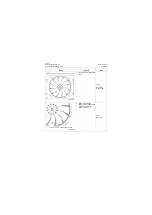
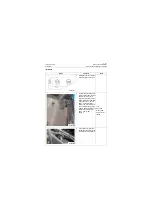
3. Put the shock cushion on
top of radiator to the radiator
and put the sponge.
Tool:
Open-end
wrench 16#
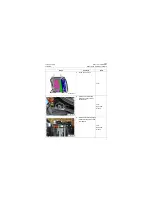
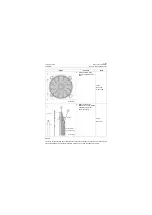
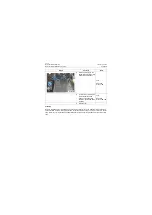
4. Install the upper plate and
tighten the 4 captive bolts of
the upper and lower con-
necting plates.
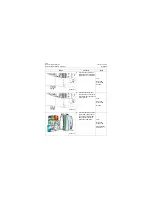
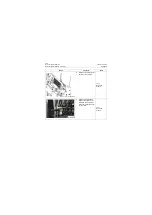
CAUTION: The radiator
assembly shall be held
by someone or using
corresponding stabilizing
equipment to prevent radiator
assembly from tilting when
above 1, 2, 3, 4 operations are
carried out.
Tool:
Open-end
wrench 18#
Graph
Contents
Tools
P18P00181
P18P00182
Summary of Contents for CLG835H
Page 2: ......
Page 4: ...Contents January 24 2017 CLG835H...
Page 6: ...1 2 General Information January 24 2017 CLG835H...
Page 38: ...1 34 Machine Inspection Table January 24 2017 CLG835H...
Page 156: ...3 2 Power Train System January 24 2017 CLG835H...
Page 214: ...3 2 Power Train System January 24 2017 CLG835H...
Page 272: ...3 60 Testing and adjustment January 24 2017 Power Train Test CLG835H...
Page 276: ...4 4 Hydraulic System January 24 2017 CLG835H...
Page 552: ...6 2 Driver s Cab System January 24 2017 CLG835H...
Page 608: ...7 2 Structure January 24 2017 CLG835H...
Page 662: ...8 4 Electrical System January 24 2017 CLG835H...
Page 677: ...8 19 January 24 2017 Structure Function Principle CLG835H Power System P18E00014...

