Communications Using iPort or RPComm
Using RPComm
Thermo Fisher Scientific
Partisol 2000
i
and Partisol 2000
i
-D Instruction Manual
D-39
23.
Select “OK” when the proper settings have been confirmed. This will
return you to the AK Protocol Setup screen.
24.
Select “OK” while in the AK Protocol Setup screen. This will return
you to the Connection Type screen. To finish the connection setup,
select “OK” while in the Connection Type screen.
25.
From the Communicator Main screen (which is located just behind the
Connect List screen), select the “Setup” pull down menu and choose
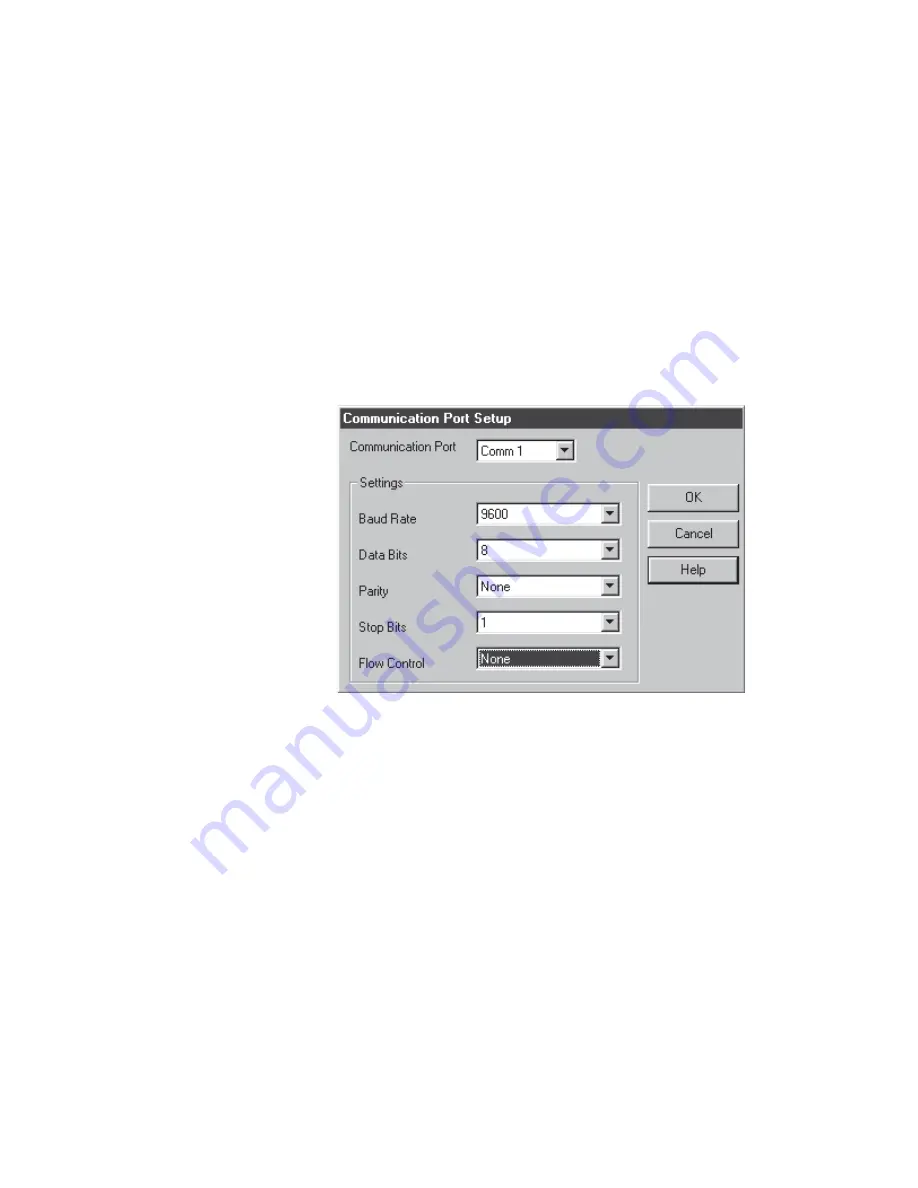
“RS232.” The Communication Port Setup screen will appear. The
settings on this screen should match the Partisol 2000
i
/2000
i
-D
Sampler settings as shown in
Figure D–27
.
Figure D–27.
Communication Port Setup Screen
26.
Connect to one of the instruments through the modem by highlighting
the connection name on the RPComm Connect List screen (
Figure D–
20
) and then select the Connection icon on the tool bar. The modem
connection will now be initiated. When communication is established,
the instrument’s main screen will be displayed.
Note
If the connection is successful, the unit’s serial number will be
displayed at the top of the screen. If the connection is not successful or if
there is no instrument attached, then the serial number area will be blank
or will display “99999.” If the modem loses its connection, wait at least 1
minute before trying to establish another connection. This allows the
modem to reset itself.
▲


