Optimizing in the workspace 331
3.
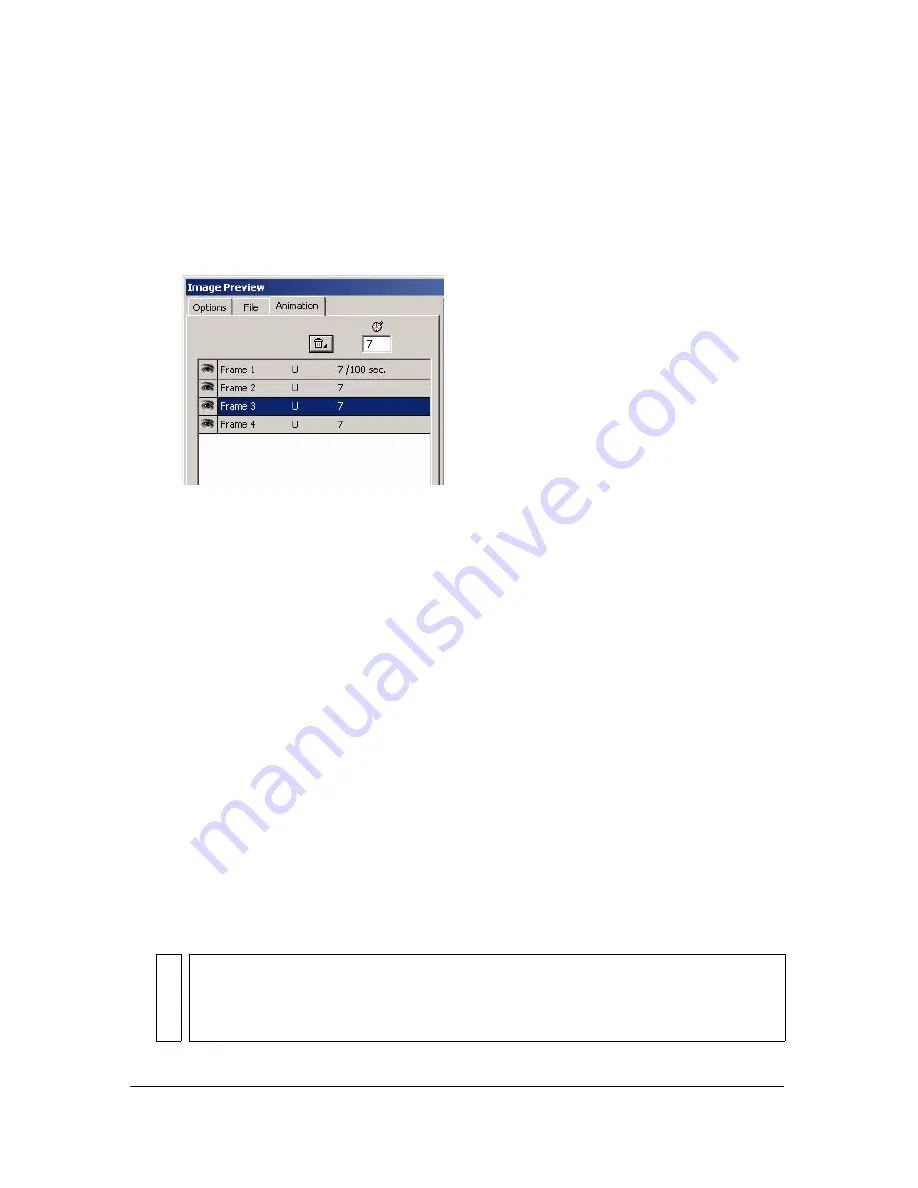
Make edits to the animation:
■
To specify the frame disposal method, select the desired frame in the list and select an
option from the pop-up menu (indicated by the trash can icon).
■
To set the frame delay, select the desired frame in the list and enter the delay time in
hundredths of a second in the Frame Delay field.
■
To set the animation to play repeatedly, click the Looping button and select the
desired number of repetitions from the pop-up menu.
■
Select the Auto-Crop option to crop each frame as a rectangular area, so that only the
image area that differs between frames is output. Selecting this option reduces file size.
■
Select the Auto-Difference option to output only pixels that change between frames.
Selecting this option reduces file size.
Optimizing in the workspace
Exporting graphics for use on the web is a two-step process: optimizing, then exporting (or in
some cases, simply saving). Optimizing graphics ensures they possess the right mix of color,
compression, and quality. After you finalize a graphic’s optimization settings, the graphic is
ready for export.
You don’t have to use the Export Wizard and Image Preview in Fireworks if you’re comfortable
optimizing and exporting graphics. Fireworks has optimization and export features in the
workspace that give you greater control over how files are exported:
■
The Optimize panel contains the key controls for optimizing. For 8-bit file formats, it also
contains a color table that displays the colors in the current export color palette.
NO
T
E
When a slice is selected, the Optimize panel displays optimize settings for the
selected slice. Likewise, when the whole document is selected, the Optimize panel
displays optimize settings for the whole document. In other words, the active
selection determines what is displayed in the Optimize panel.
Summary of Contents for FIREWORKS 8
Page 1: ...Using Fireworks...
Page 78: ...78 Chapter 3 Selecting and Transforming Objects...
Page 142: ...142 Chapter 5 Working with Vector Objects...
Page 166: ...166 Chapter 6 Using Text...
Page 192: ...192 Chapter 7 Applying Color Strokes and Fills...
Page 234: ...234 Chapter 9 Layers Masking and Blending...
Page 250: ...250 Chapter 10 Using Styles Symbols and URLs...
Page 324: ...324 Chapter 13 Creating Animation...
Page 372: ...372 Chapter 14 Optimizing and Exporting...
Page 444: ...444 Chapter 16 Automating Repetitive Tasks...
Page 454: ...454 Chapter 17 Preferences and Keyboard Shortcuts...
Page 472: ...472 Index...


