9.3 Operation
9 - 8
In the [Output to] field, turn on the radio button [Printer],
[Text File] or [Excel File].
When the [Text File] or [Excel File] radio button is turned on,
click the button located at the right end of the entry box,
and specify a file storage location and a file name.
On completion of the above input, click the [OK] button to
close the dialog box.
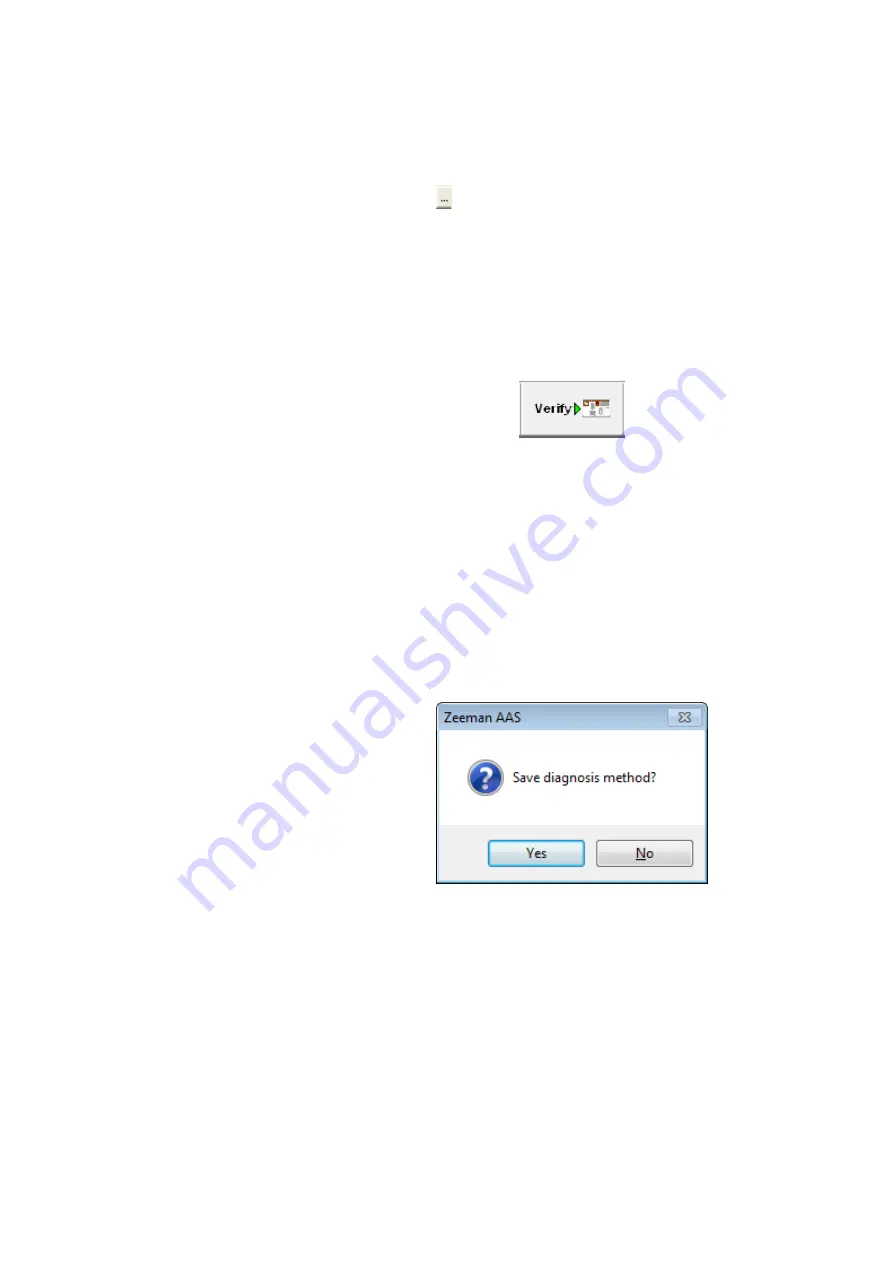
(1) After setting the conditions, click the [Verify] button.
Fig. 9-6 [Verify Instrument Diagnosis Conditions]
Button
(2) A message appears to check your intention of saving the
conditions. It is recommended to save the conditions here
because they cannot be copied from the measured data in
the instrument diagnosis mode.
For saving the conditions, click [Yes] and specify the file
location and name.
For avoiding the saving operation, click [No].
Fig. 9-7 Dialog Box for Saving Instrument
Diagnosis Conditions
(3) In the [Instrument Control] menu, click [Autosampler
Control] and then [Move Nozzle] for adjusting the nozzle
position.
(4) In the [Instrument Control] menu, click [Maximum Heating]
to heat the graphite cuvette for 5 to 10 seconds.
9.3.3 Preparation
for
Measurement
Summary of Contents for ZA3000 Series
Page 423: ...9 3 5 9 11 Fig 9 14 Diagnosis Log Dialog Box ...
Page 449: ...10 5 Reflecting on Analysis Conditions 10 24 Fig 10 16 Method Window Unmark the checkbox ...
Page 455: ...INDEX 4 V Verify 3 34 W Working curve graph 4 1 Wavelength accuracy 9 1 ...
Page 456: ...INSTRUCTION MANUAL 7J1 9027 000 Ver 1 February 2016 MODEL HFS 4 HYDRIDE FORMATION SYSTEM ...


