CHAPTER 1: GETTING STARTED
ENERVISTA SOFTWARE
D90
PLUS
LINE DISTANCE PROTECTION SYSTEM – INSTRUCTION MANUAL
13
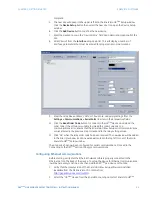
The site device has now been configured for Ethernet communications. Proceed to the
Connecting to the D90
Plus
section to begin communications.
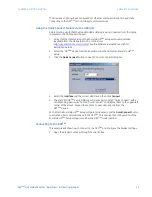
Using the Quick Connect feature via the USB port
Before starting, verify that the standard USB cable is properly connected from the laptop
computer to the front panel USB port.
1.
Verify that the latest version of the EnerVista UR
Plus
Setup software is installed
(available from the GE EnerVista CD or online from
http://gegridsolutions.com/multilin
). See the Software Installation section for
installation details.
2.
Select the “UR
Plus
” device from the EnerVista Launchpad to start EnerVista UR
Plus
Setup.
3.
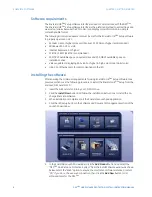
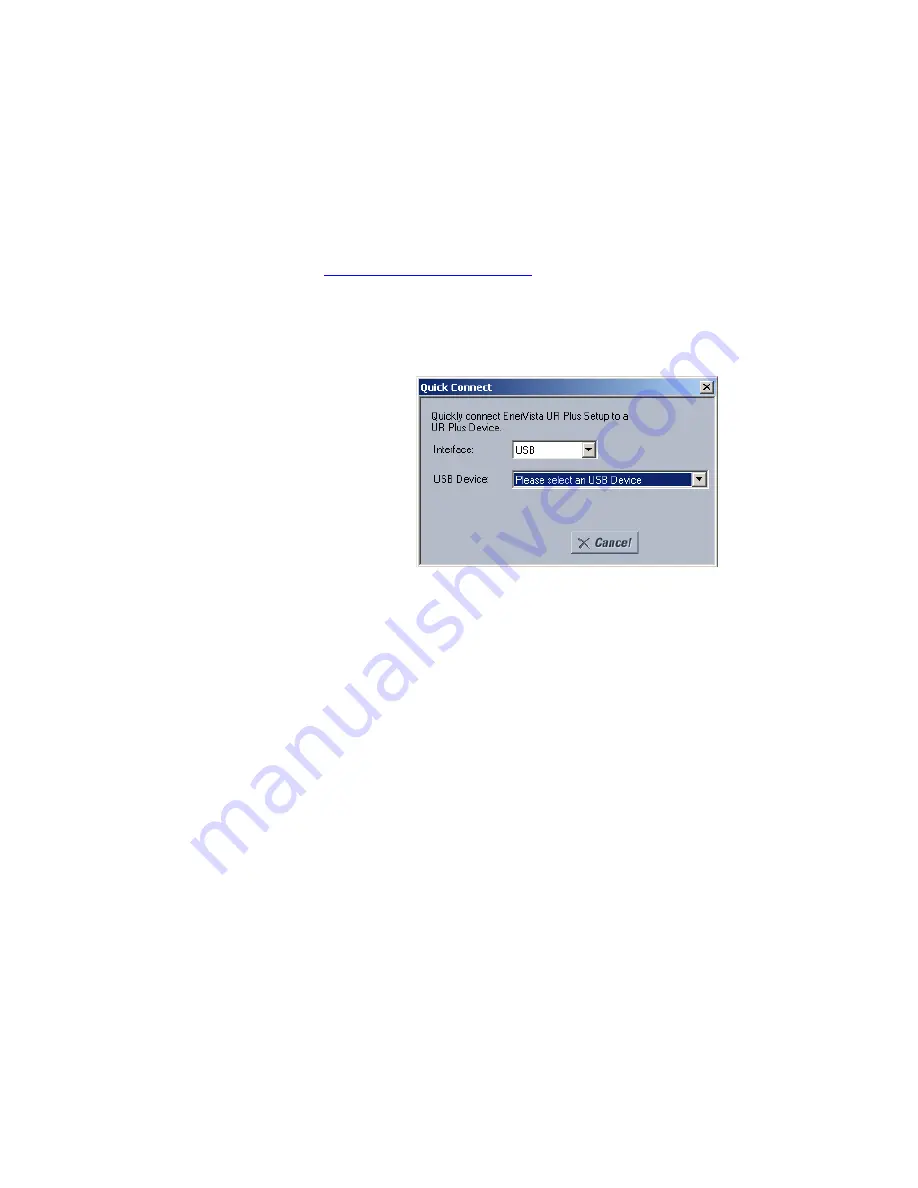
Click the
Quick Connect
button to open the Quick Connect dialog box.
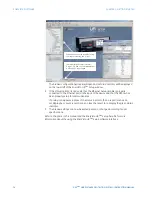
4.
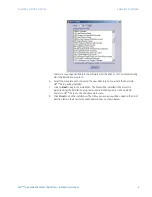
Select the
Interface
and the correct USB device, then click
Connect
.
5.
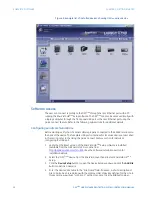
The EnerVista UR
Plus
Setup software will create a site named “Quick Connect” with a
corresponding device also named “Quick Connect” and display them on the upper-left
corner of the screen. Expand the sections to view data directly from the
D90
Plus
device.
Each time the EnerVista UR
Plus
Setup software is initialized, click the
Quick Connect
button
to establish direct communications to the D90
Plus
. This ensures that configuration of the
EnerVista UR
Plus
Setup software matches the D90
Plus
model number.
Connecting to the D90
Plus
This example will show how to connect to the D90
Plus
and configure the breaker settings.
1.
Open the Breakers window through the site list tree.


