GE M
EDICAL
S
YSTEMS
D
IRECTION
FK091075, R
EVISION
04
V
IVID
3N P
RO
/E
XPERT
S
ERVICE
M
ANUAL
8-52
Section 8-4 - Front End Parts Replacement
8-4-5-3 Front End Crate Removal Procedure
(cont’d)
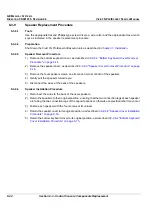
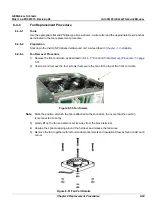
10) Disconnect the two Ground cables from the crate - see
Figure 8-48 "Fan Power Cable Connections"
on page 8-51
.
11) Carefully remove the front end crate.
CAUTION:
To avoid damaging the Ground cables, pull the crate out very slowly.
8-4-5-4
Front End Crate Installation Procedure
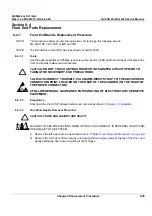
1) Return the front end crate, but do not slide it to its final position.
2) Reconnect the two Ground cables to their original position on the front end crate.
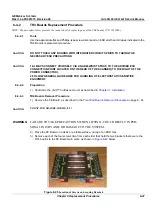
3) Reconnect the front end fan power cable, located on the upper part of the outside wall of the
front end crate.
4) Gently slide the front end crate back to its original position.
5) Fasten the front end crate to the frame with the eight screws.
6) Reconnect the PCI cable to the Image Port Board and slide it back to its original slot in the crate.
7) Mount the PCI flat cable under the spring clamp, and then tighten the two winding nuts to secure
the cable to the right wall of the crate.
8) Reconnect the AC power cable to the DC power supply.
9) Return the front door of the crate and tighten the two screws that secure the door in place.
10) Return the left side cover to its original position, as described in
8-2-2-4 "Side Covers Installation
Procedure" on page 8-4
.
11) Ensure that the filter is clean, and then return it to its original position.
Note:
Refer to
Chapter 10 -
Periodic Maintenance
for filter cleaning procedures.
12) Reconnect the probes.
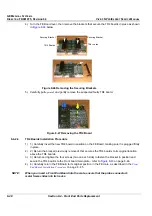
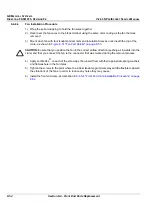
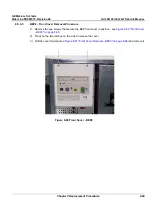
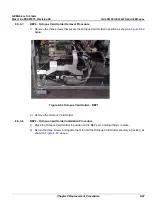
Figure 8-49 Front End Crate
Содержание Vivid 3N Pro Series
Страница 2: ......
Страница 5: ...GE MEDICAL SYSTEMS DIRECTION FK091075 REVISION 04 VIVID 3N PRO EXPERT SERVICE MANUAL ii iii...
Страница 24: ...GE MEDICAL SYSTEMS DIRECTION FK091075 REVISION 04 VIVID 3N PRO EXPERT SERVICE MANUAL xxii...
Страница 597: ......

