GE M
EDICAL
S
YSTEMS
D
IRECTION
FK091075, R
EVISION
04
V
IVID
3N P
RO
/E
XPERT
S
ERVICE
M
ANUAL
7-52
Section 7-3 - Performing Front End (FE) Diagnostics
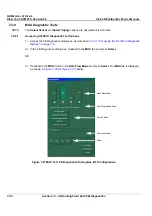
7-3-9-1 Accessing the MUX Diagnostic Test Options
(cont’d)
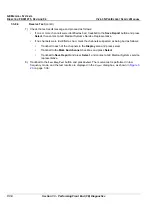
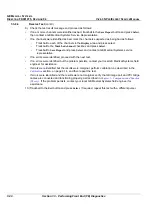
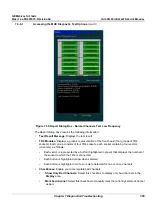
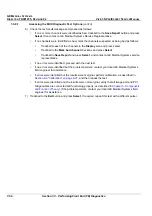
4) Trackball to each of the following buttons in turn (in the order stated below) and press
Select
to
perform the specific test:
•
Normal channels:
Test the output channels from the input channels, as described in
Normal
Channels Diagnostic Tests
below.
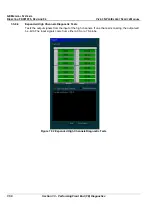
•
Expanded low channels:
Tests output signals in CW-Mode only, when the input channels are
connected to the output channels, as described in
7-3-9-3 "Expanded Low Channels Diagnostic
Tests" on page 7-57
.
•
Expanded high channels:
Tests the output signals from the input of the high channels, as
described in
7-3-9-4 "Expanded High Channels Diagnostic Tests" on page 7-58
.
•
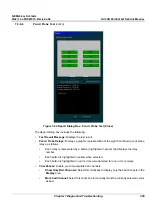
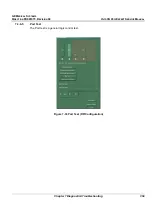
Port Test:
Performs a general logic test, as described in
7-3-9-5 "Port Test" on page 7-59
.
•
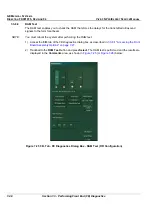
Advanced board tests:
The advanced board tests are described in
7-3-9-6 "Advanced Board
Tests" on page 7-61
. This includes procedure instructions for performing the following tests:
•
TEE Probe Control
on page 7 - 61
•
AC Power Input Test
on page 7 - 63.
•
LVPS Voltage Test
on page 7 - 65.
•
HVPS Voltage Test
on page 7 - 66.
•
Temp Test
on page 7 - 67.
•
Show History
on page 7 - 68.
7-3-9-2
Normal Channels Diagnostic Tests
Tests the output channels from the input channels. This test setting is used for all modes, except
CW-Mode.
The Normal Channels Diagnostic Tests check each amplifier output against the predefined output level.
This system test is performed in Phased Array Probe Simulation mode. The FEC board injects analog
signals to the Tx amplifiers inputs after the Tx switch. The test lasts approximately 4 minutes.
Note:
System re-boot is required if the tests are not being performed in the sequence described in
Section 7-3 "Performing Front End (FE) Diagnostics" on page 7-5
.
1) Disconnect all the probes.
2) Access the
F.B.
tab of the
FE Diagnostics
dialog box, as described in
7-3-8-1 "Accessing the Front
Board Assembly Options" on page 7-27
.
3) Trackball to
Pulser 1
(High Voltage Power Supply [HVPS] +/-80V) or
Pulser 2
(Low Voltage Power
Supply [LVPS] +/-40V) and press
Select
.
Trackball to the
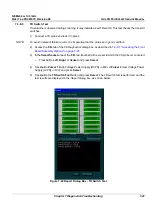
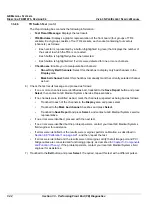
Normal Channels Test
button and press
Select
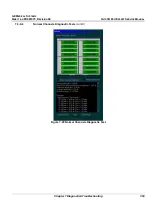
. The normal channels diagnostic test
is performed, and the test results are displayed in the
Report
dialog box, as shown below:
Содержание Vivid 3N Pro Series
Страница 2: ......
Страница 5: ...GE MEDICAL SYSTEMS DIRECTION FK091075 REVISION 04 VIVID 3N PRO EXPERT SERVICE MANUAL ii iii...
Страница 24: ...GE MEDICAL SYSTEMS DIRECTION FK091075 REVISION 04 VIVID 3N PRO EXPERT SERVICE MANUAL xxii...
Страница 597: ......

