10 - 19
10 Operation
G5-series Linear Motors/Servo Drives With Built-in EtherCAT Communications
10-3
Lin
ear Moto
r Setu
p
10
1
0-3-2
Ope
ration from th
e CX-Dr
ive
8
Follow the instructions displayed on the screen to update the parameter settings in the
Servo Drive.
(1) Click [Save to EEPROM] button.
This sends the parameter settings displayed on the screen to the Servo Drive and saves
them in the EEPROM.
(2) Change to the offline mode.
(3) Turn OFF and then turn ON the power supply of the Servo Drive again to enable the
above parameter settings.
(4) If the CX-Drive is connected via USB connection, according to the instructions
displayed on the screen, disconnect the communications cable to the motion
controller.
If the CX-Drive is connected via EtherCAT connection and no instructions are
displayed, proceed to the next step without disconnecting the cable.
(5) Change to the online mode.
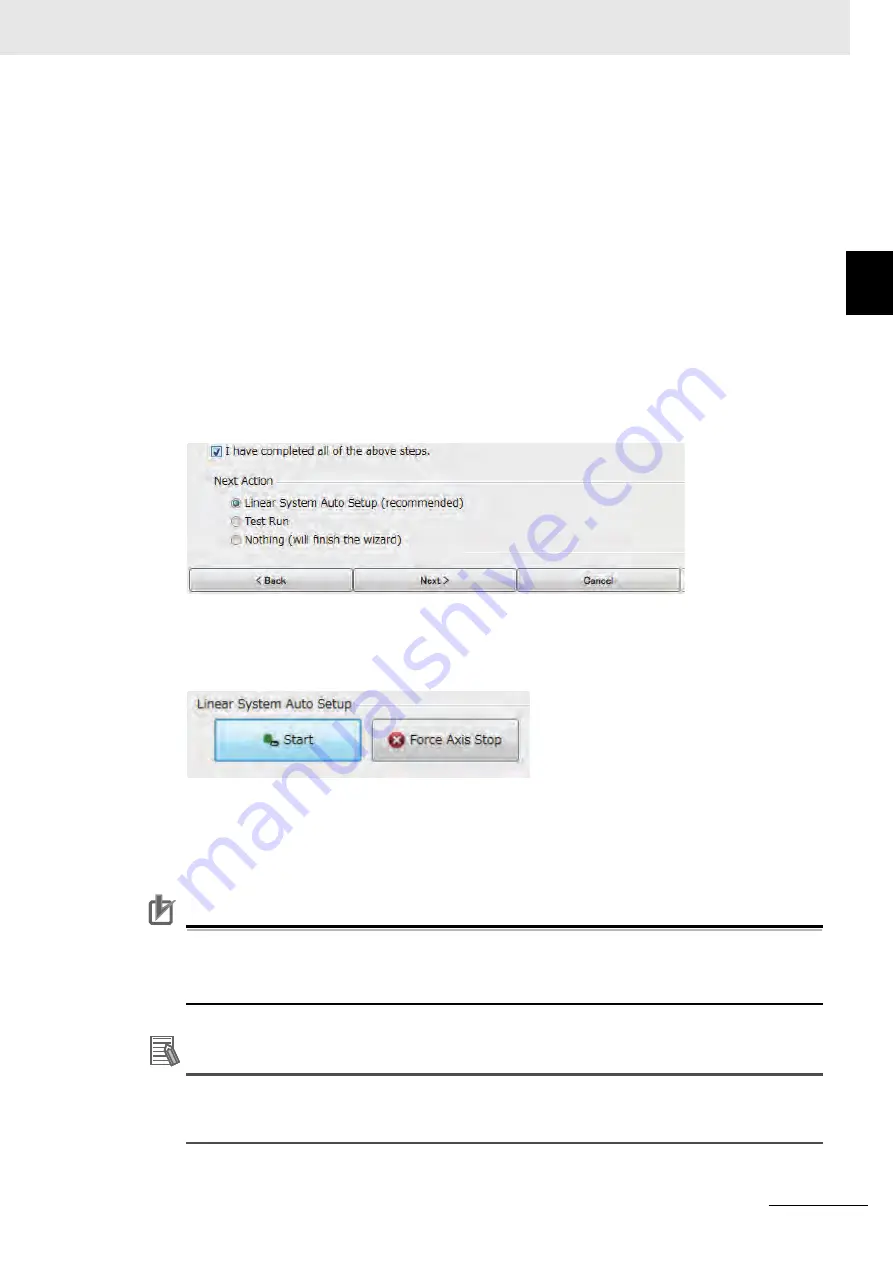
9
Click [I finished all steps in the above] check box.
10
Select [Linear System Auto Setup (recommended)] from [Next Action] and click [Next]
button.
11
Check the [Start] button displayed on the screen.
Make sure that the [Start] button can be clicked at this point.
If the [Start] button is grayed out and cannot be clicked, this software may not be set to the
commissioning mode. In this case, refer to 10-3-3 Connection from the CX-Drive via Network on
page 10-23 to switch to the commissioning mode.
Precautions for Correct Use
Precautions for Correct Use
Note that the Linear Motor moves when the Linear System Auto Setup is executed.
Click [Force Axis Stop] button to interrupt the Linear System Auto Setup and stop the Linear
Motor forcibly.
Additional Information
If the CX-Drive is connected via USB connection and no EtherCAT cable is connected, you may
click the [Start] button even when it is not set to the Test Run mode. If you can click the [Start]
button, go straight forward to the next step.


