Configuring Updates
179
n
ov
do
cx (e
n)
16
Ap
ril 20
10
3
Fill in the fields:
Proxy Server Address:
Specify the DNS name or IP address of the proxy server.
Proxy Server Port:
Specify the proxy server’s communication port.
Proxy Server Requires Authentication:
When you select this check box, the
User
and
Password
fields become editable. If authentication is required, select this check box and
specify the username and password for access to the proxy server.
4
Click
Apply
to make the changes effective.
5
Either click
OK
to close the page, or continue with
another configuration task
.
If you did not click
Apply
to make your changes effective, clicking
OK
does so. Clicking
Cancel
also closes the page, but loses your unapplied changes.
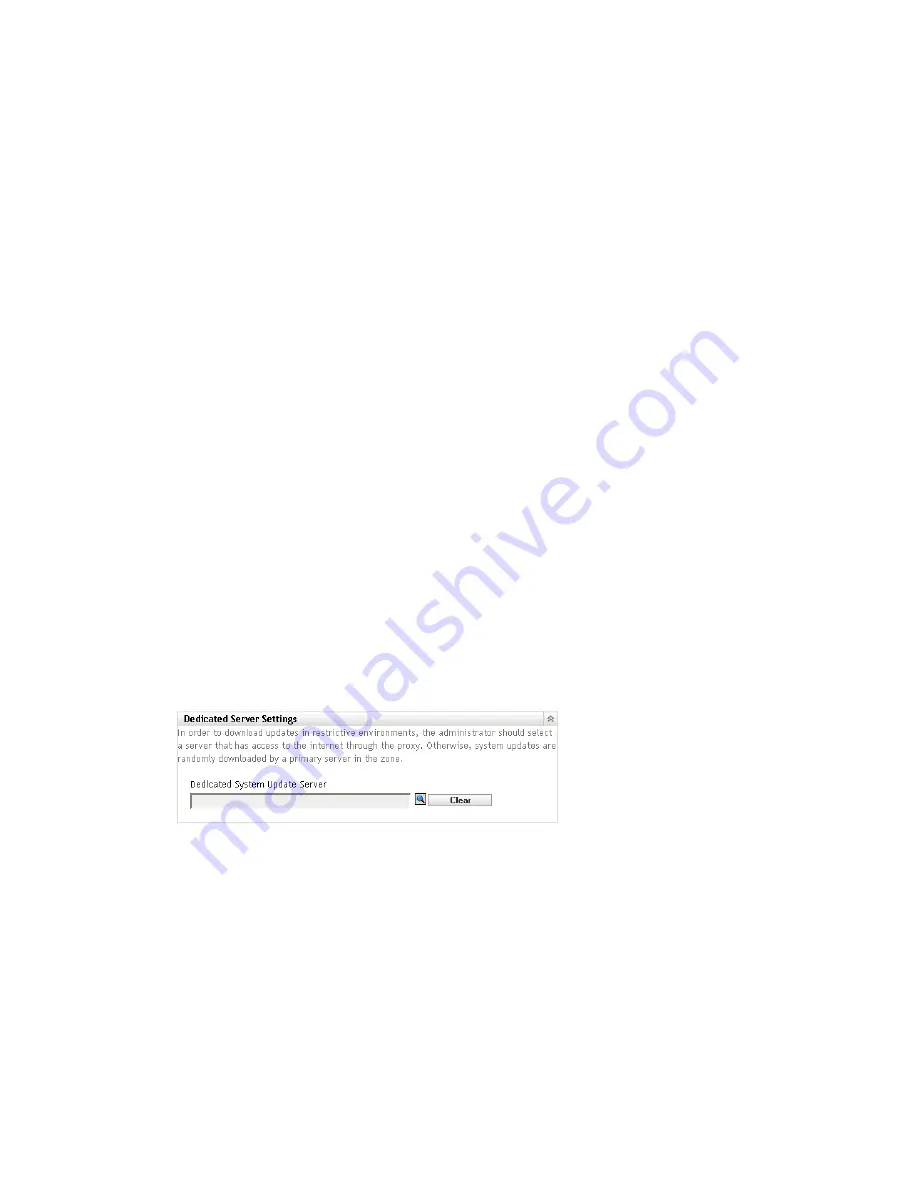
20.1.5 Dedicated Server Settings
By default, any available Primary Server in the Management Zone can be used randomly to
download the updates. However, you can specify one ZENworks Server to be dedicated to handling
your update downloads. The server that you select should have access to the Internet, directly or
through a
proxy server
.
The following sections contain more information:
“Specifying a Dedicated Update Server” on page 179
“Clearing a Dedicated Update Server” on page 180
Specifying a Dedicated Update Server
1
In ZENworks Control Center, click
Configuration
in the left pane.
2
On the
Configuration
tab, expand the
Management Zone Settings
section (if necessary), click
Infrastructure Management
, then click
System Update Settings
to display the Dedicated Server
Settings panel:
3
Browse for and select a ZENworks Primary Server.
The server’s identification is displayed in the
Dedicated System Update Server
field.
This ZENworks Server must be a member of the Management Zone.
4
Click
Apply
to make the changes effective.
5
Either click
OK
to close the page, or continue with
another configuration task
.
If you did not click
Apply
to make your changes effective, clicking
OK
does so. Clicking
Cancel
also closes the page, but loses your unapplied changes.


