Chapter 6: Using the Web Interface
98
Collapsing the Tree
You can collapse the whole tree structure or a specific component group
to hide all or partial tree items.
To collapse the whole tree:
Click the black, gradient arrow prior to the root folder icon, or
double-click the root folder.
Note: This folder is named "my PX" by default. The name can be
customized.
The arrow then turns into a white arrow , and all items below the
folder disappear.
To hide some tree items:
1. Click the black, gradient arrow prior to the component group
folder that you want to collapse, or double-click the folder.
The arrow then turns into a white arrow , and all items below the
folder disappear.
2. Repeat Step 1 for other component groups you want to collapse.
Setup Button
The Setup button is available for most tree items. It triggers a setup
dialog where you can change settings for the selected tree item.
Status Bar
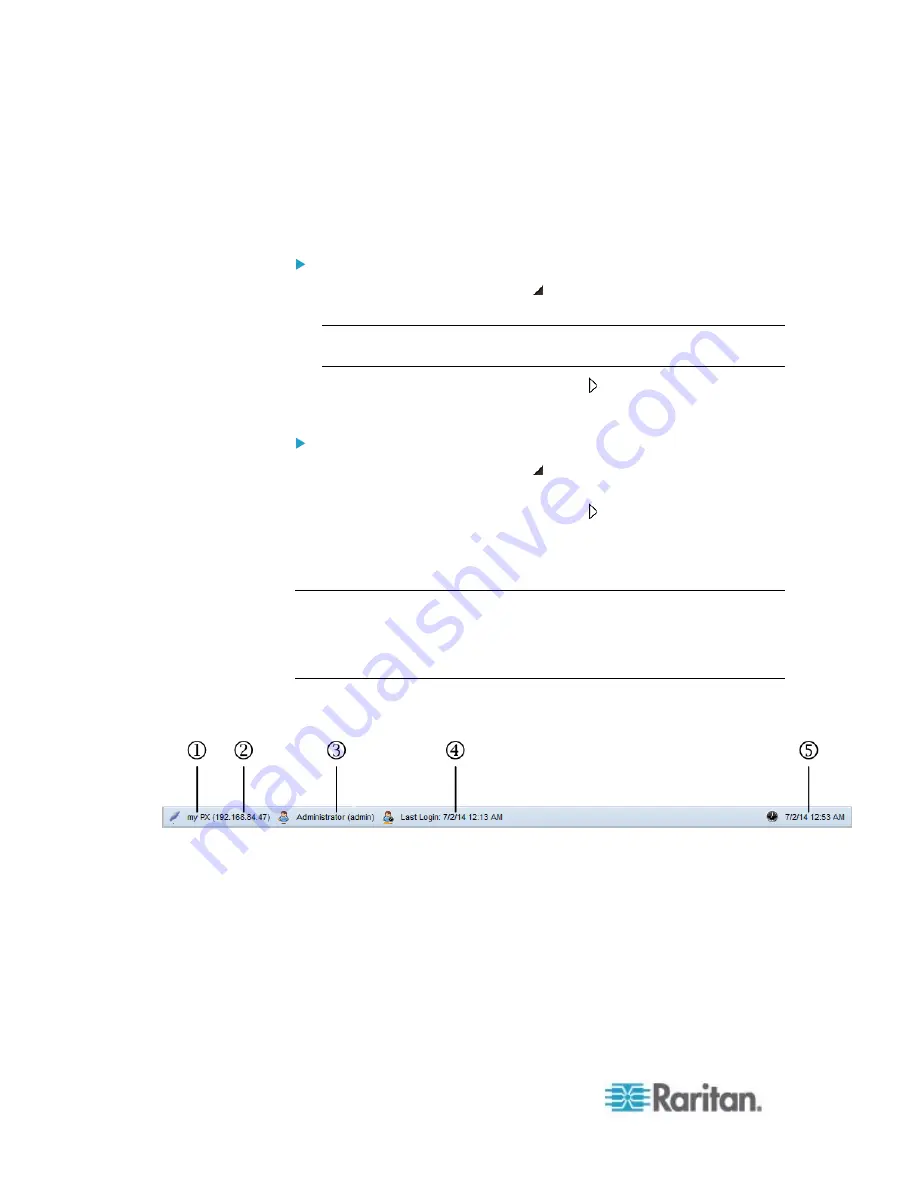
The status bar shows five pieces of information.
1.
Device name:
This is the name assigned to the PX device. The default is "my PX."
See
Naming the PDU
2.
IP address:
The numbers enclosed in parentheses is the IP address assigned to
the PX device. See
Initial Network Configuration via CLI
(on page
Modifying Network Settings
(on page 116).
Summary of Contents for PX2-1000 SERIES
Page 5: ......
Page 71: ...Chapter 4 Connecting External Equipment Optional 52...
Page 231: ...Chapter 6 Using the Web Interface 212 8 Click OK...
Page 589: ...Appendix I RADIUS Configuration Illustration 570 Note If your PX uses PAP then select PAP...
Page 594: ...Appendix I RADIUS Configuration Illustration 575 14 The new attribute is added Click OK...
Page 595: ...Appendix I RADIUS Configuration Illustration 576 15 Click Next to continue...
Page 627: ...Appendix K Integration 608 3 Click OK...
Page 647: ...Index 629 Z Zero U Connection Ports 74 Zero U Products 2...


