Chapter 6: Using the Web Interface
260
7. Select State Sensor because the contact closure sensor is a discrete
sensor, which indicates the environmental changes through the
status changes.
8. Select "Alarmed/Open/On" in the submenu since we want the action
"Activate Loading Shedding" to be taken when the selected contact
closure sensor changes its state related to the "alarmed" state.
9. In the "Trigger condition" field, select the Alarmed radio button
because we want the PX to respond to the event only when the
contact closure sensor enters the Alarm state.
A Note about Infinite Loop
You should avoid building an infinite loop when creating event rules.
The infinite loop refers to a condition where the PX keeps busy because
the action or one of the actions taken for a certain event triggers an
identical or similar event which will result in an action triggering one
event again.
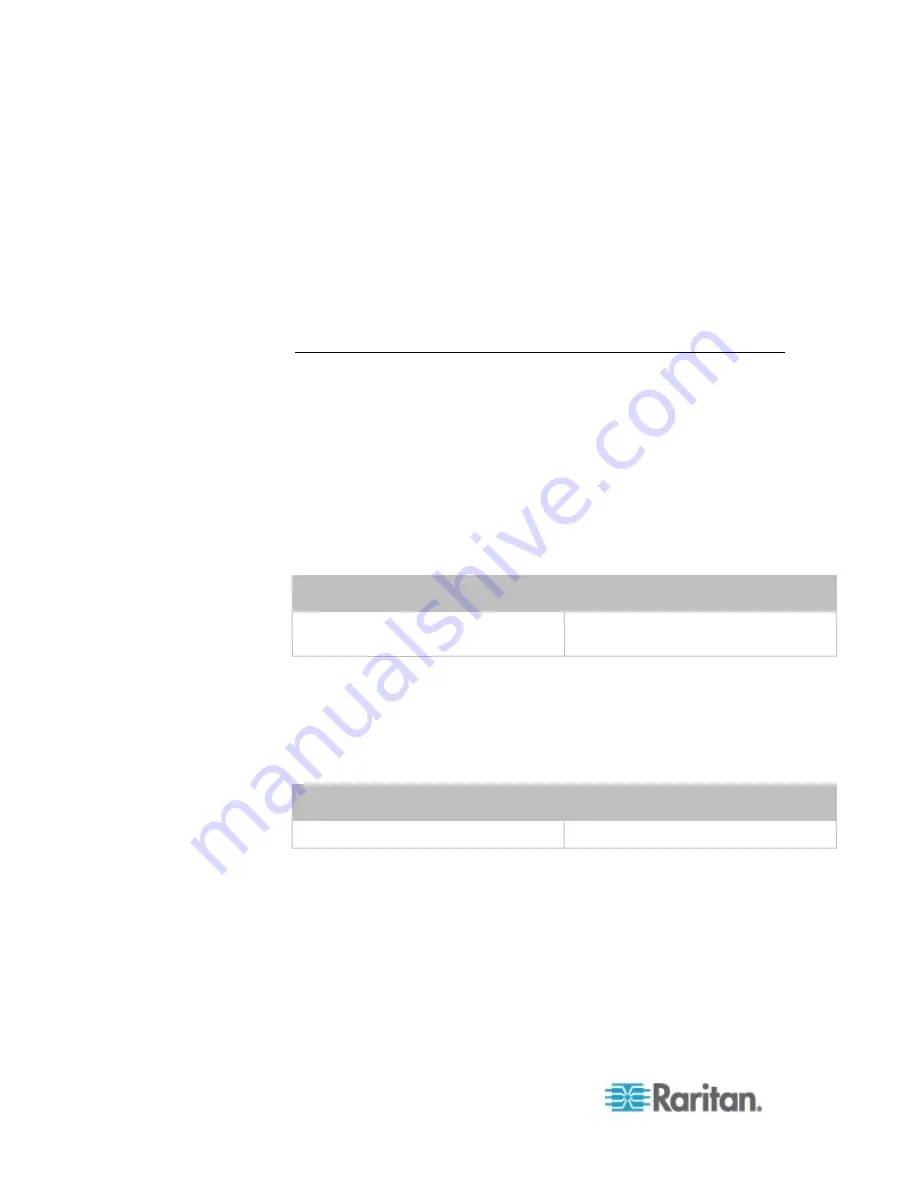
Example 1
This example illustrates an event rule which continuously causes the PX
to send out email messages.
Event selected
Action included
Device > Sending SMTP message
failed
Send email
Example 2
This example illustrates an event rule which continuously causes the PX
to send out SMTP messages when one of the selected events listed on
the Device menu occurs. Note that <Any sub-event> under the Device
menu includes the event "Sending SMTP message failed."
Event selected
Action included
Device > Any sub-event
Send email
Summary of Contents for PX2-1000 SERIES
Page 5: ......
Page 71: ...Chapter 4 Connecting External Equipment Optional 52...
Page 231: ...Chapter 6 Using the Web Interface 212 8 Click OK...
Page 589: ...Appendix I RADIUS Configuration Illustration 570 Note If your PX uses PAP then select PAP...
Page 594: ...Appendix I RADIUS Configuration Illustration 575 14 The new attribute is added Click OK...
Page 595: ...Appendix I RADIUS Configuration Illustration 576 15 Click Next to continue...
Page 627: ...Appendix K Integration 608 3 Click OK...
Page 647: ...Index 629 Z Zero U Connection Ports 74 Zero U Products 2...


