Chapter 6: Using the Web Interface
240
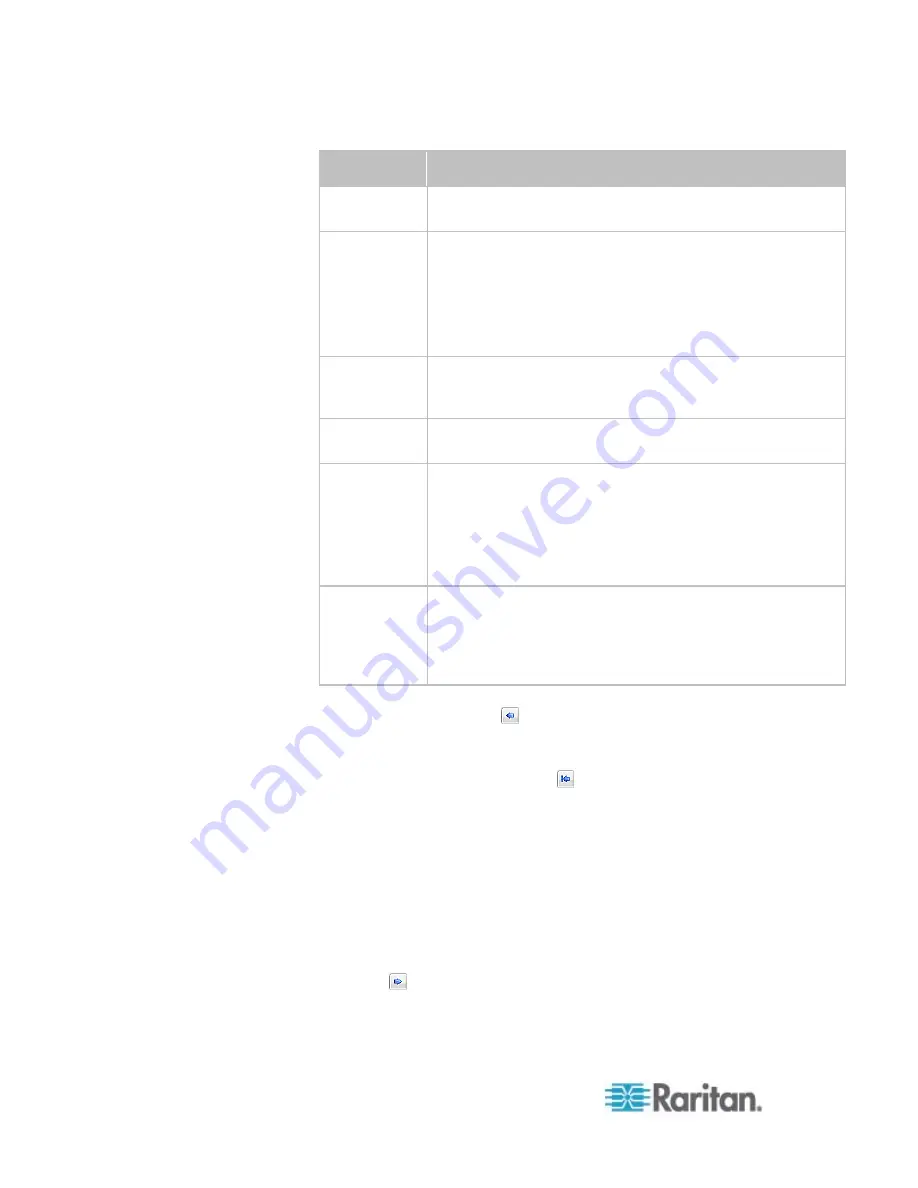
Time options Frequency settings
Minutes
The frequency in minutes ranges from every minute, every 5
minutes, every 10 minutes and so on until every 30 minutes.
Hourly
The hourly option sets the timing to either of the following:
The Minute field is set to 0 (zero). Then the action is
performed at 1:00 am, 2:00 am, 3:00 am and so on.
The Minute field is set to a non-zero value. For example, if
it is set to 30, then the action is performed at 1:30 am,
2:30 am, 3:30 am and so on.
Daily
You need to specify the time for this daily option. For
example, if you specify 13:30 in the Time field, the action is
performed at 13:30 pm every day.
Weekly
Both the day and time must be specified for the weekly
option. Days range from Sunday to Monday.
Monthly
Both the date and time must be specified for the monthly
option. The dates range from 1 to 31, and the time is
specified in 24-hour format.
Note that NOT every month has the date 31, and February in
particular does not have the date 30 and probably even 29.
Check the calendar when selecting 29, 30 or 31.
Yearly
This option requires three settings:
Month - January through December.
Date - 1 to 31.
Time - the value is specified in 24-hour format.
7. In the Actions field, select the desired action from the "Available
actions" list box, and click
to move it to the "Selected actions" list
box. To make multiple selections, press Ctrl+click or Shift+click to
highlight multiple ones.
To add all actions, simply click
.
If the desired action is not available yet, click Create New Action
to immediately create it. Upon complete, the newly-created
action is moved to the "Selected actions" list box. See
Creating
Actions
(on page 214).
When creating new actions from the Scheduled Actions tab,
available actions are less than usual because it is meaningless to
schedule certain actions like "Alarm," "Log event message,"
"Send email," "Syslog message" and the like.
8. To remove any action, select it from the "Selected actions" list box,
and click
to move it back to the "Available actions" list box. To
make multiple selections, press Ctrl+click or Shift+click to highlight
multiple ones.
Summary of Contents for PX2-1000 SERIES
Page 5: ......
Page 71: ...Chapter 4 Connecting External Equipment Optional 52...
Page 231: ...Chapter 6 Using the Web Interface 212 8 Click OK...
Page 589: ...Appendix I RADIUS Configuration Illustration 570 Note If your PX uses PAP then select PAP...
Page 594: ...Appendix I RADIUS Configuration Illustration 575 14 The new attribute is added Click OK...
Page 595: ...Appendix I RADIUS Configuration Illustration 576 15 Click Next to continue...
Page 627: ...Appendix K Integration 608 3 Click OK...
Page 647: ...Index 629 Z Zero U Connection Ports 74 Zero U Products 2...


