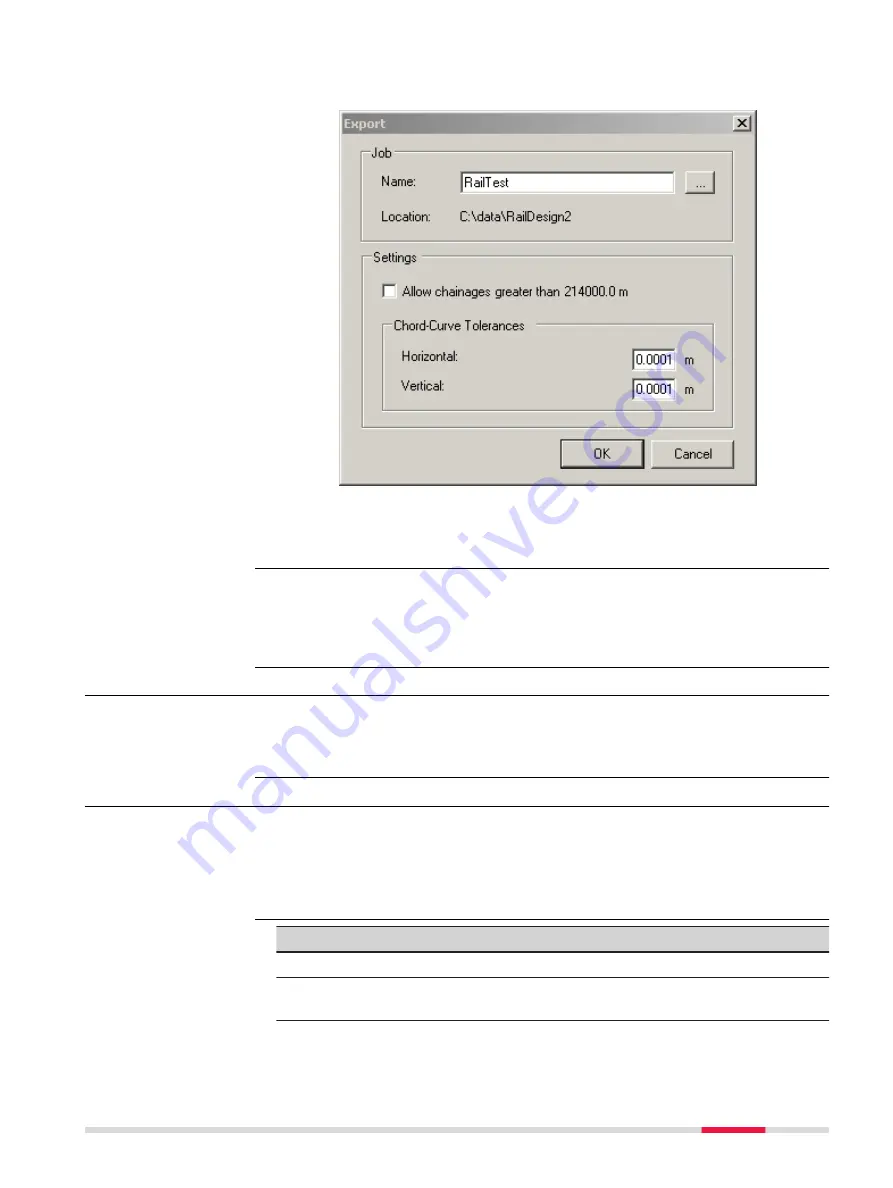
13.
Creating the files for onboard use
The track design can now be prepared.
Click
OK
to create the files for onboard use. The database files are
created and are located in the same folder as the source alignment
files.
Refer to the Design to Field User Manual for details on importing various types
of data with various field importers. This manual is included in the Design to
Field Converters install application RR_Design_to_Field.exe, which can be down-
loaded.
46.1.4
Loading the Track Design onto the Instrument
Once the track design has been converted, copy all the database files to the
\
DBX folder of the data storage device of the instrument. Refer to "B Directory
Structure of the Memory Device".
46.2
Defining the Work
1.
Select
Leica Captivate - Home
:
Stake rail
or
Check rail
.
2.
In the job selection panel, select the required jobs. Refer to "6.3
3.
Press
OK
.
Key
Description
OK
To continue to the next panel.
Fn
Settings
To configure the app. Refer to "43.3 Configuring Roads
☞
Loading the design
Access
Task
Roads - Rail
795
Содержание Captivate
Страница 1: ...Leica Captivate Technical Reference Manual Version 3 0 English...
Страница 153: ...3 Continue as if creating a new polyline Refer to Create new polyline Several segments Creating Points and Lines 153...
Страница 561: ...Next step Store saves the new coordinate system QuickGrid 561...
Страница 786: ...7 Stake Line To stake out the selected intersection point all delta values must be 0 000 786 Roads Road...
Страница 812: ...Tunnel Profile Editor Profile details view Tunnel Profile Editor Layer details view 812 Roads Tunnel...
Страница 839: ...Field Option Description Offset limit Editable field Maximum horizontal offset from defined pro file Roads Tunnel 839...
Страница 848: ...Field Option Description Scans com pleted Display only Number of scans being measured Number of total scans 848 Scanning...


