


Chapter 44 Multicast
XS3800-28 User’s Guide
325
The following table describes the fields in the above screen.
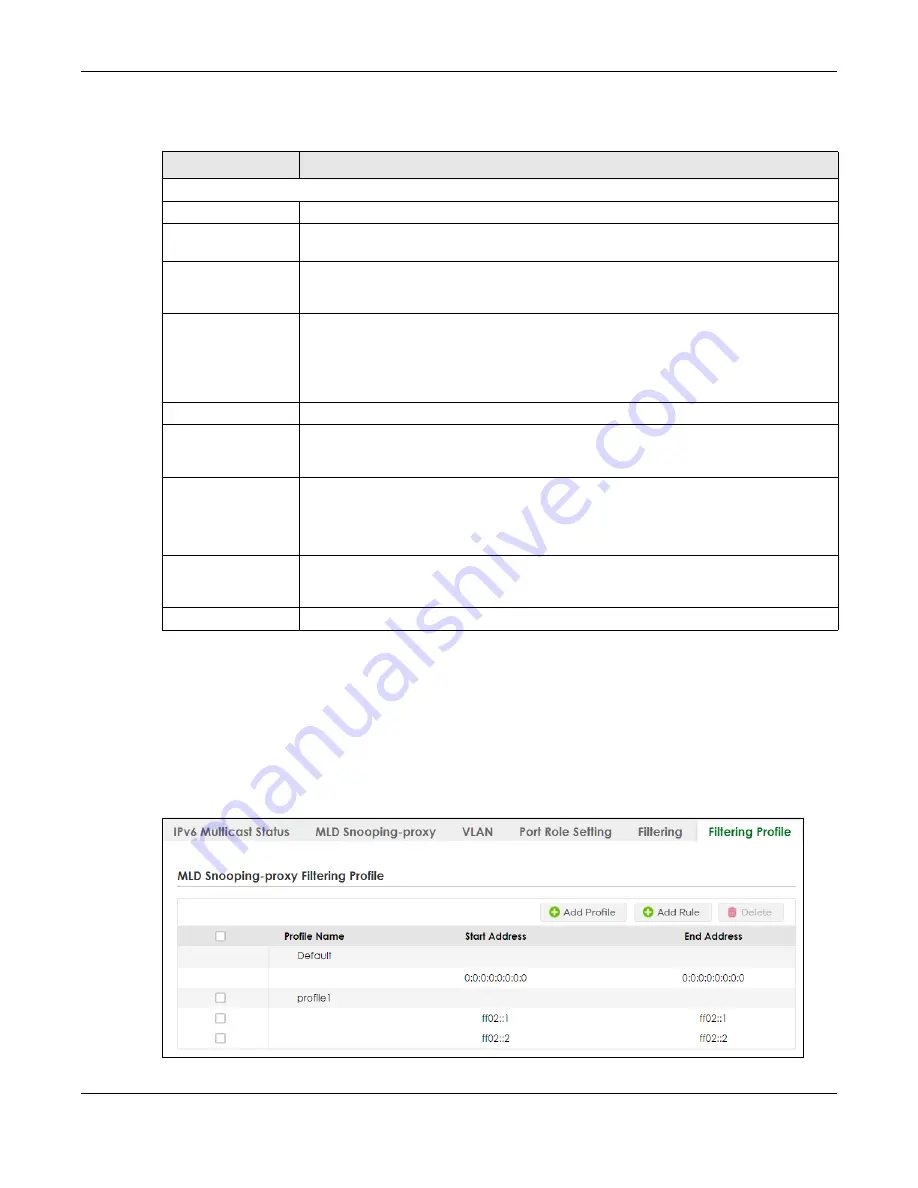
44.11 MLD Snooping-proxy Filtering Profile
Use this screen to view and create MLD filtering profiles.
Click
SWITCHING
>
Multicast
>
IPv6 Multicast
>
Filtering Profile
to display the screen as shown.
Figure 237
SWITCHING > Multicast > IPv6 Multicast > Filtering Profile
Table 145 SWITCHING > Multicast > IPv6 Multicast > Filtering
LABEL
DESCRIPTION
MLD Snooping-proxy Filtering
Active
Enable the switch button to enable MLD filtering on the Switch.
SLOT
This field appears only in Stacking mode. Click the drop-down list to choose the slot number
of the Switch in a stack.
Port
This field displays the port number. In Stacking mode, the first number represents the slot ID
and the second is the port number. Please note that the default stacking ports (the last four
ports of your Switch) cannot be configured. They are reserved for stacking only.
*
Settings in this row apply to all ports.
Use this row only if you want to make some settings the same for all ports. Use this row first to
set the common settings and then make adjustments on a port-by-port basis.
Changes in this row are copied to all the ports as soon as you make them.
Group Limit
Select this option to limit the number of multicast groups this port is allowed to join.
Max Group Number
Enter the number of multicast groups this port is allowed to join. Once a port is registered in
the specified number of multicast groups, any new MLD Report message is dropped on this
port.
MLD Snooping-proxy
Filtering Profile
Select the name of the MLD filtering profile to use for this port. Otherwise, select
Default
to
prohibit the port from joining any multicast group.
You can create MLD filtering profiles in the
SWITCHING
>
Multicast
>
IPv6 Multicast
>
Filtering
Profile
screen.
Apply
Click
Apply
to save your changes to the Switch’s run-time memory. The Switch loses these
changes if it is turned off or loses power, so use the
Save
link on the top navigation panel to
save your changes to the non-volatile memory when you are done configuring.
Cancel
Click
Cancel
to reset the fields to your previous configuration.
Summary of Contents for XS3800-28
Page 29: ...29 PART I User s Guide...
Page 54: ...54 PART II Technical Reference...
Page 88: ...Chapter 4 Web Configurator XS3800 28 User s Guide 88 Figure 51 Online Web Help...
Page 148: ...Chapter 20 Cloud Management XS3800 28 User s Guide 148 Figure 94 SYSTEM Cloud Management...
Page 263: ...Chapter 36 OAM XS3800 28 User s Guide 263 Figure 182 PORT OAM OAM Status OAM Details...
Page 540: ...Chapter 72 VRRP XS3800 28 User s Guide 540 Figure 434 VRRP Example 2 VRRP Status on Switch B...
Page 581: ...Chapter 77 Policy Rule XS3800 28 User s Guide 581 Figure 456 Policy Example...