9. Preflight check
134
Original Prusa i3 MK3S+ kit assembly
STEP 3
SuperPINDA adjustment (part 3)
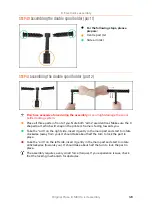
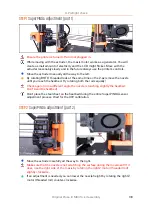
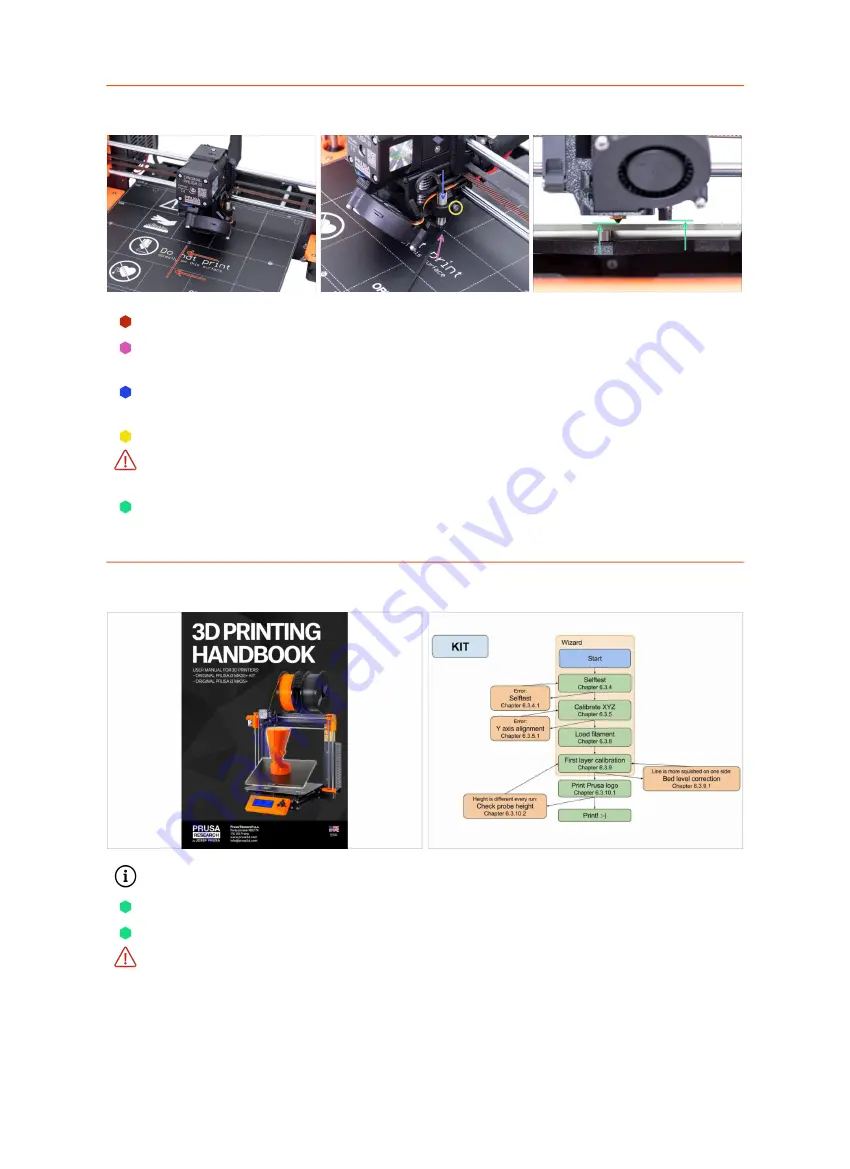
Move the extruder to the centre of the X-axis.
Take a zip tie from the package and place it under the SuperPINDA sensor. Use the
middle part of the zip tie, not the tip.
Release the screw holding the SuperPINDA sensor and gently press it against the
zip tie.
Tighten the screw on the SuperPINDA holder again.
!!! DO NOT use glue to fix SuperPINDA sensor
in the new type of holder with the
M3 screw, you won't be able to release it again !!!
A correct height of the SuperPINDA sensor compared to the nozzle should be
similar to the last picture.
STEP 4
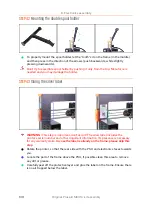
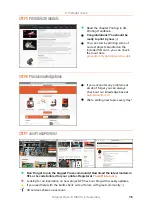
Quick guide for your first prints
See our free
3D Printing Handbook
Read the chapters Disclaimer and Safety instructions
Read the chapter Setup before printing.
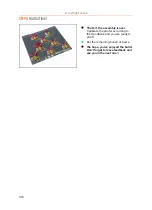
Calibrate the printer by following the chapter Calibration flow and wizard. Please
follow the steps exactly, otherwise you can permanently damage the print surface!
Summary of Contents for i3 MK3S+
Page 6: ...6 ...
Page 7: ...Original Prusa i3 MK3S kit assembly 7 1 Introduction ...
Page 15: ...Original Prusa i3 MK3S kit assembly 15 2 Y axis assembly ...
Page 36: ...36 Original Prusa i3 MK3S kit assembly 3 X axis assembly ...
Page 44: ...44 Original Prusa i3 MK3S kit assembly 4 Z axis assembly ...
Page 51: ...Original Prusa i3 MK3S kit assembly 51 5 E axis assembly ...
Page 88: ...88 Original Prusa i3 MK3S kit assembly 6 LCD assembly ...
Page 94: ...94 Original Prusa i3 MK3S kit assembly 7 Heatbed PSU assembly ...
Page 108: ...108 Original Prusa i3 MK3S kit assembly 8 Electronics assembly ...
Page 132: ...132 Original Prusa i3 MK3S kit assembly 9 Preflight check ...
Page 137: ...137 Notes ...
Page 138: ...138 ...
Page 139: ...139 Notes ...
Page 140: ...140 ...
Page 141: ...141 Notes ...
Page 142: ...142 ...
Page 143: ...143 Notes ...
Page 144: ...144 ...


