


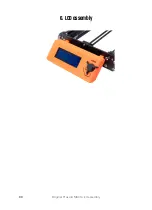


6. LCD assembly
Original Prusa i3 MK3S+ kit assembly
93
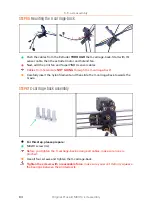
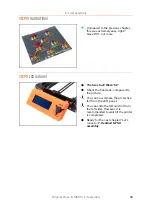
STEP 10
Haribo time!
Compared to the previous chapter,
this was extremely easy, right?
Have 10 %, not more.
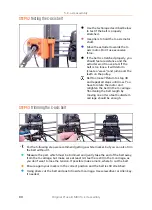
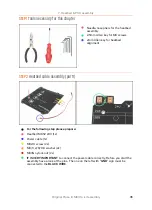
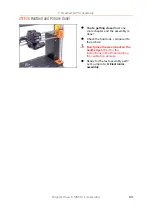
STEP 11
LCD is done!
That was fast! Wasn't it?
Check the final look, compare it to
the picture.
You can now remove the protective
foil from the LCD panel.
You can slide the SD card in (from
the left side). However, it is
recommended to wait till the printer
is completed.
Ready for the next chapter? Let's
move to:
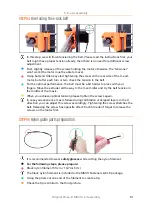
7. Heatbed & PSU
assembly
.
Summary of Contents for i3 MK3S+
Page 6: ...6 ...
Page 7: ...Original Prusa i3 MK3S kit assembly 7 1 Introduction ...
Page 15: ...Original Prusa i3 MK3S kit assembly 15 2 Y axis assembly ...
Page 36: ...36 Original Prusa i3 MK3S kit assembly 3 X axis assembly ...
Page 44: ...44 Original Prusa i3 MK3S kit assembly 4 Z axis assembly ...
Page 51: ...Original Prusa i3 MK3S kit assembly 51 5 E axis assembly ...
Page 88: ...88 Original Prusa i3 MK3S kit assembly 6 LCD assembly ...
Page 94: ...94 Original Prusa i3 MK3S kit assembly 7 Heatbed PSU assembly ...
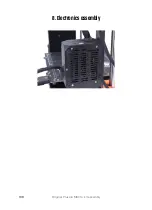
Page 108: ...108 Original Prusa i3 MK3S kit assembly 8 Electronics assembly ...
Page 132: ...132 Original Prusa i3 MK3S kit assembly 9 Preflight check ...
Page 137: ...137 Notes ...
Page 138: ...138 ...
Page 139: ...139 Notes ...
Page 140: ...140 ...
Page 141: ...141 Notes ...
Page 142: ...142 ...
Page 143: ...143 Notes ...
Page 144: ...144 ...