1. Introduction
8
Original Prusa i3 MK3S+ kit assembly
STEP 1
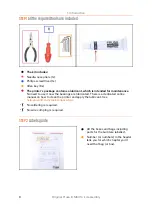
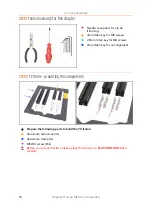
All the required tools are included
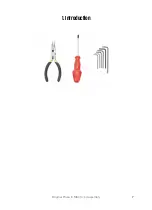
The kit includes:
Needle-nose pliers (1x)
Philips screwdriver (1x)
Allen key (6x)
The printer's package contains a lubricant, which is intended for maintenance
.
No need to use it now the bearings are lubricated. There is a dedicated online
manual on how to clean the printer and apply the lubricant. See
help.prusa3d.com/maintenance-tips
No soldering is required.
No wire crimping is required.
STEP 2
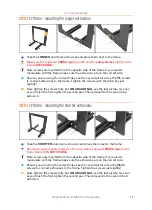
Labels guide
All the boxes and bags including
parts for the build are labelled.
Number (or numbers) in the header
tells you for which chapter you'll
need that bag (or box).
Summary of Contents for i3 MK3S+
Page 6: ...6 ...
Page 7: ...Original Prusa i3 MK3S kit assembly 7 1 Introduction ...
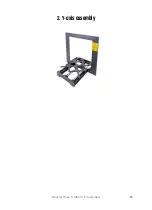
Page 15: ...Original Prusa i3 MK3S kit assembly 15 2 Y axis assembly ...
Page 36: ...36 Original Prusa i3 MK3S kit assembly 3 X axis assembly ...
Page 44: ...44 Original Prusa i3 MK3S kit assembly 4 Z axis assembly ...
Page 51: ...Original Prusa i3 MK3S kit assembly 51 5 E axis assembly ...
Page 88: ...88 Original Prusa i3 MK3S kit assembly 6 LCD assembly ...
Page 94: ...94 Original Prusa i3 MK3S kit assembly 7 Heatbed PSU assembly ...
Page 108: ...108 Original Prusa i3 MK3S kit assembly 8 Electronics assembly ...
Page 132: ...132 Original Prusa i3 MK3S kit assembly 9 Preflight check ...
Page 137: ...137 Notes ...
Page 138: ...138 ...
Page 139: ...139 Notes ...
Page 140: ...140 ...
Page 141: ...141 Notes ...
Page 142: ...142 ...
Page 143: ...143 Notes ...
Page 144: ...144 ...


