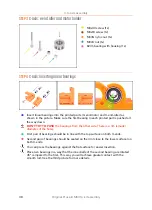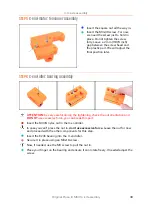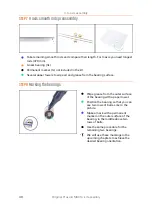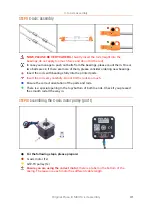
5. E-axis assembly
52
Original Prusa i3 MK3S+ kit assembly
STEP 1
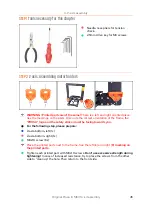
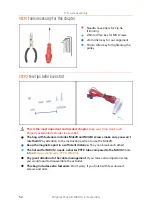
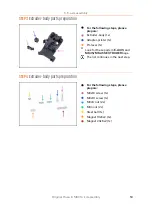
Tools necessary for this chapter
Needle-nose pliers for zip tie
trimming.
2.5mm Allen key for M3 screws
2mm Allen key for nut alignment
1.5mm Allen key for tightening the
pulley
STEP 2
Few tips before we start
This is the most important and hardest chapter
, take your time, don't rush.
Properly assembled extruder is essential.
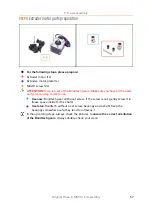
The bag with fasteners includes M3x20 and M3x18 screws make sure you won't
mix them!
Pay attention to the instructions, when to use the M3x20.
Keep the magnets apart in a sufficient distance.
They can break each other!
The hotend for MK3S+ needs a shorter PTFE tube compared to the MK3S
(more
).
Pay great attention to the cable management
, if you miss some important step
you would need to disassemble the extruder.
This bag includes extra fasteners
. Don't worry if you finish with few unused
screws and nuts.
Summary of Contents for i3 MK3S+
Page 6: ...6 ...
Page 7: ...Original Prusa i3 MK3S kit assembly 7 1 Introduction ...
Page 15: ...Original Prusa i3 MK3S kit assembly 15 2 Y axis assembly ...
Page 36: ...36 Original Prusa i3 MK3S kit assembly 3 X axis assembly ...
Page 44: ...44 Original Prusa i3 MK3S kit assembly 4 Z axis assembly ...
Page 51: ...Original Prusa i3 MK3S kit assembly 51 5 E axis assembly ...
Page 88: ...88 Original Prusa i3 MK3S kit assembly 6 LCD assembly ...
Page 94: ...94 Original Prusa i3 MK3S kit assembly 7 Heatbed PSU assembly ...
Page 108: ...108 Original Prusa i3 MK3S kit assembly 8 Electronics assembly ...
Page 132: ...132 Original Prusa i3 MK3S kit assembly 9 Preflight check ...
Page 137: ...137 Notes ...
Page 138: ...138 ...
Page 139: ...139 Notes ...
Page 140: ...140 ...
Page 141: ...141 Notes ...
Page 142: ...142 ...
Page 143: ...143 Notes ...
Page 144: ...144 ...

