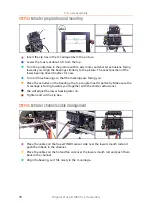
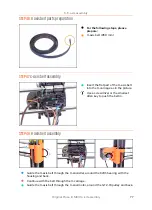

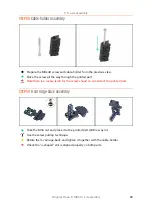
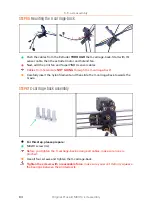


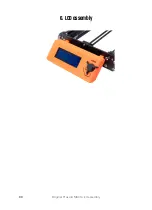


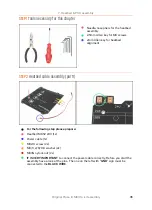


6. LCD assembly
90
Original Prusa i3 MK3S+ kit assembly
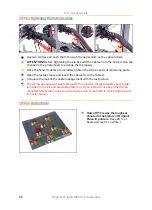
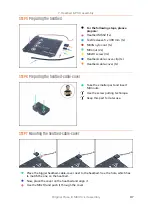
STEP 4
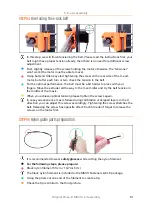
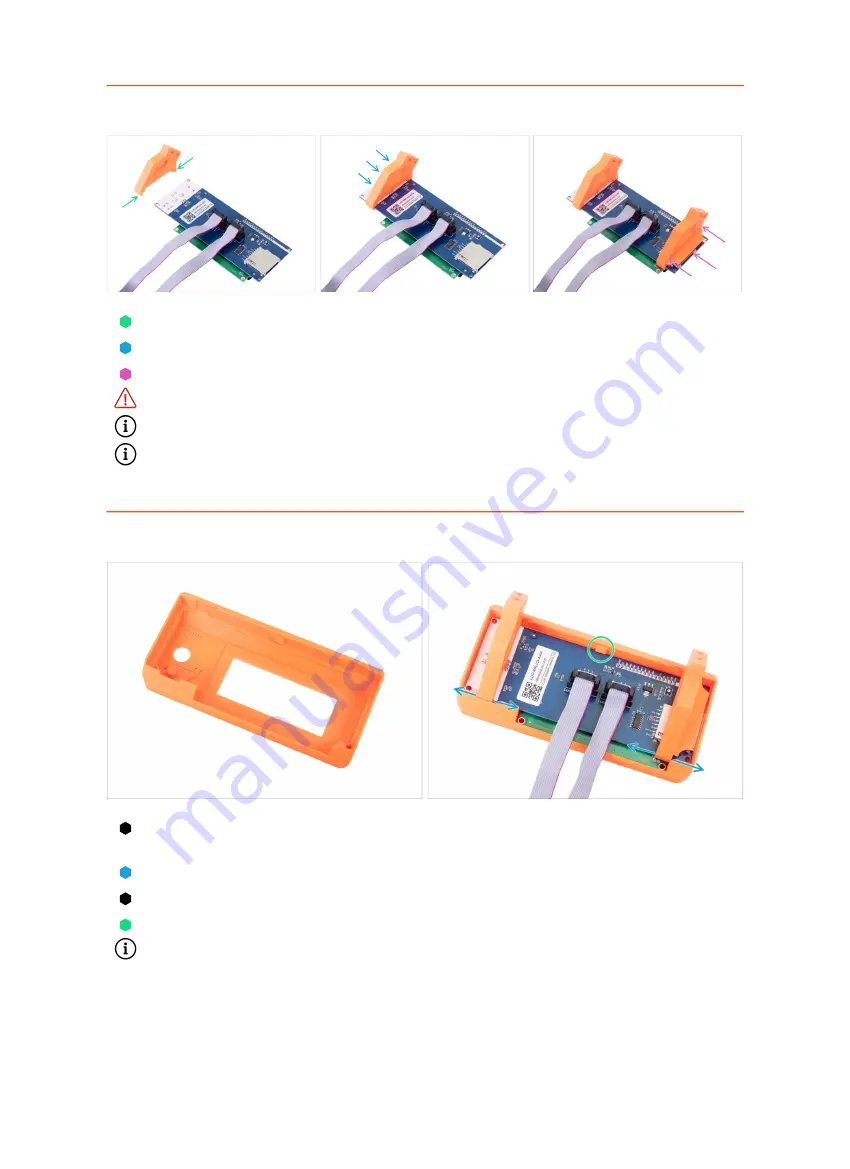
Assembling the LCD supports
Prepare the LCD controller and LCD-support printed part as shown in the picture.
Slide the LCD-support parts on the LCD-controller.
Repeat the steps above for the second support.
Ensure the correct orientation of parts and the LCD controller.
The exact position will be adjusted later, no need to worry at this moment.
You can now remove the protective foil from the screen. Don't throw it away, we
will reapply it soon.
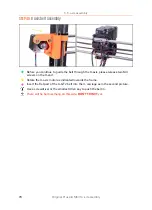
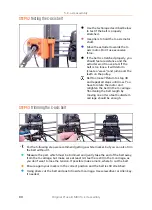
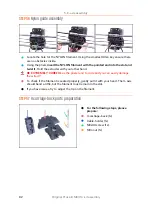
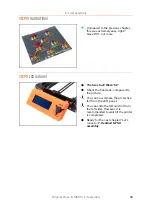
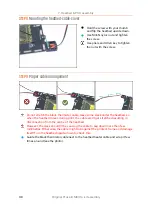
STEP 5
Assembling the LCD-cover
Press the LCD controller with the LCD-support into the LCD-cover as shown in the
picture. Be careful, there is a control knob on the other side!
Adjust the position of the supports if needed.
Press it as deep as possible.
The LCD controller must click under support in the centre of the LCD-cover.
Reapply the protective foil on the screen, make sure foil is clean without any
particles or you might scratch the screen.
Summary of Contents for i3 MK3S+
Page 6: ...6 ...
Page 7: ...Original Prusa i3 MK3S kit assembly 7 1 Introduction ...
Page 15: ...Original Prusa i3 MK3S kit assembly 15 2 Y axis assembly ...
Page 36: ...36 Original Prusa i3 MK3S kit assembly 3 X axis assembly ...
Page 44: ...44 Original Prusa i3 MK3S kit assembly 4 Z axis assembly ...
Page 51: ...Original Prusa i3 MK3S kit assembly 51 5 E axis assembly ...
Page 88: ...88 Original Prusa i3 MK3S kit assembly 6 LCD assembly ...
Page 94: ...94 Original Prusa i3 MK3S kit assembly 7 Heatbed PSU assembly ...
Page 108: ...108 Original Prusa i3 MK3S kit assembly 8 Electronics assembly ...
Page 132: ...132 Original Prusa i3 MK3S kit assembly 9 Preflight check ...
Page 137: ...137 Notes ...
Page 138: ...138 ...
Page 139: ...139 Notes ...
Page 140: ...140 ...
Page 141: ...141 Notes ...
Page 142: ...142 ...
Page 143: ...143 Notes ...
Page 144: ...144 ...


