5. E-axis assembly
Original Prusa i3 MK3S+ kit assembly
71
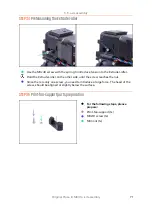
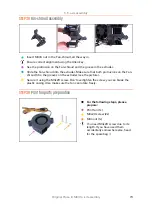
STEP 34
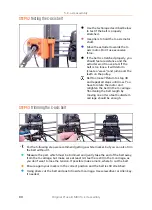
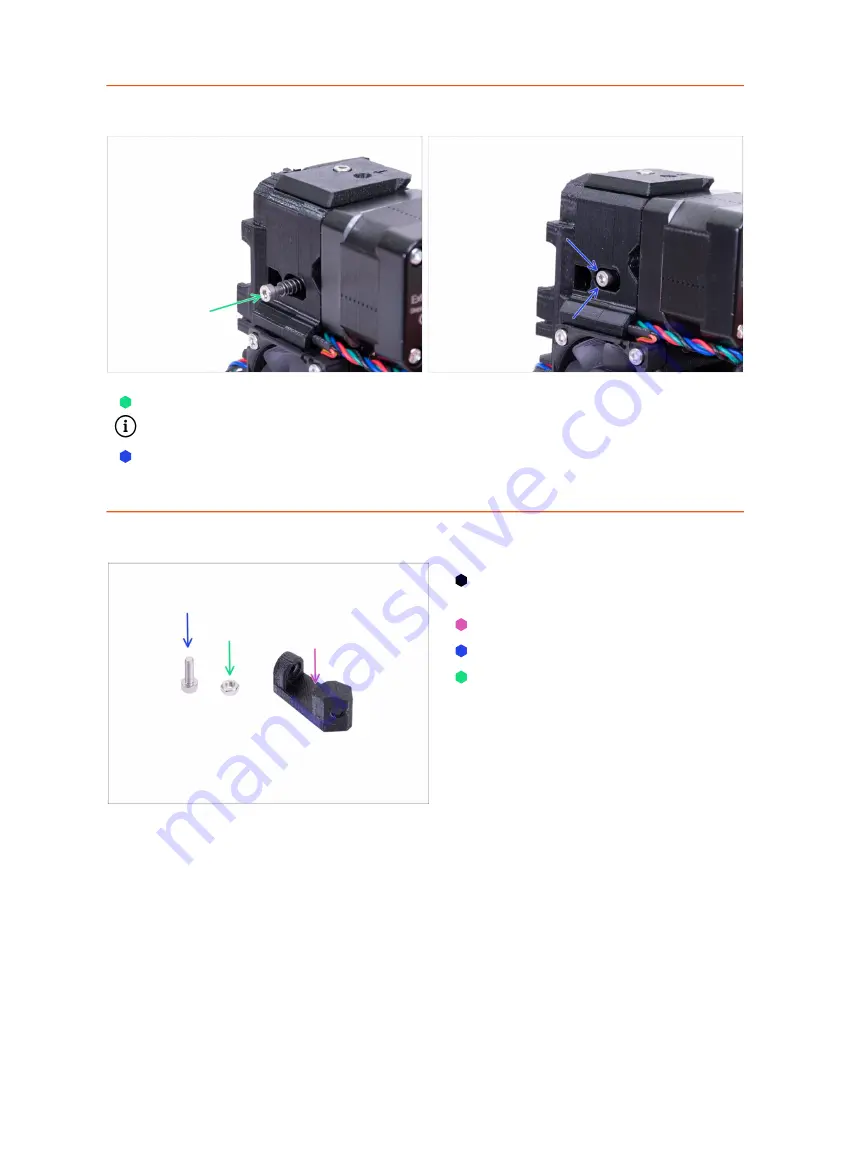
Pretensioning the Extruder-idler
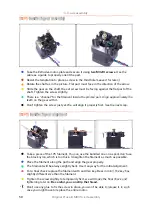
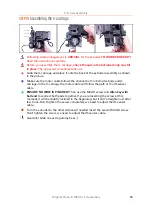
Use the M3x40 screw with the spring to introduce tension to the Extruder-idler.
Hold the Extruder-idler on the other side, until the screw reaches the nut.
Since there is only one screw, you need to introduce a large force. The head of the
screw, should be aligned or slightly below the surface.
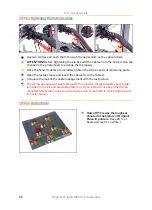
STEP 35
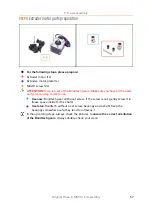
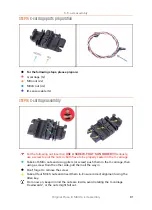
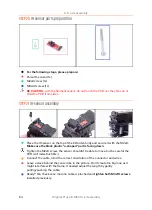
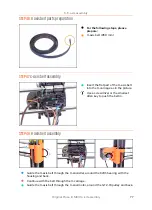
Print-fan-support parts preparation
For the following steps, please
prepare:
Print-fan-support (1x)
M3x10 screw (1x)
M3n nut (1x)
Summary of Contents for i3 MK3S+
Page 6: ...6 ...
Page 7: ...Original Prusa i3 MK3S kit assembly 7 1 Introduction ...
Page 15: ...Original Prusa i3 MK3S kit assembly 15 2 Y axis assembly ...
Page 36: ...36 Original Prusa i3 MK3S kit assembly 3 X axis assembly ...
Page 44: ...44 Original Prusa i3 MK3S kit assembly 4 Z axis assembly ...
Page 51: ...Original Prusa i3 MK3S kit assembly 51 5 E axis assembly ...
Page 88: ...88 Original Prusa i3 MK3S kit assembly 6 LCD assembly ...
Page 94: ...94 Original Prusa i3 MK3S kit assembly 7 Heatbed PSU assembly ...
Page 108: ...108 Original Prusa i3 MK3S kit assembly 8 Electronics assembly ...
Page 132: ...132 Original Prusa i3 MK3S kit assembly 9 Preflight check ...
Page 137: ...137 Notes ...
Page 138: ...138 ...
Page 139: ...139 Notes ...
Page 140: ...140 ...
Page 141: ...141 Notes ...
Page 142: ...142 ...
Page 143: ...143 Notes ...
Page 144: ...144 ...

